

There’s no need to buy a big bag of Self-Rising Flour that’ll eat up precious cabinet space when it’s so easy to make your own! All you need are 3 simple ingredients that I can almost guarantee are already in your pantry and just 3 minutes to whisk it up.
Save This Recipe to Your Email!
It always bugs me when a recipe calls for something like cake flour or self-rising flour, but I only have all-purpose and whole wheat flour—because honestly, who wants more than 2-3 bags of different types of flour in the pantry?!? I already have to use my garage as pantry overflow. 🤦🏻♀️
Luckily, making your own ingredients (particularly such simple ones) is a snap. Much like mixing up your own salt-free seasoning blends, making self-rising flour is as simple as measuring out a few pantry staples and whisking them together.
So, next time you find yourself staring down a recipe that calls for this basic ingredient, don’t fret! Use my easy, foolproof self-rising flour recipe and you’ll be set. Ta-da!
Jump to:
- What is Self Rising Flour?
- Why You’ll Love This Self Rising Flour Recipe
- Ingredients Needed
- Substitutions
- How To Make Self Rising Flour
- Optional Variations & Dietary Adjustments
- Recipes With Self-Rising Flour
- Recipe Success Tips
- Storage Directions
- Self-Rising Flour Nutrition
- Pricing Info
- FAQs
- Other Homemade Ingredient Recipes
- Recipe
What is Self Rising Flour?
Self-rising flour is a type of flour that has baking powder and salt already mixed into it. This means it will rise and become light and fluffy when baked, without needing to add any additional leavening agents. The baking powder in it reacts with the liquid ingredients in a recipe to create air bubbles that make baked goods rise.
Why You’ll Love This Self Rising Flour Recipe
- Cheap & Easy – At just 8 cents per ½ cup serving (which works out to about $2.88 for the equivalent of a 5-pound bag), making DIY self rising flour is way cheaper than buying it at the store. (Shocker, I know. 🙄) Plus, you only need 3 pantry staples to make it, and it’s as simple as mix and go!
- Space-Saving – Unless you’re one of those folks lucky enough to have a walk-in butler’s pantry, chances are your food-storage space is pretty limited. This easy recipe ensures you don’t have to play Tetris to make another ingredient fit—just mix up what you need when you need it!
- Versatile – This humble ingredient shows up in all kinds of recipes, from my 2-ingredient cottage cheese flatbread to drop biscuits, cakes, cookies, muffins, and more! It also works in almost any recipe that calls for flour, baking powder and salt.
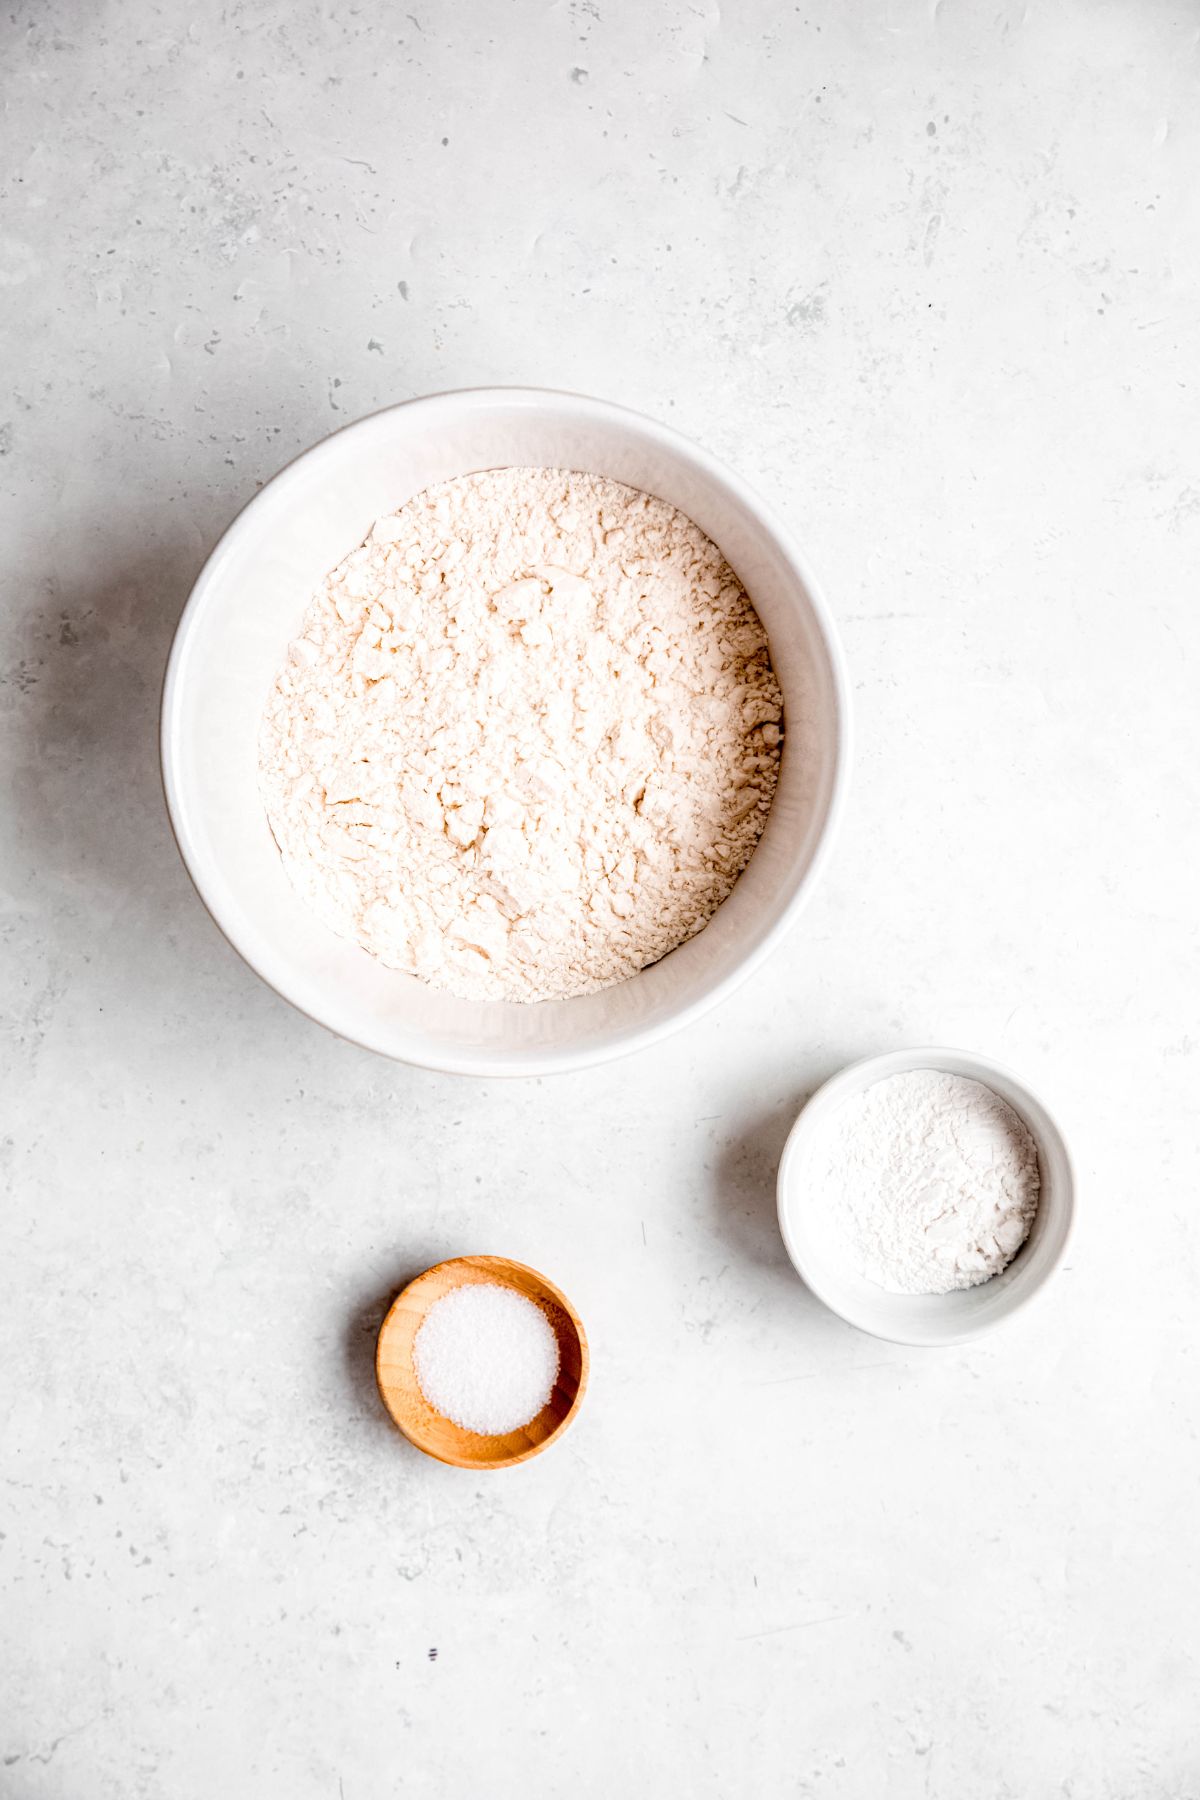
Ingredients Needed
- All-Purpose Flour – Also known as plain flour, this is the heart of our recipe.
- Baking Powder – Unlike baking soda, baking powder has tartaric acid added to the mix so it is self-activating. This means you don’t need to use acidic ingredients like brown sugar for the leavening action to work.
- Salt – Use fine sea salt or kosher salt for the best results. Iodized table salt tends to leave a bitter aftertaste.
Substitutions
- All-Purpose Flour – Feel free to swap in a gluten-free all-purpose baking mix (it should be marked as a cup-for-cup substitute for regular flour). You can also use different types of flour (e.g. mix half AP flour with half whole wheat pastry flour for a fiber boost).
- Baking Powder – For an easy DIY, mix ¼ teaspoon of baking soda with ½ teaspoon of cream of tartar to replace 1 teaspoon of baking powder.
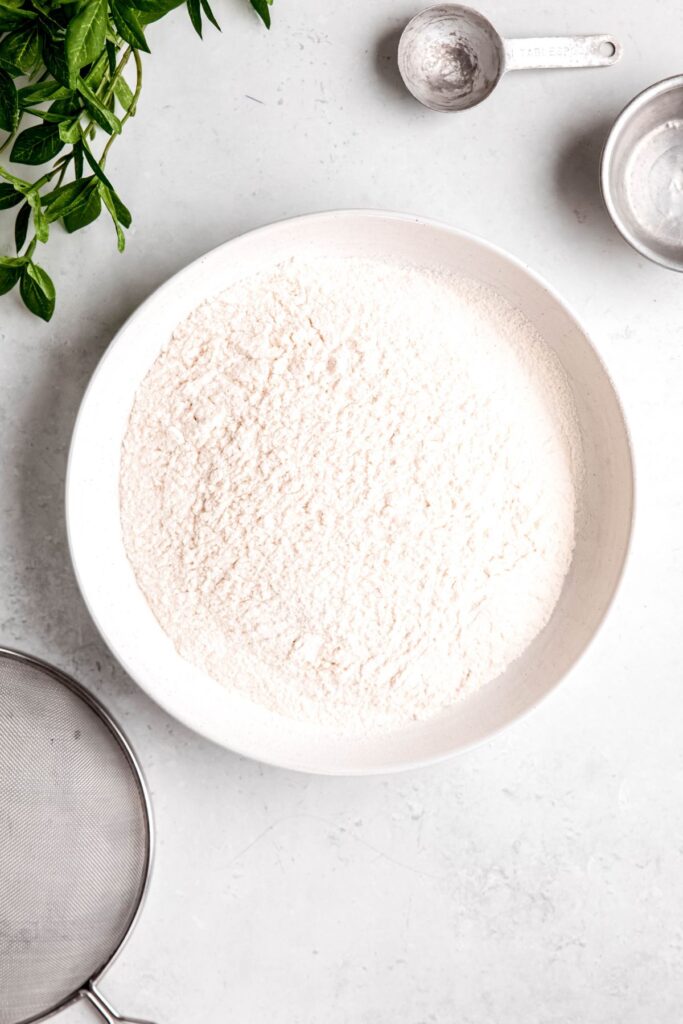
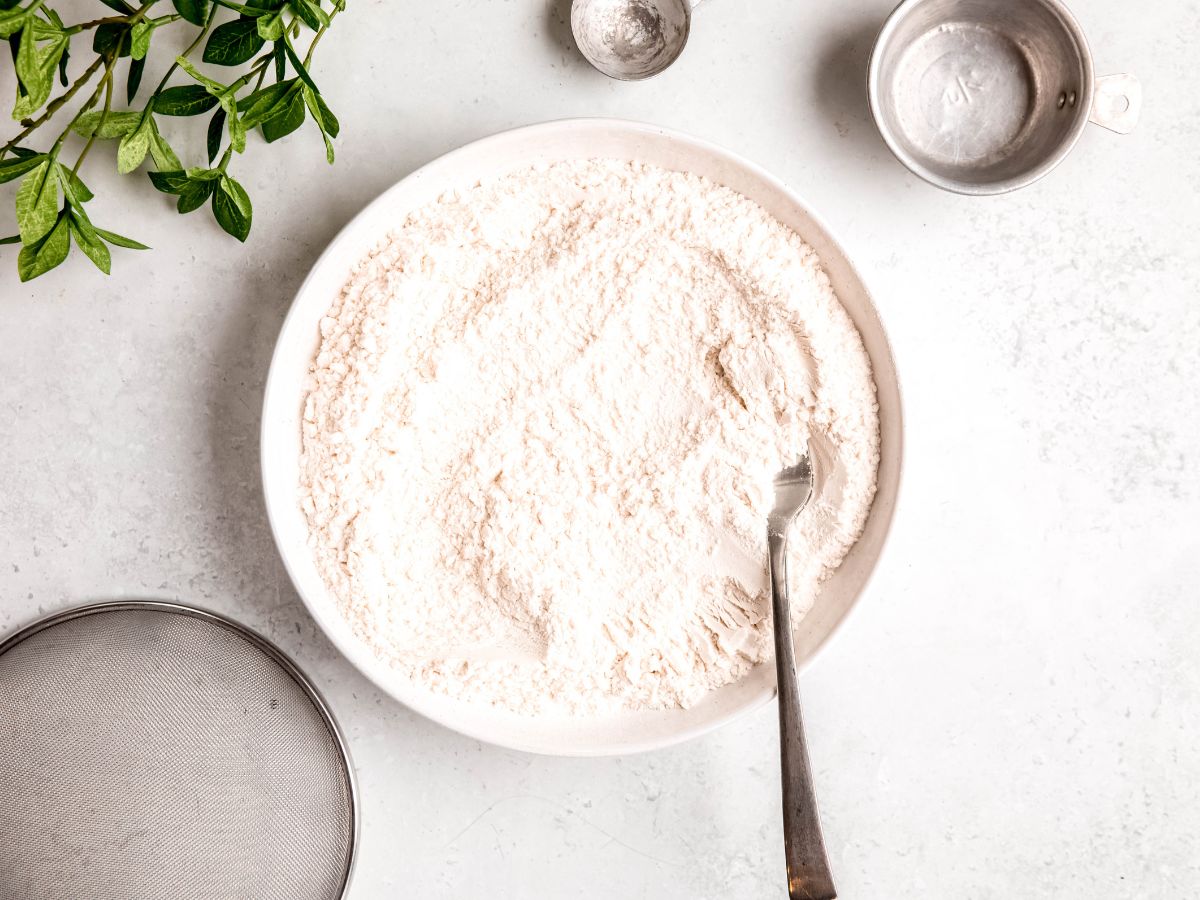
How To Make Self Rising Flour
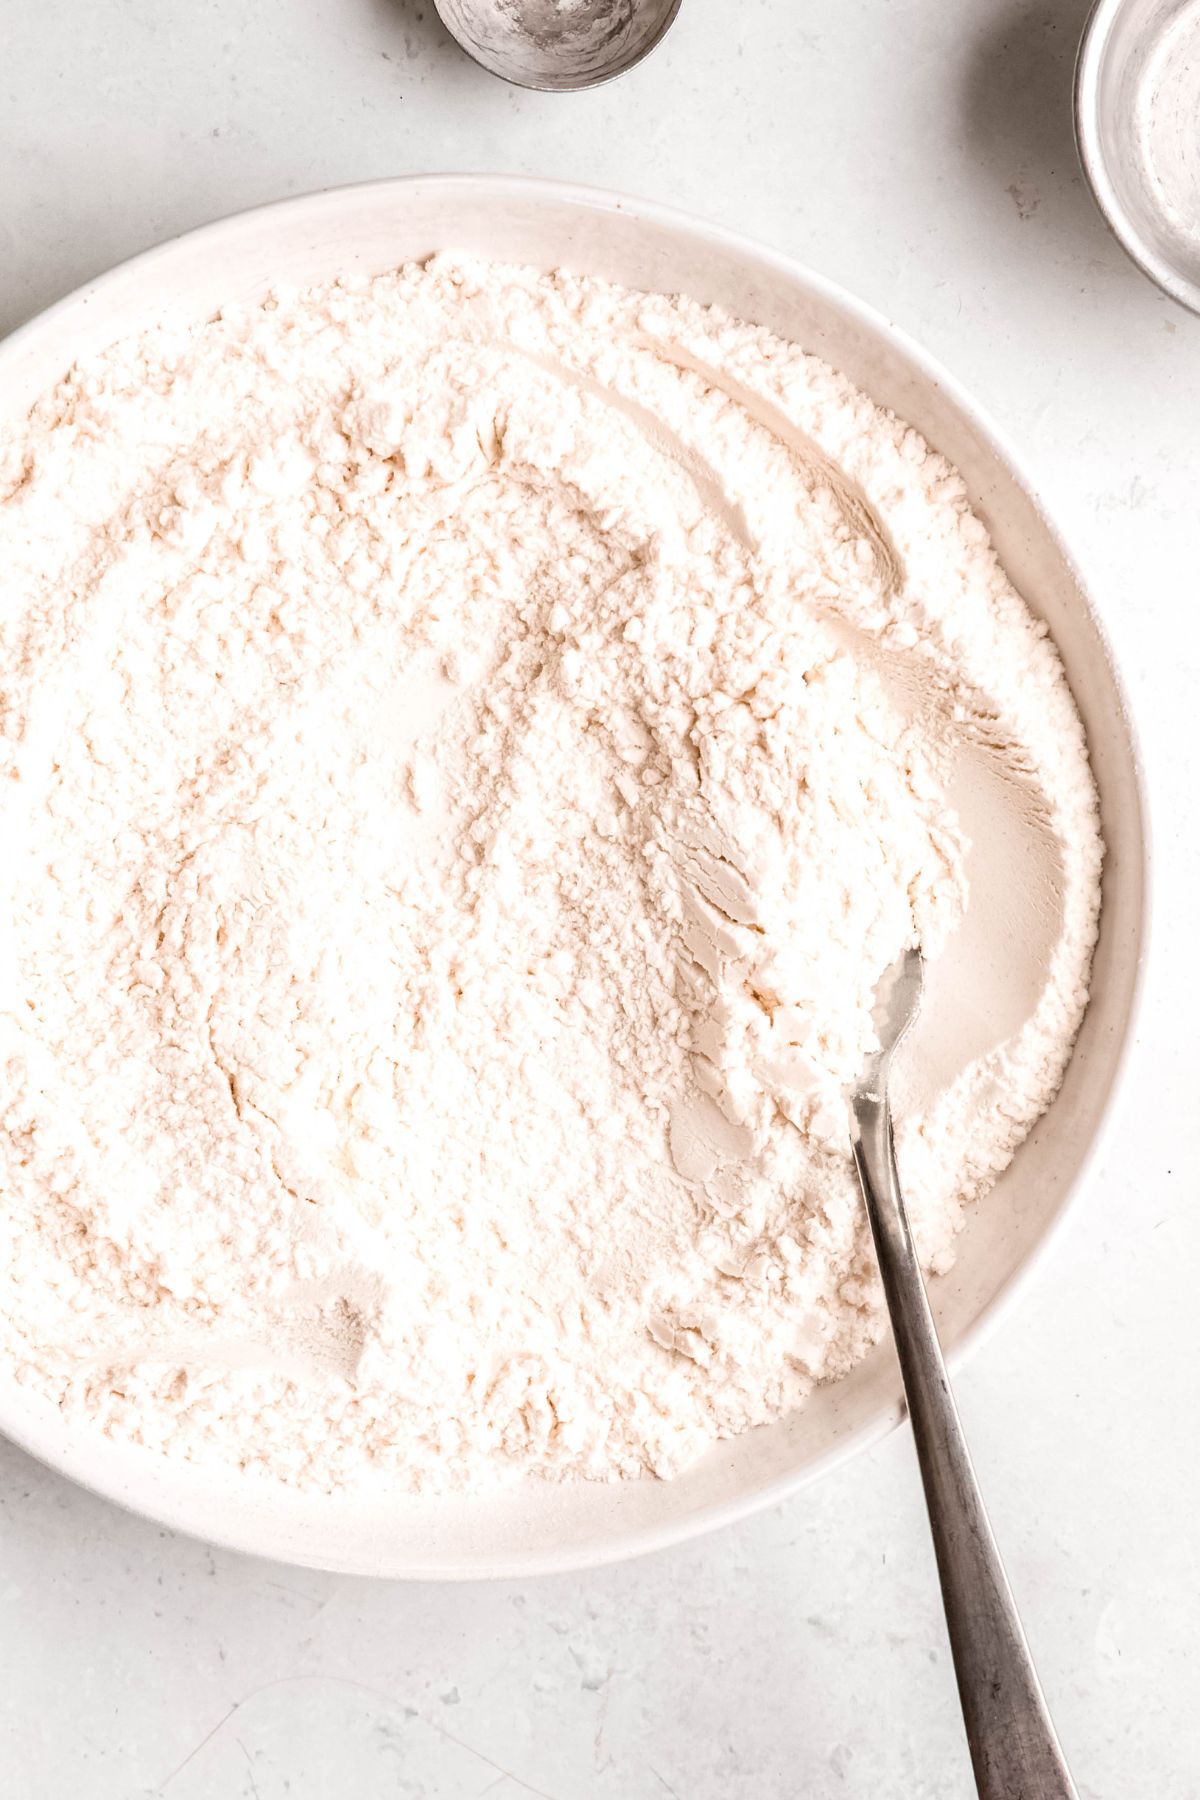
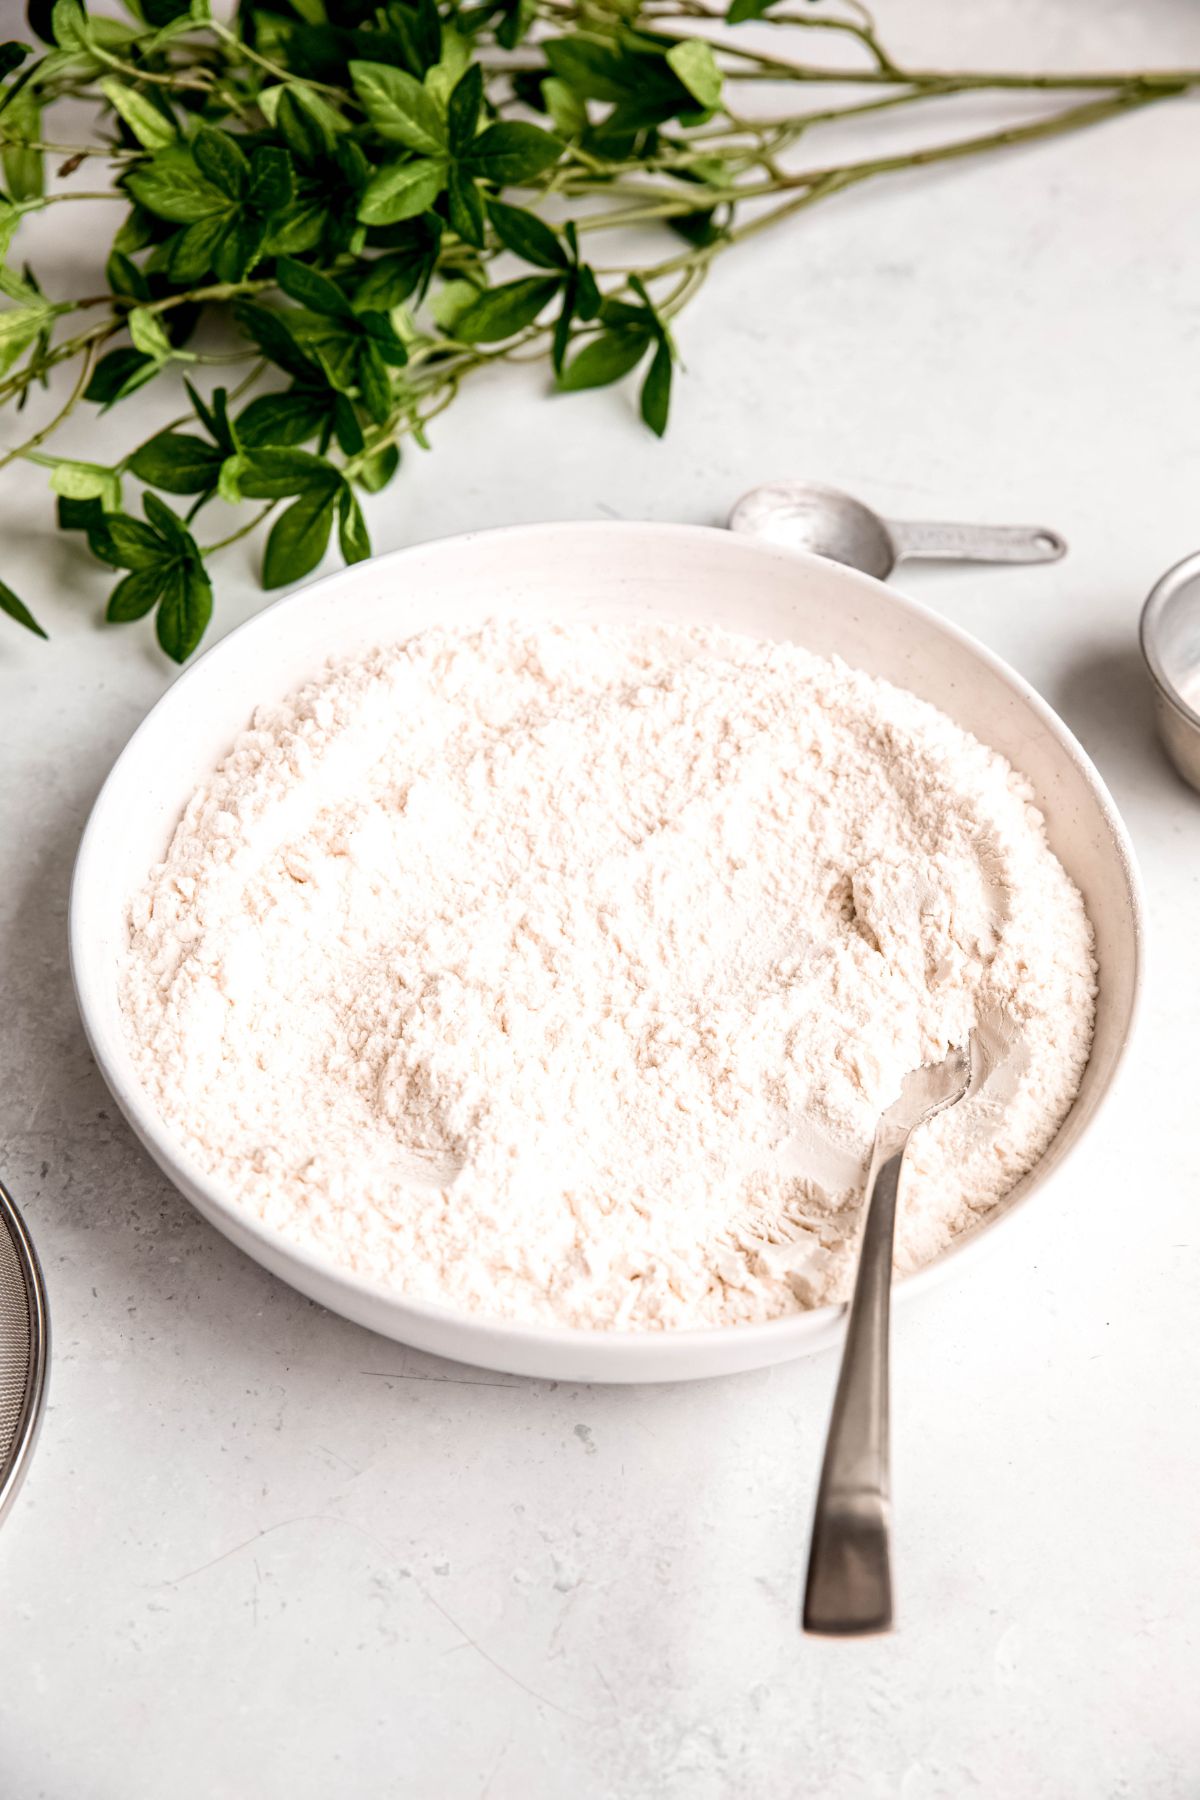
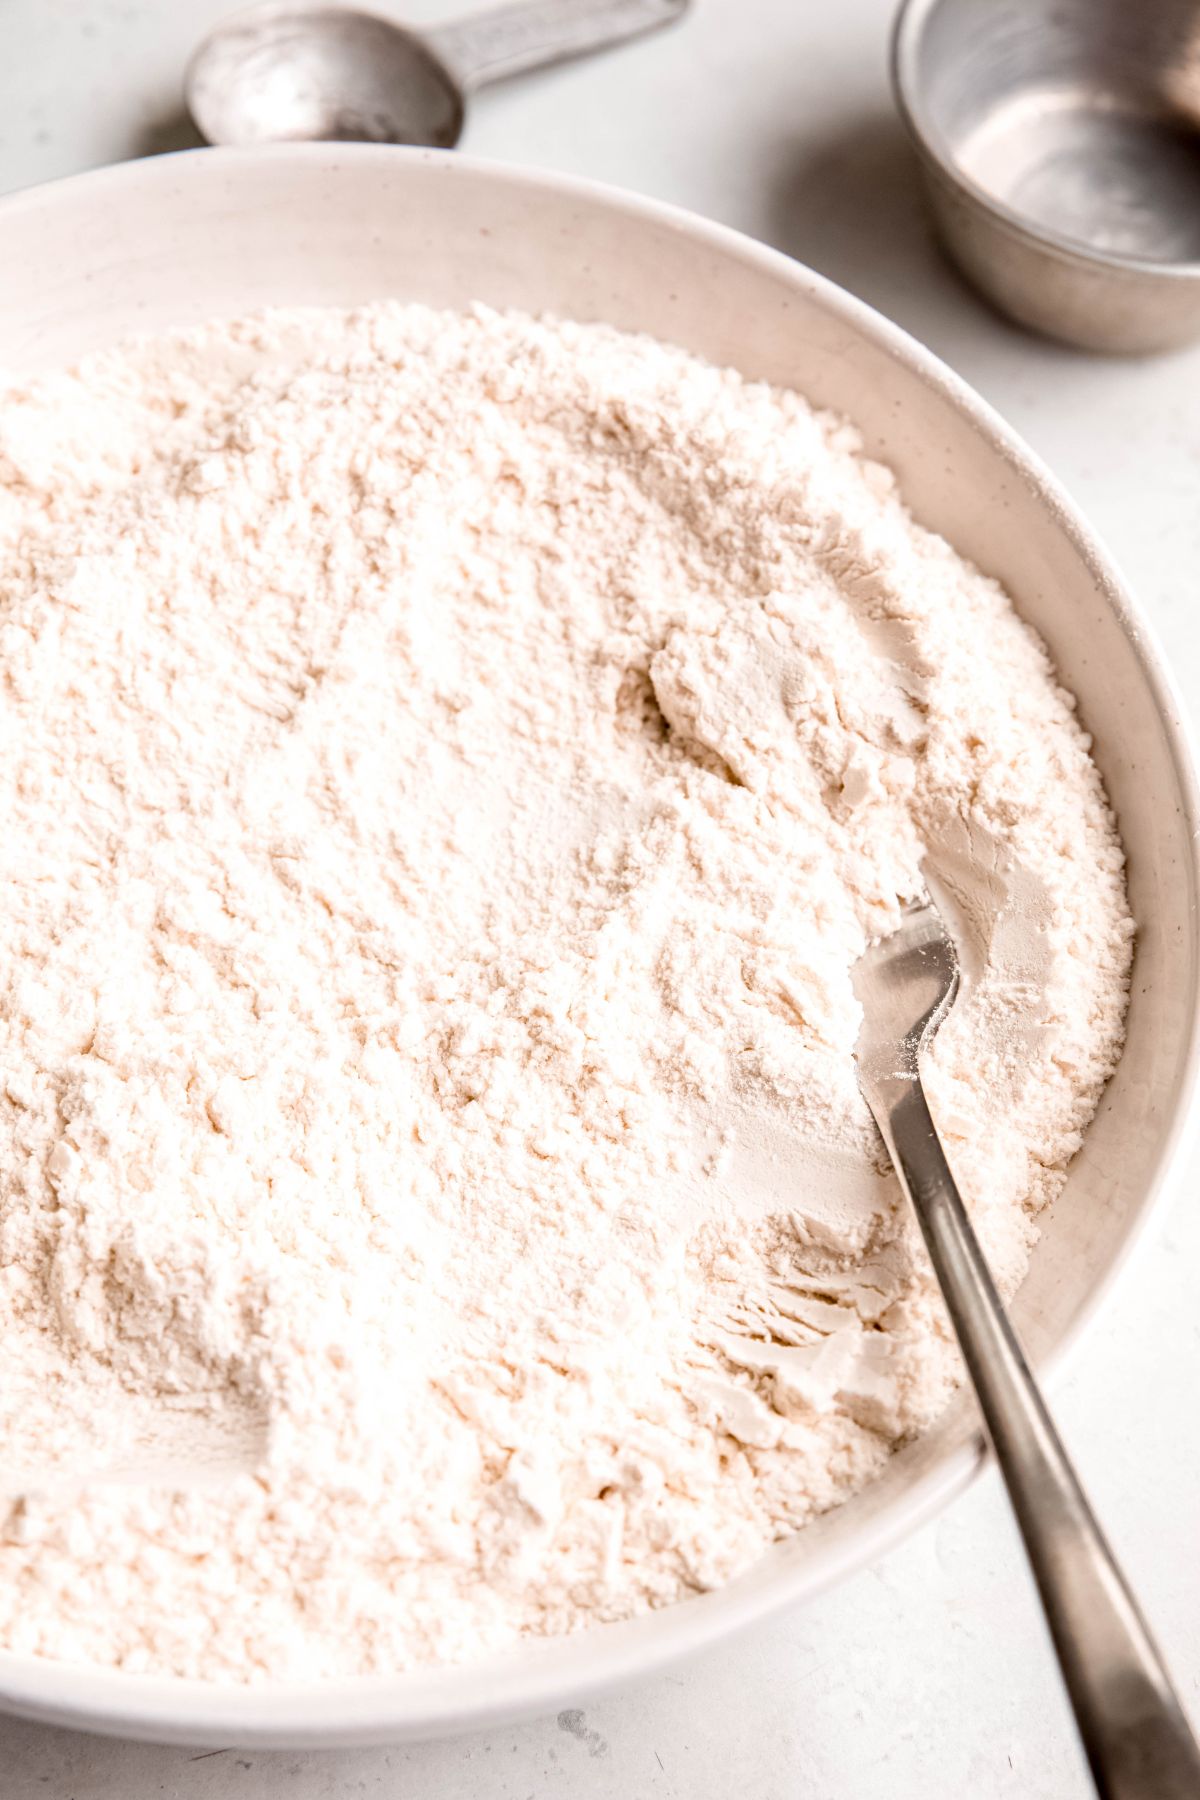
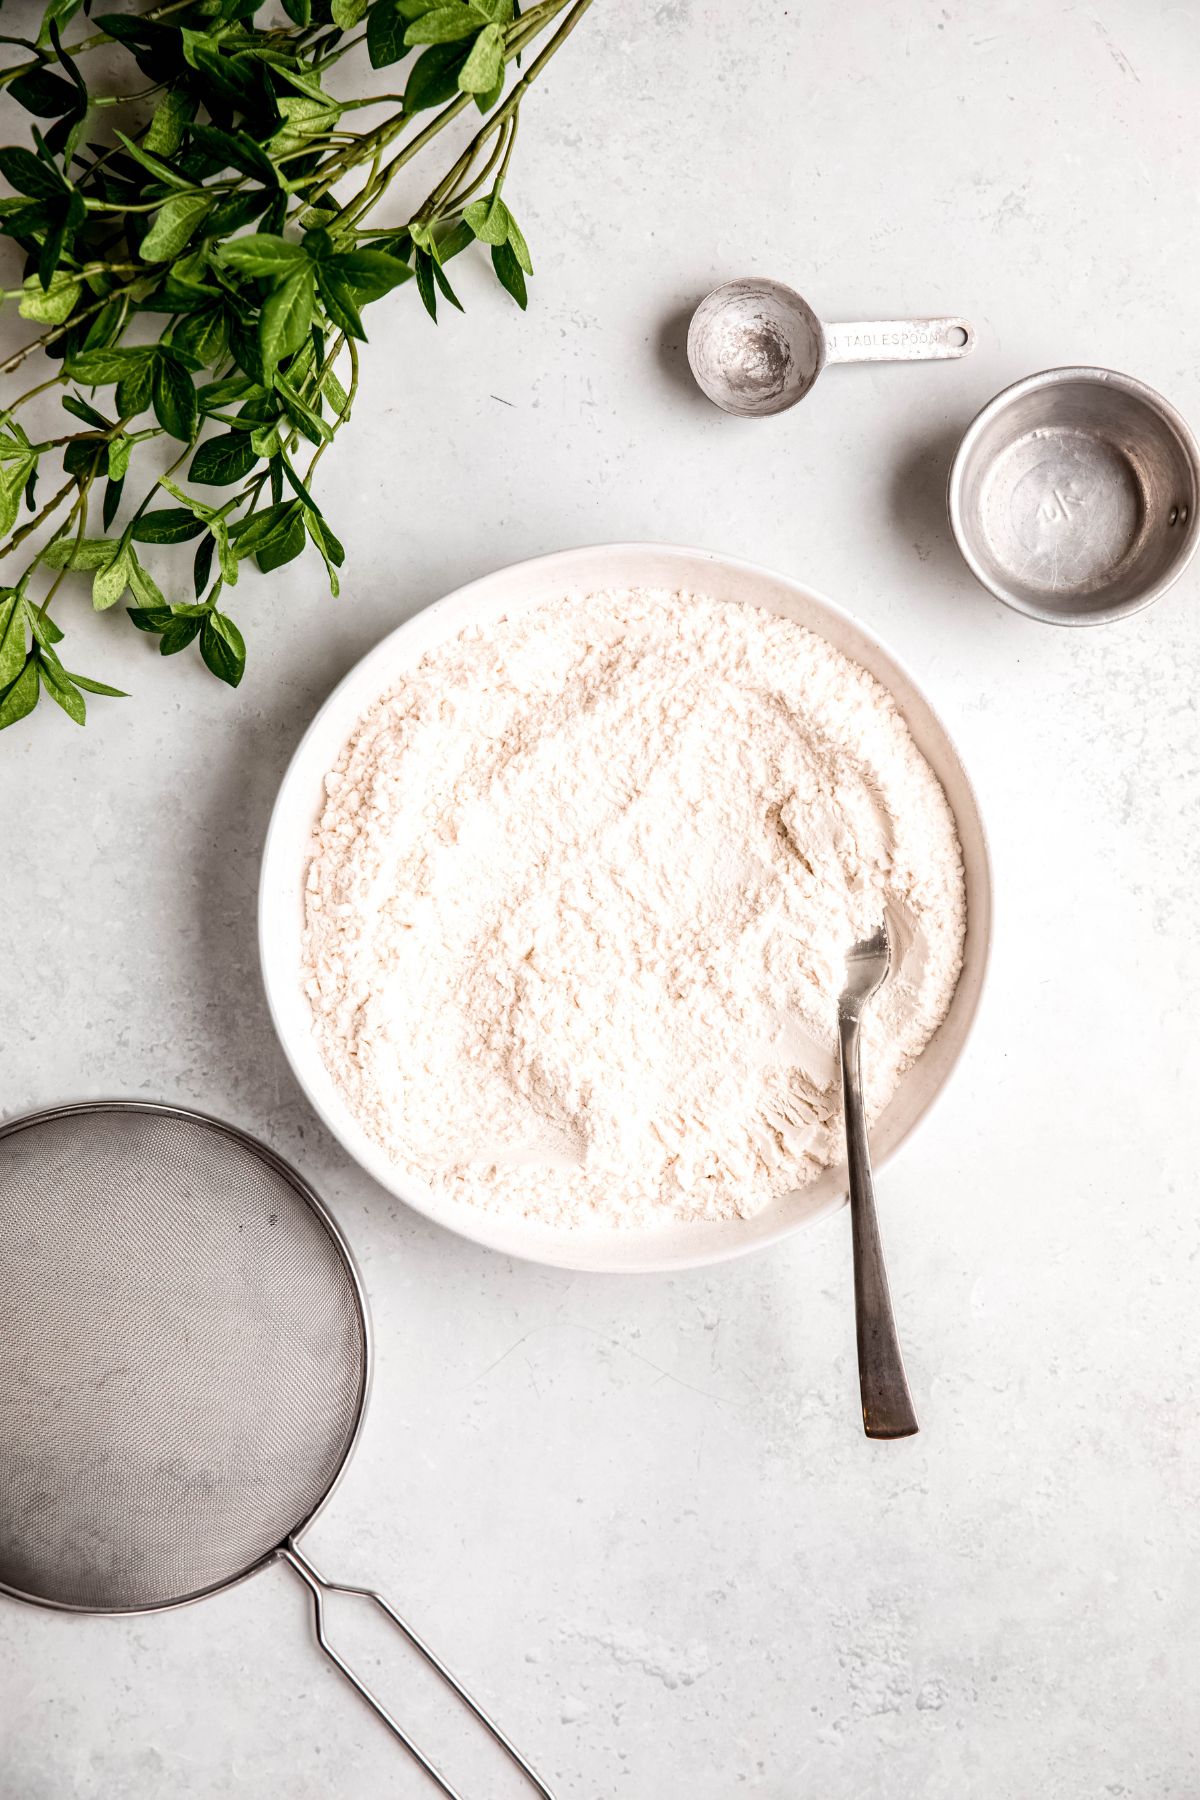
Step 1: Sift or stir ingredients together.
Step 2: Use as needed or store in a clean airtight container. That’s it!rest of step info.
Optional Variations & Dietary Adjustments
- Gluten Free Self Rising Flour – Swap in your favorite gluten-free all-purpose cup-for-cup baking blend, preferably one that has xanthan gum.
- Whole Wheat Self Rising Flour – Use whole wheat flour or whole wheat pastry flour (depending on the recipe you’re making) instead of all-purpose.
Recipes With Self-Rising Flour
As I mentioned earlier, there are tons of recipes using self rising flour out there. Some may call for it by name, while other recipes that call for AP flour, baking powder, and salt are usually good candidates for making the swap.
In case you end up making too much, here are a few recipes on my site that could use self-rising instead of all-purpose (just omit the baking powder and wait to add extra salt):
- Baked Apple Cider Donuts (ditto!)
- No-Biquick Sausage Balls
- Protein Powder Pancakes
- Double Chocolate Zucchini Muffins (you’ll still need to add the baking soda!)
Recipe Success Tips
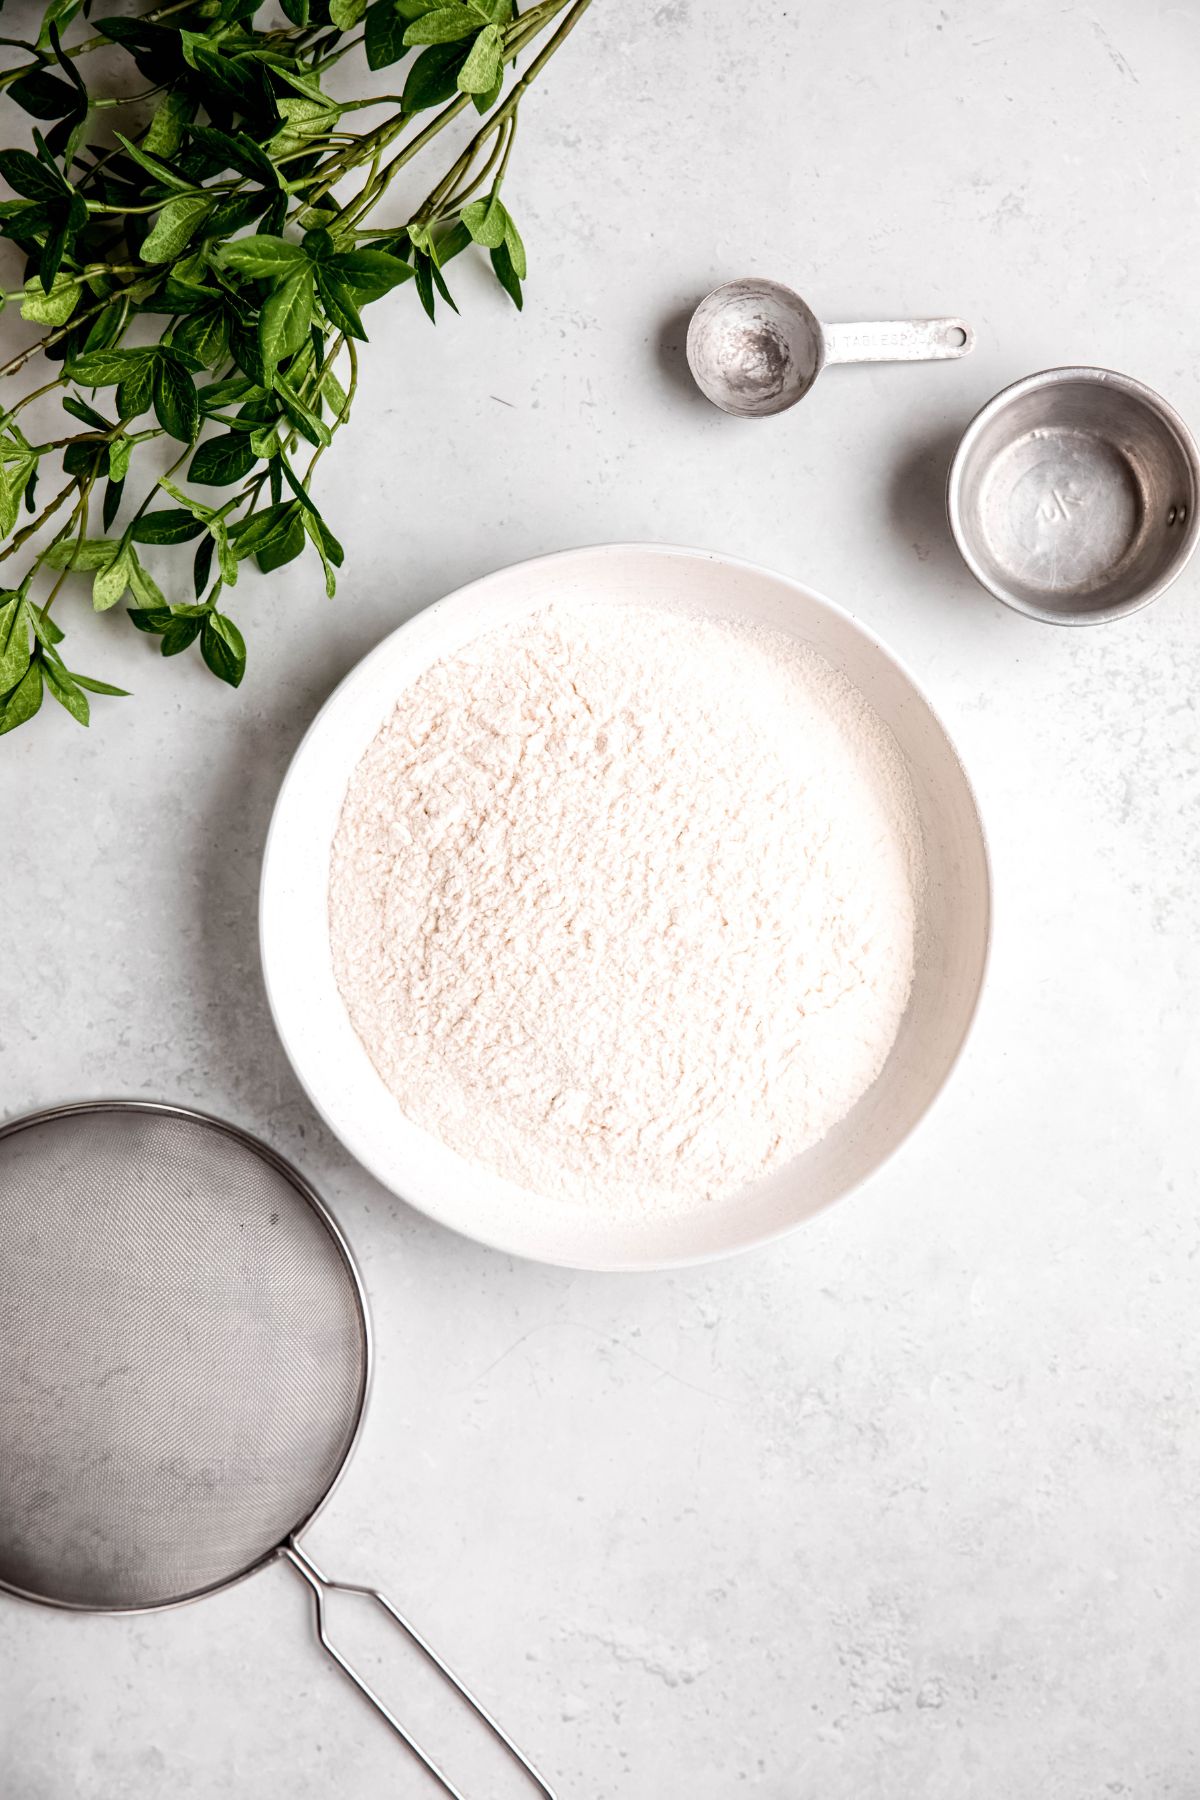
- Measuring Accurately – Be sure to measure the flour, baking powder, and salt very precisely for the best results. Even small variations in the ratios can affect the rising and texture of baked goods. Ideally, use a kitchen scale to measure the flour. Otherwise, use the spoon and sweep method.
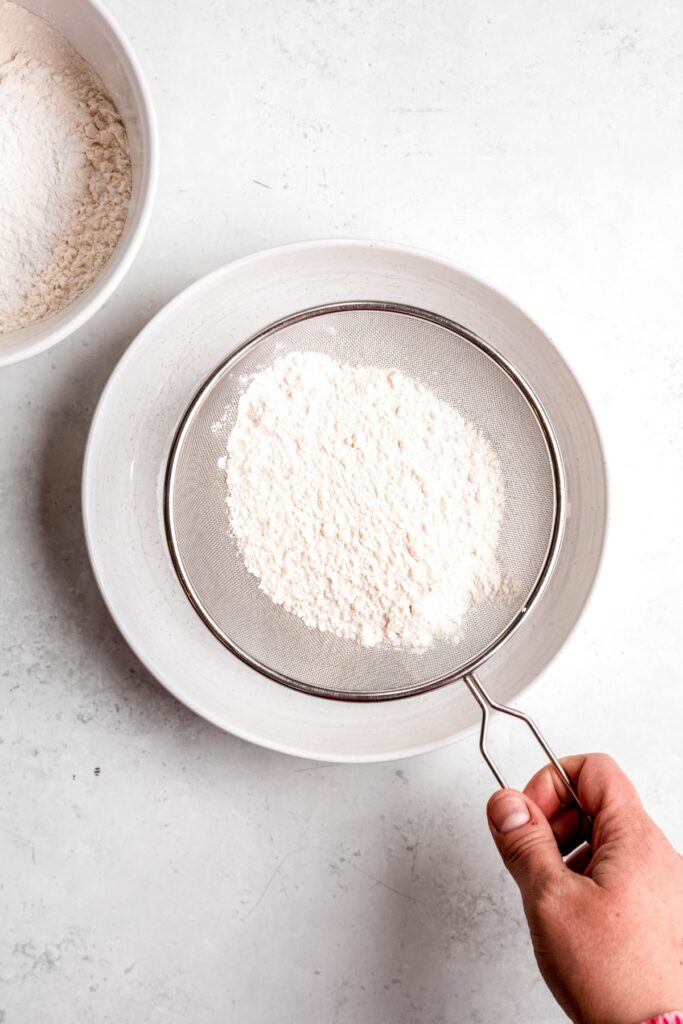
- Sift the Ingredients – After mixing the flour, baking powder and salt together, sift the mixture a few times. This helps evenly distribute the leavening agent throughout the flour.
- Use Fresh Baking Powder – Check the expiration date on your baking powder and use a fresh container for the best rising power. Expired baking powder may not react properly.
- Store Properly – Keep your homemade flour mix in an airtight container in a cool, dry place. This helps maintain the effectiveness of the baking powder. Use within 2-3 months for best results.
Storage Directions
- Room Temperature: The key to properly storing flour is to keep it in an airtight container. This prevents air and moisture from getting in and degrading the baking powder. An airtight jar, resealable bag, or other container with a tight seal works best. Self-rising flour should be stored in a cool, dry location, away from heat, humidity, and direct sunlight. The pantry or a kitchen cabinet are ideal storage spots.
- Refrigeration & Freezing: Avoid storing it in the refrigerator or freezer, as the moisture can cause the baking powder to lose its potency.
Self-Rising Flour Nutrition
This DIY self-rising flour is a simple pantry staple that’s primarily a source of carbohydrates, with a moderate amount of protein and minimal fat. Per serving, it contains 236 calories, 49 grams of carbohydrates, and 7 grams of protein, making it a solid base ingredient for baked goods.
With just 1 gram of fat, it’s naturally low in fat, while 2 grams of fiber offer a small boost for digestion. One thing to note is the sodium content (661 mg per serving), which comes from the added leavening agents (typically baking powder and salt). This is what gives the its convenience and lift, but it can add up if you’re watching your sodium intake.
Keep in mind that these values are based on using traditional all-purpose flour. If you swap in alternatives—like whole wheat, gluten-free blends, or other specialty flours—the nutritional profile will vary, often increasing fiber or changing the protein and carbohydrate content.
Total nutritional content per serving is:
- Calories: 236 calories
- Carbohydrates: 49 grams
- Protein: 7 grams
- Total Fat: 1 gram
- Sodium: 661 mg
- Fiber: 2 grams
*This nutritional information is an estimate and calculated based on the ingredients used to create the recipe. The nutritional value of your ingredients may differ slightly. Furthermore, this food is not intended to prevent, diagnose, cure, or treat any disease.
Pricing Info
This is what I personally paid to make this recipe:
- 2 cups all-purpose flour: $0.16
- 1 tbsp baking powder: $0.14
- 1 tsp salt: $0.01
The total comes out to be around $0.31 or roughly $0.08 per ½ cup.
FAQs
No, all-purpose flour is not self-rising. All-purpose flour is a plain, unseasoned flour that does not contain any added baking powder or salt. Most common flour varieties, like all-purpose, whole wheat, and gluten-free, are not self-rising unless they indicate otherwise on the packaging.
Simply mix in baking powder and salt using the recipe ratio below!
Nope! Self-rising flour is formulated with leavening already mixed in, while cake flour is simply a finer, lower-protein flour best suited for cakes and other delicate baked items. They serve different purposes in baking and are not interchangeable.
Sometimes! You can generally substitute self-rising flour for all-purpose flour in recipes, with a few minor adjustments. Since self-rising flour already contains baking powder and salt, you’ll need to omit or reduce the amount of the leavening agents called for in the recipe,. You may also need to slightly increase the liquid ingredients to account for the different absorbency of self-rising flour.
It depends on the recipe, but generally speaking, yes! So long as the recipe calls for baking powder, you should be good to go.
While both Bisquick and self-rising flour provide the leavening power needed for quick breads, Bisquick is a more complete baking mix. Self-rising flour is simply flour with the baking powder and salt pre-incorporated, allowing you to use it more flexibly in recipes. The two are not interchangeable, as Bisquick contains additional components beyond what’s in self-rising flour (e.g. shortening).
Make your own using my easy recipe below!
No, self-rising flour is generally not recommended for making gravy. The baking powder in self-rising flour would result in an undesirable texture, and the added salt could make the gravy overly salty. For the best gravy results, it’s recommended to use all-purpose flour, which has a neutral flavor and thickening properties well-suited for gravies and sauces.
Other Homemade Ingredient Recipes

Tried this recipe? Please leave a ⭐⭐⭐⭐⭐ rating in the comments below! I would really appreciate your feedback!
Recipe
Homemade Self-Rising Flour
Equipment
- 1 fine mesh strainer optional
Ingredients
- 2 cups all-purpose flour
- 1 tbsp baking powder
- 1 tsp salt
Instructions
- Sift or stir together all 3 ingredients in a medium mixing bowl. Transfer to a mason jar or airtight container and store for up to 6 months.
Notes
Nutrition

If you end up making this and loving it, take a photo and tag me on Instagram! I’d love to see your versions of my recipes! And feel free to rate it down below in the comment section. I would really appreciate it!
xoxo Megan
Leave a Reply