

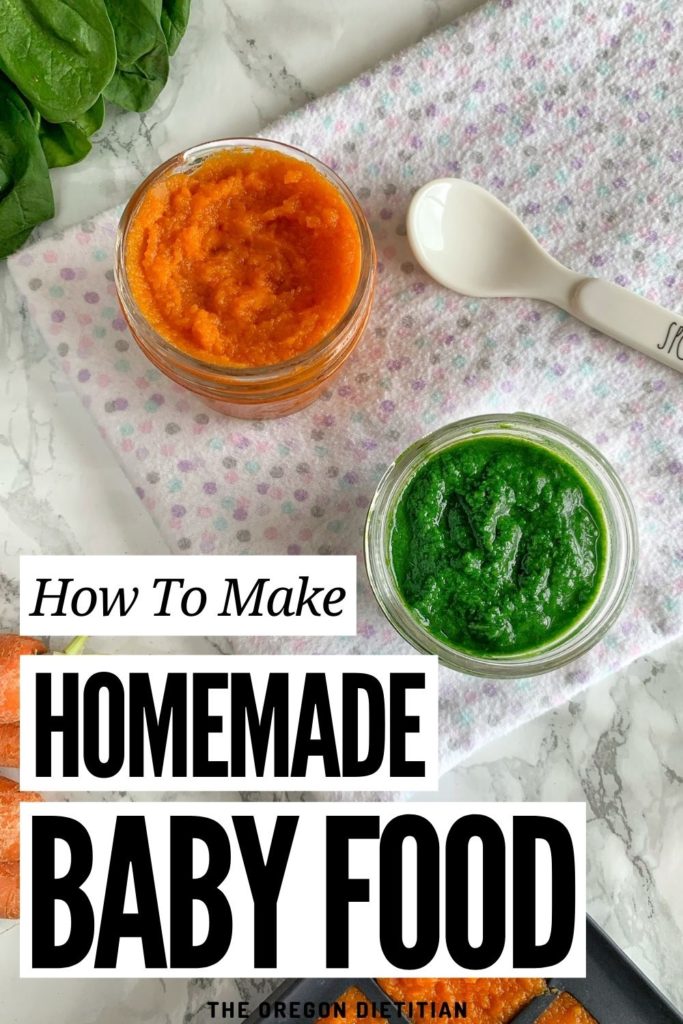
Homemade baby food is healthier and cheaper than store-bought baby food! This guide to making your own baby food is simple, easy, and will save you money!
It’s such an exciting time when your baby starts to eat “real” food. One of the greatest things about being a parent is watching our babies become their own little people with personalities and preferences.
One of the coolest things for me was getting to feed my baby girl her first food. It ended up being baby rice cereal.
But after reading an article about how much toxic metals are actually in pre-made baby foods, I decided I needed to avoid store-bought baby food, and start making it on my own.
Not only is it cheaper, it’s healthier for your little one. And as a mommy, I know you want to give your little one the best quality food you can.
Supplies You Need
There are a couple of things you’ll need to get started when making your own homemade baby food:
1. Something To Puree With
First of all, you’ll need something to puree with. It could be as simple as an immersion blender, a regular blender, or even a food processor. My preference is definitely the food processor. It purees really well, even in small amounts.
I’ve found that regular blenders can do the job, but you really have to make it in large quantities or else the baby food gets stuck at the bottom and won’t puree all the way.
This is the food processor I have. I also use it to shred cheese, make sauces, and salsa too!


RELATED: The Best Homemade Salsa Recipe
2. Ice Cube Tray
Another thing you’ll need is something to freeze individual portions of the baby food into. I use one similar to this ice cube tray, and it works beautifully. It freezes the homemade baby food into perfect portions for my little girl!

3. Steamer Basket
One last thing you’ll need is a steamer basket. This is a device you simply put on top of a boiling pot of water that will steam the vegetables or fruits without taking away any nutrients.


You can use boiled veggies to make baby food but it takes a lot of taste and nutrients away that you’ll want your baby to experience!
Making Your Own Homemade Baby Food
Now that you have all your supplies gathered and ready to go, let’s make some homemade baby food!
1. Choose Your Flavors
You can make just one, such as plain carrot, or you can combine a couple different flavors together (Carrot sweet potato, apple blueberry, etc).
Here are some quick, easy ideas for flavor blends:
As long as you and your pediatrician are comfortable with it, you can also add in other flavors such as cinnamon, basil, rosemary, etc.
I would not use any sweeteners in an effort to make your baby like certain foods, though. That can make your little one crave sweet things prematurely, and be more hesitant about eating their veggies! And we want our babies to like veggies after all!
2. Steam Your Produce
Start by boiling a small amount of water in a pot or sauce pan. While the water is heating, clean, trim, and peel your produce. Chop the produce into small chunks/pieces (half an inch or smaller).
If using frozen fruits or veggies, you do not need to thaw and chop them. Simply set them in the steamer basket as is.
Place the steamer basket over the boiling water, and place your prepared produce in the steamer basket and cover. Steam your fruits and veggies until they are soft and can be pureed easily, usually 15-20 minutes.
The exact time it takes will really depend on how small the pieces are, what food you’re making, and how much food is in the steamer basket.
3. Time To Puree!
Once the food is softened enough, put it in the food processor. I would recommend blending/pureeing for at least 2 minutes, pulsing a few times as well.
If it’s too thick or not pureeing well, add a few teaspoons of water, formula, or breast milk and continue to puree until the texture is smooth with no chunks.
4. Freeze/Store Your Homemade Baby Food
Fresh, homemade baby food can be stored in the fridge for up to 2 days in an airtight container.
If you want to freeze your baby food, simply spoon the puree into an ice cube tray. Cover with plastic wrap, and stick it in the freezer.
Once frozen, you can remove each frozen block of baby food from the ice cube tray and store them in a plastic bag, labeled with the flavor of the food and the date. Homemade baby food can be kept in the freezer for up to 3 months.
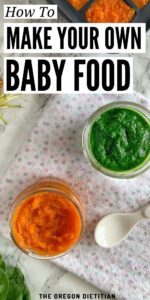
Pin me for later!
Homemade baby food is so much healthier for your little one than the store-bought stuff. It takes a little bit of time but saves you a lot of money. It also ensures that you know exactly what your baby is eating, where it came from, and how it was prepared!
xoxo Megan
Leave a Reply