

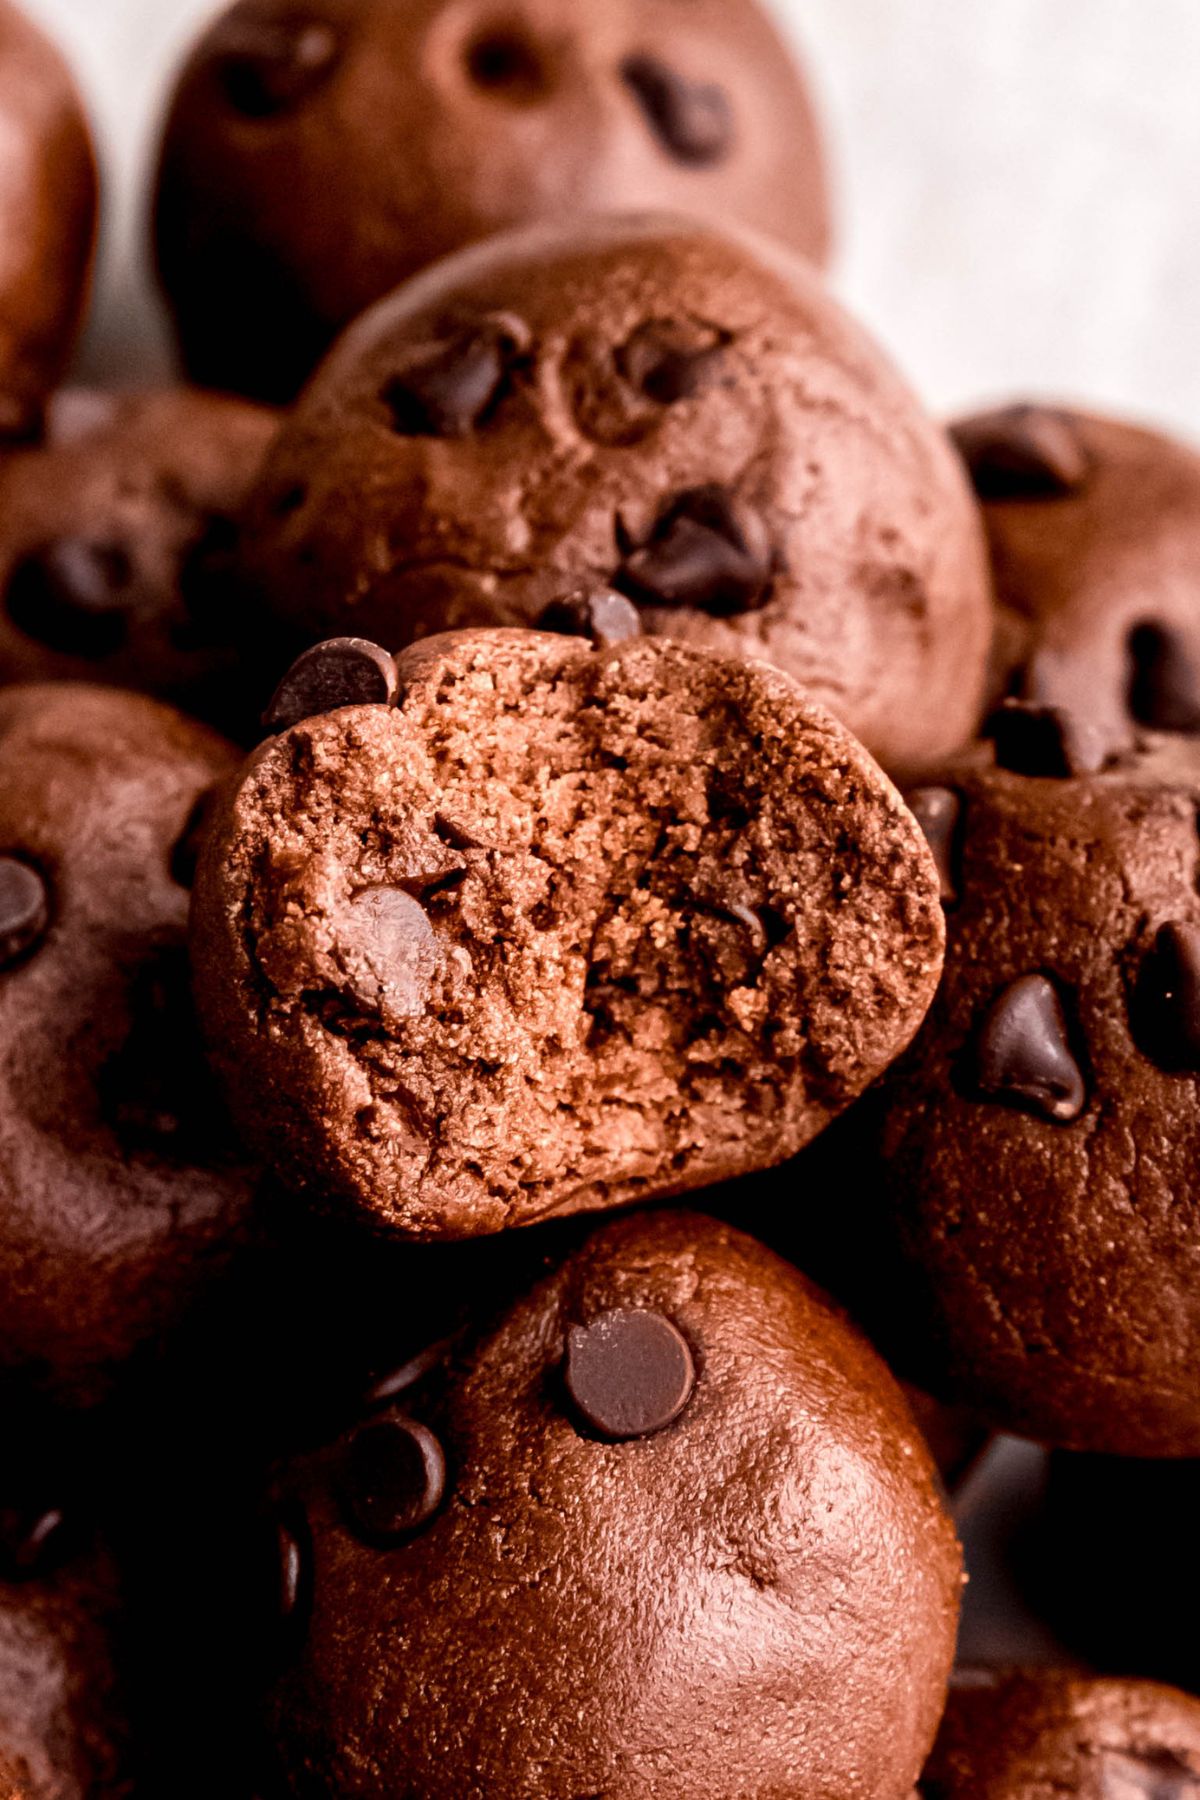
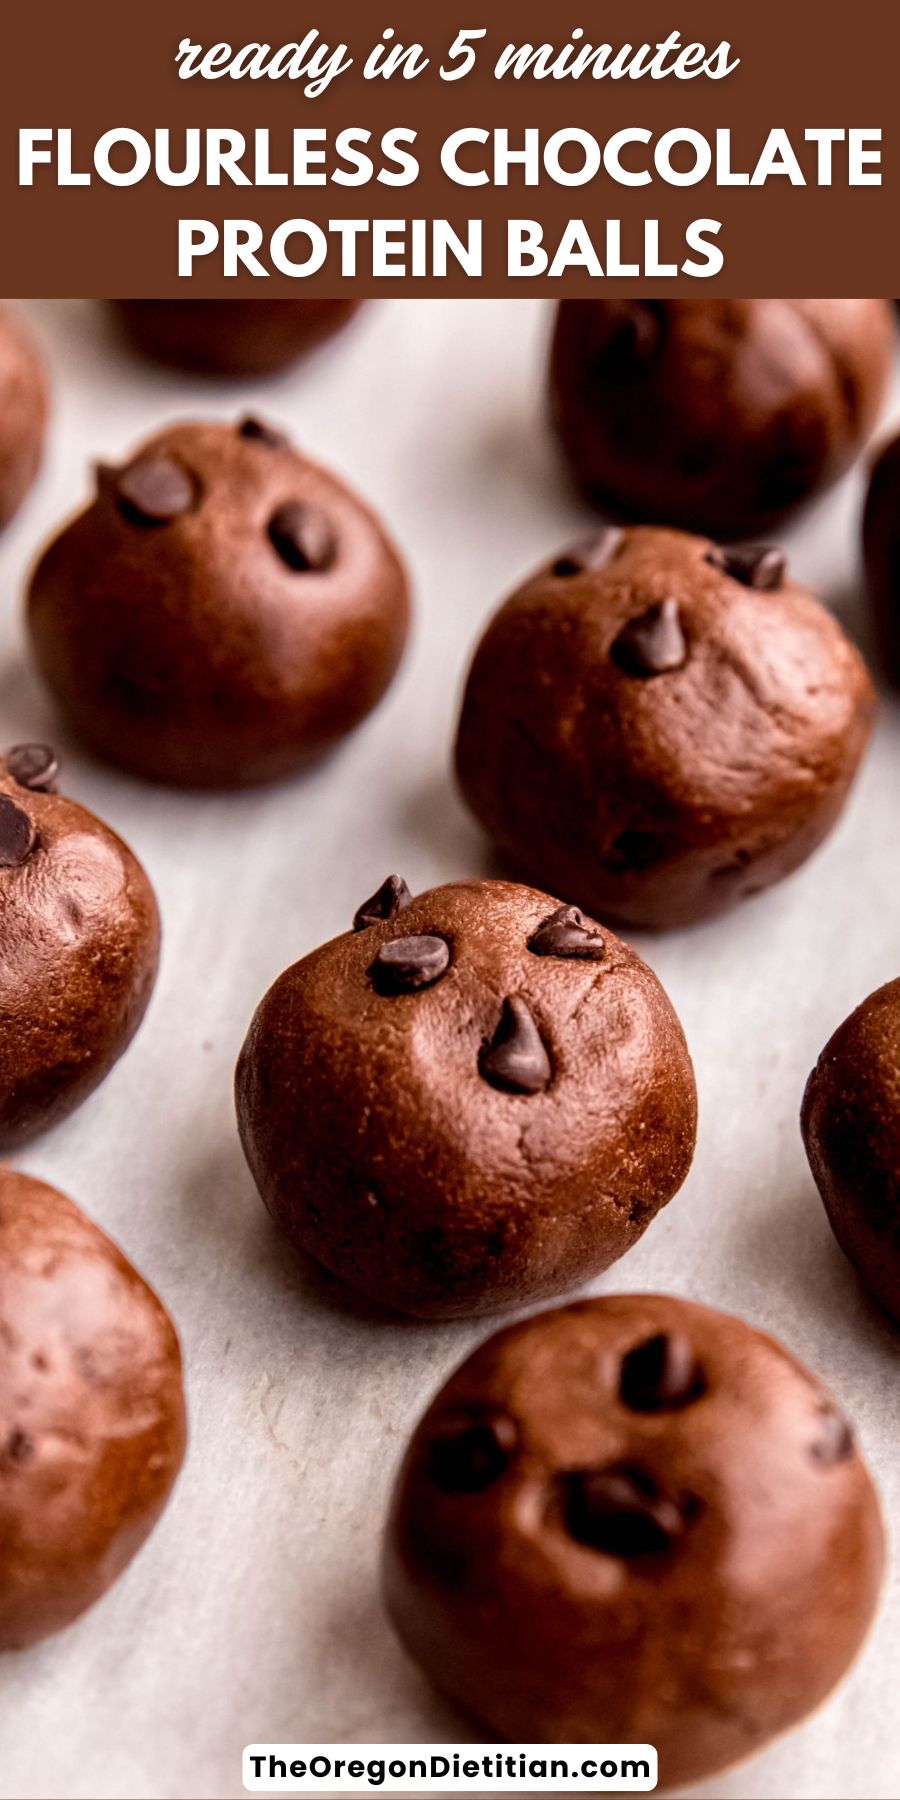
My easy-to-make, flourless Chocolate Protein Balls are essentially healthy truffles. These rich, fudgy, bite-sized treats are made with just 8 simple ingredients (no grains!) in 15 minutes or less. Each one is loaded with 6 grams of protein and 2 grams of fiber to keep you satisfied while scratching your sweet-tooth itch!
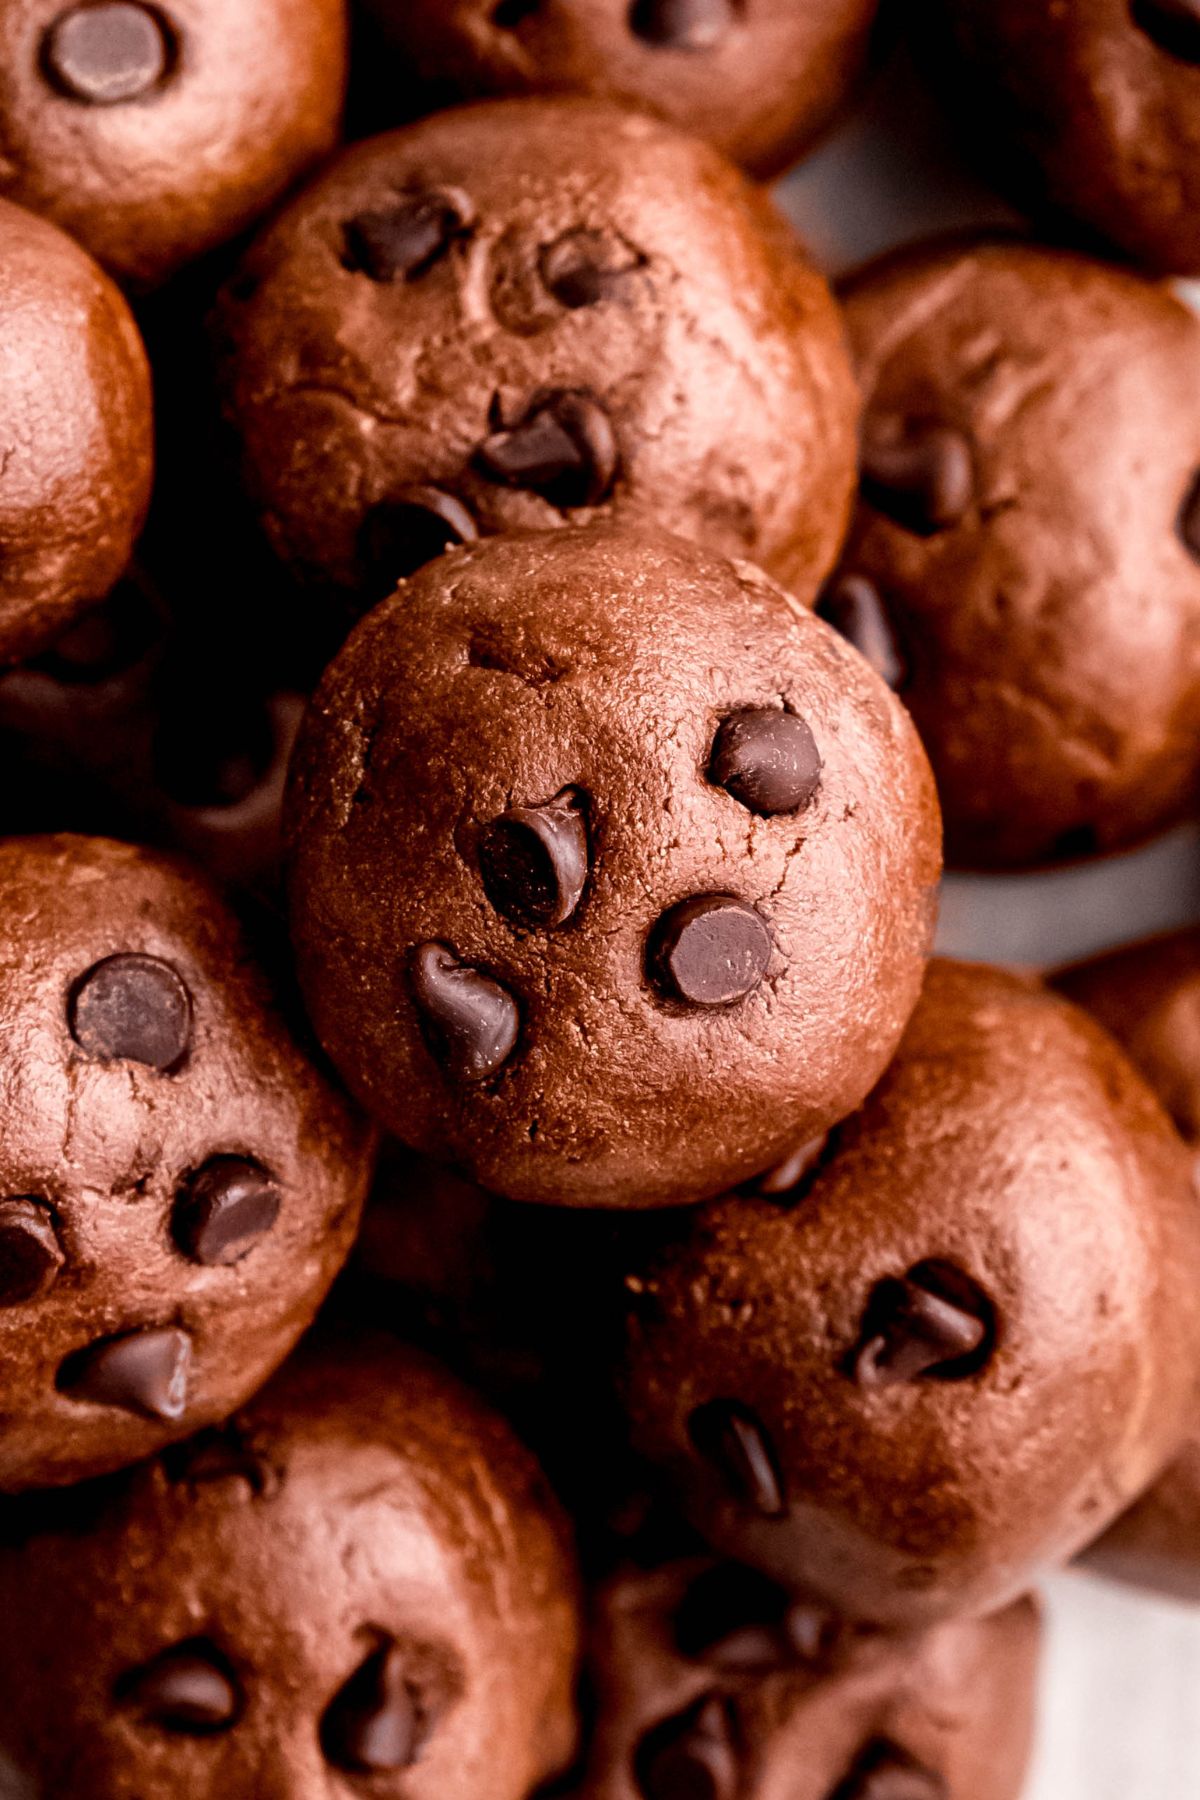
I’ve been on a workout kick lately, which means I’ve been craving protein like nobody’s business. But, your girl is also a huge sweet tooth, so snacking on straight chicken breast isn’t my first impulse. Enter these fudgy chocolate protein balls! They might taste like naughty little bites of brownie batter, but they’re secretly packed with muscle-building goodness.
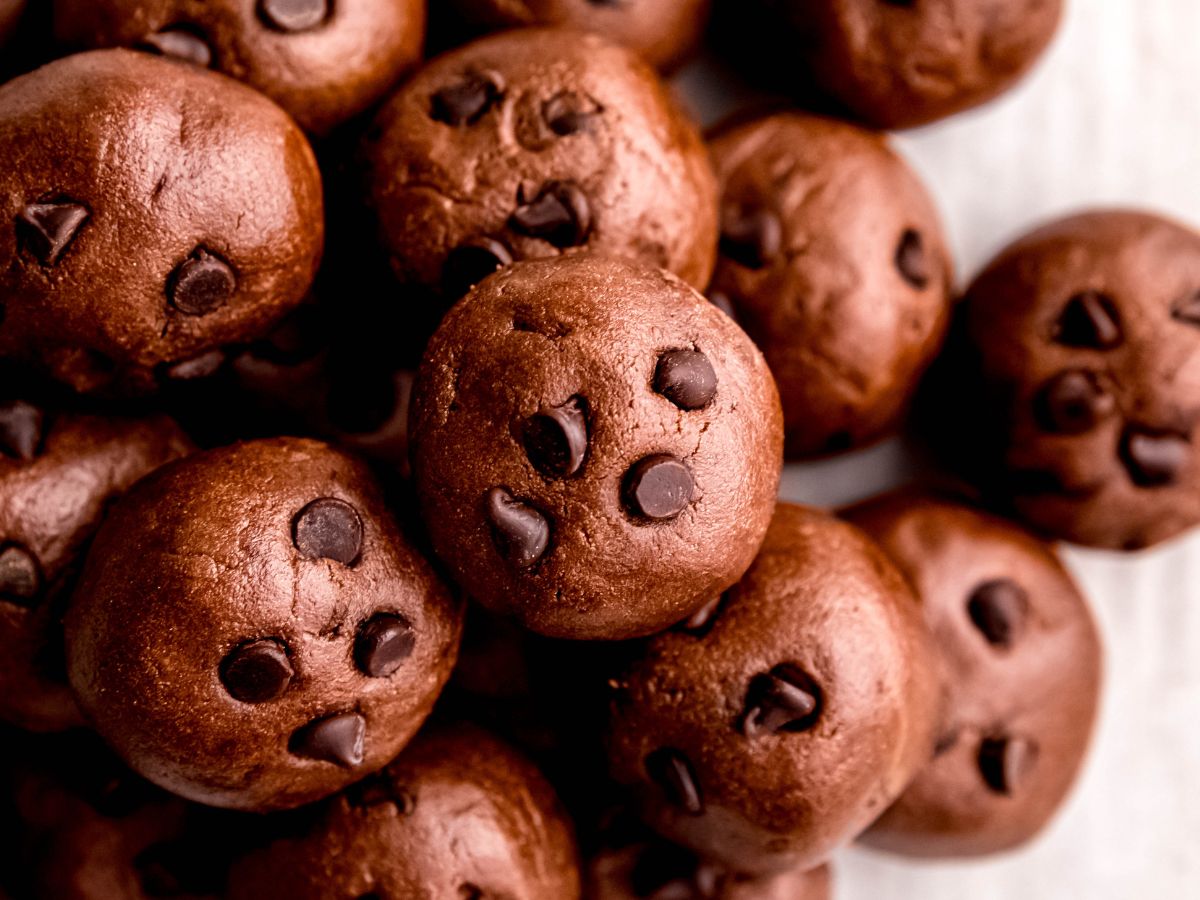
And, unlike my monster cookie protein balls and pumpkin spice energy bites, these chocolatey little nuggets are made without any oats or flour. Instead, they rely on a sneaky mix of creamy peanut butter, chocolate protein powder, and cocoa powder. The result? Creamy, melt-in-your-mouth, truffle-like treats that actually have staying power.
Best of all, these chocolate chocolate chip protein balls are made with just 8 basic pantry staples using one bowl. Just measure, mix, scoop, and BOOM! You’ll have a week’s worth of sweet, sensible snacking ready to go.
Jump to:
- What do they taste like?
- Why You’ll Love This No Bake Protein Balls Recipe
- Ingredients Needed
- Substitutions
- How To Make Chocolate Protein Balls
- Optional Variations & Dietary Adjustments
- Serving Suggestions
- Recipe Success Tips
- Storage Directions
- Flourless Chocolate Protein Ball Nutrition
- Pricing Info
- FAQs
- Other High Protein Recipes
- Recipe
What do they taste like?
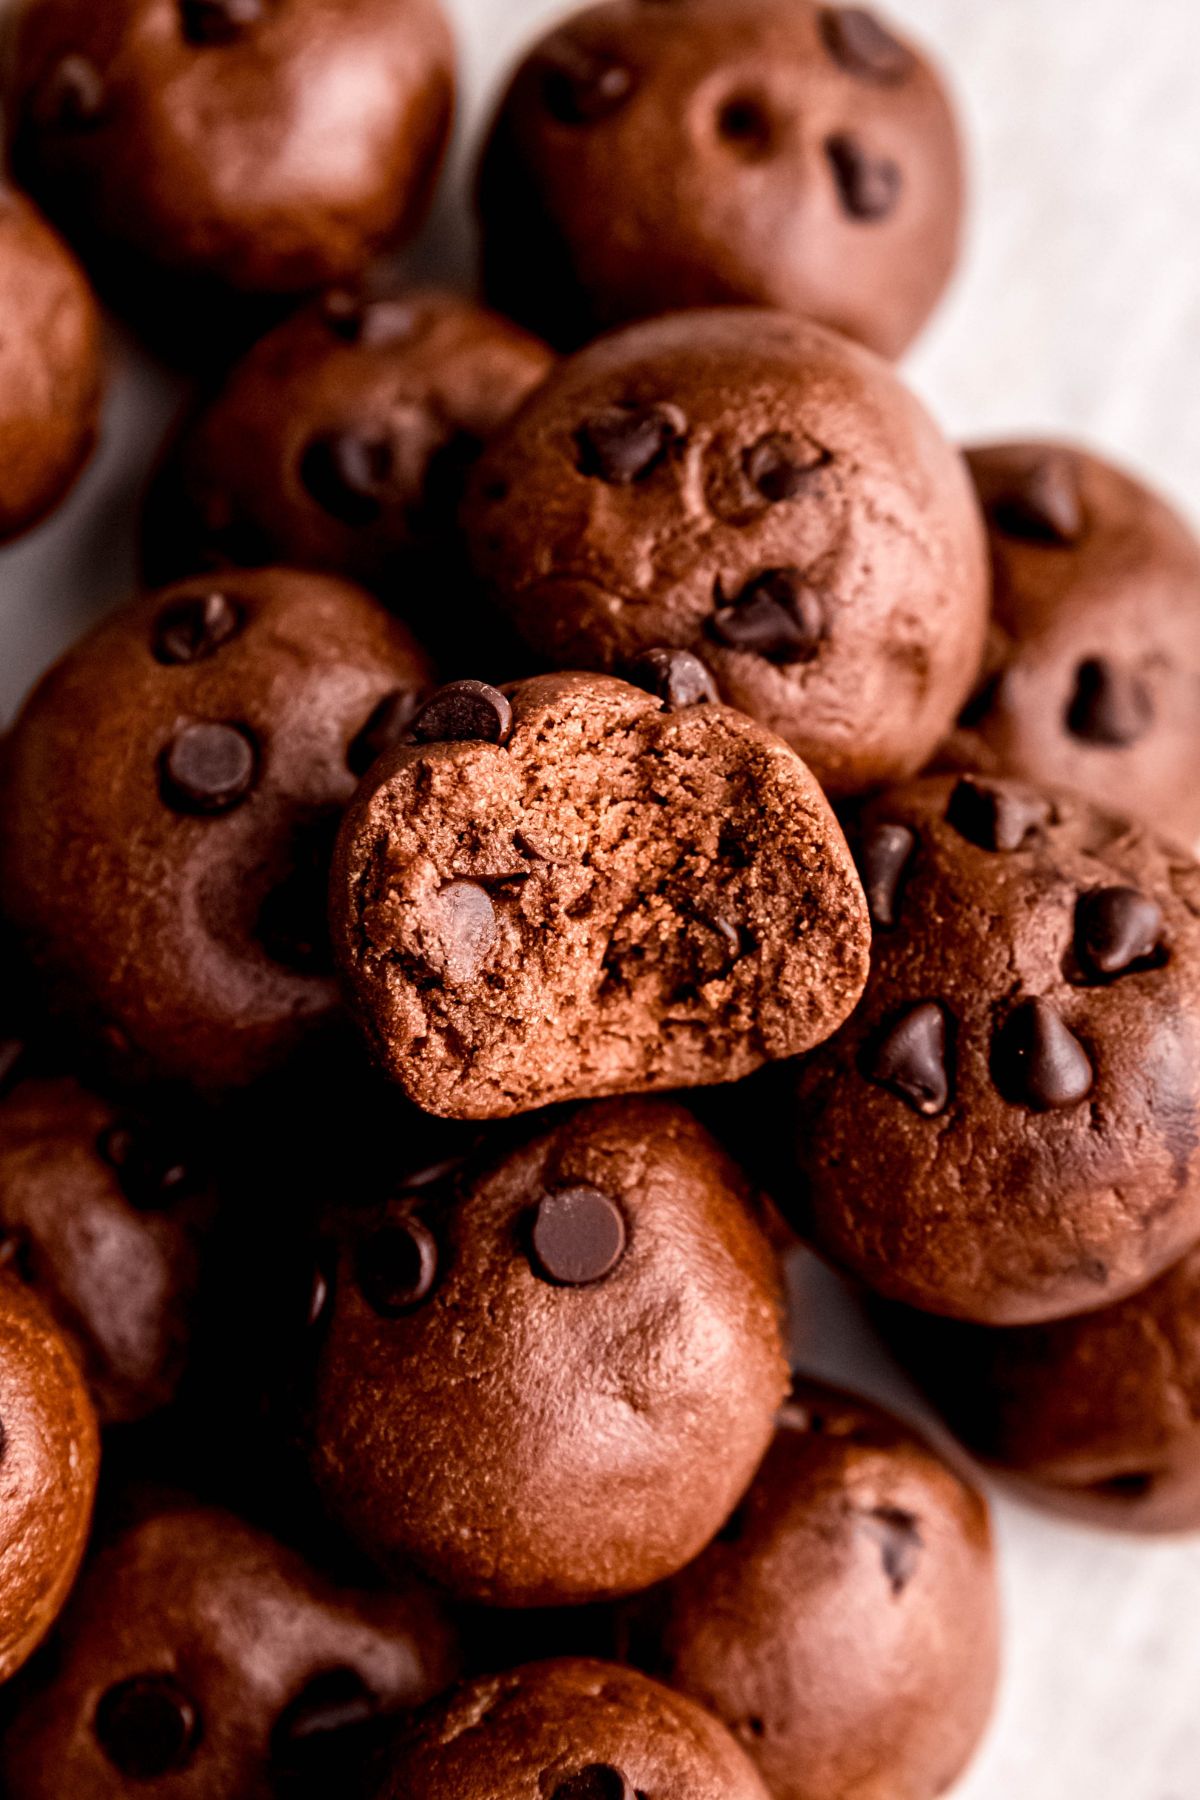
These chocolate protein balls taste like a cross between brownie batter and a fudgy peanut butter truffle. The creamy nut butter gives them a smooth, melt-in-your-mouth texture, while the chocolate protein powder and cocoa powder add a deep, cocoa-rich flavor that feels decadent without being overly sweet.
A touch of maple syrup rounds everything out with natural caramelly sweetness, while the vanilla and cinnamon add warm, cozy notes. The mini chocolate chips bring bursts of melty chocolate throughout, helping create a convincing dessert-like vibe. A tiny touch of salt balances the sweetness and amplifies the peanut butter cup richness.
Overall, they’re rich, fudgy, salty-sweet, and deeply chocolatey—perfect for satisfying a sweet craving and getting a little protein boost at the same time.
Why You’ll Love This No Bake Protein Balls Recipe
- Budget-Friendly – While protein snacks are currently in their heyday, most of them carry a hefty price tag. (Spending upwards of $2 for a protein bar is “normal,” but I still can’t wrap my head around it!) But, at just 31 cents a ball, these sweet treats are easy to fit into most any budget.
- Grain-Free – Most homemade protein balls include oats or some kind of grain, which isn’t a bad thing—unless you can’t eat grains. Luckily, I found the perfect combination of grain-free ingredients to hold them together while simultaneously making them extra creamy.
- Quick & Easy – Making these healthy protein balls is a snap. You’ll be done in just 15 minutes!
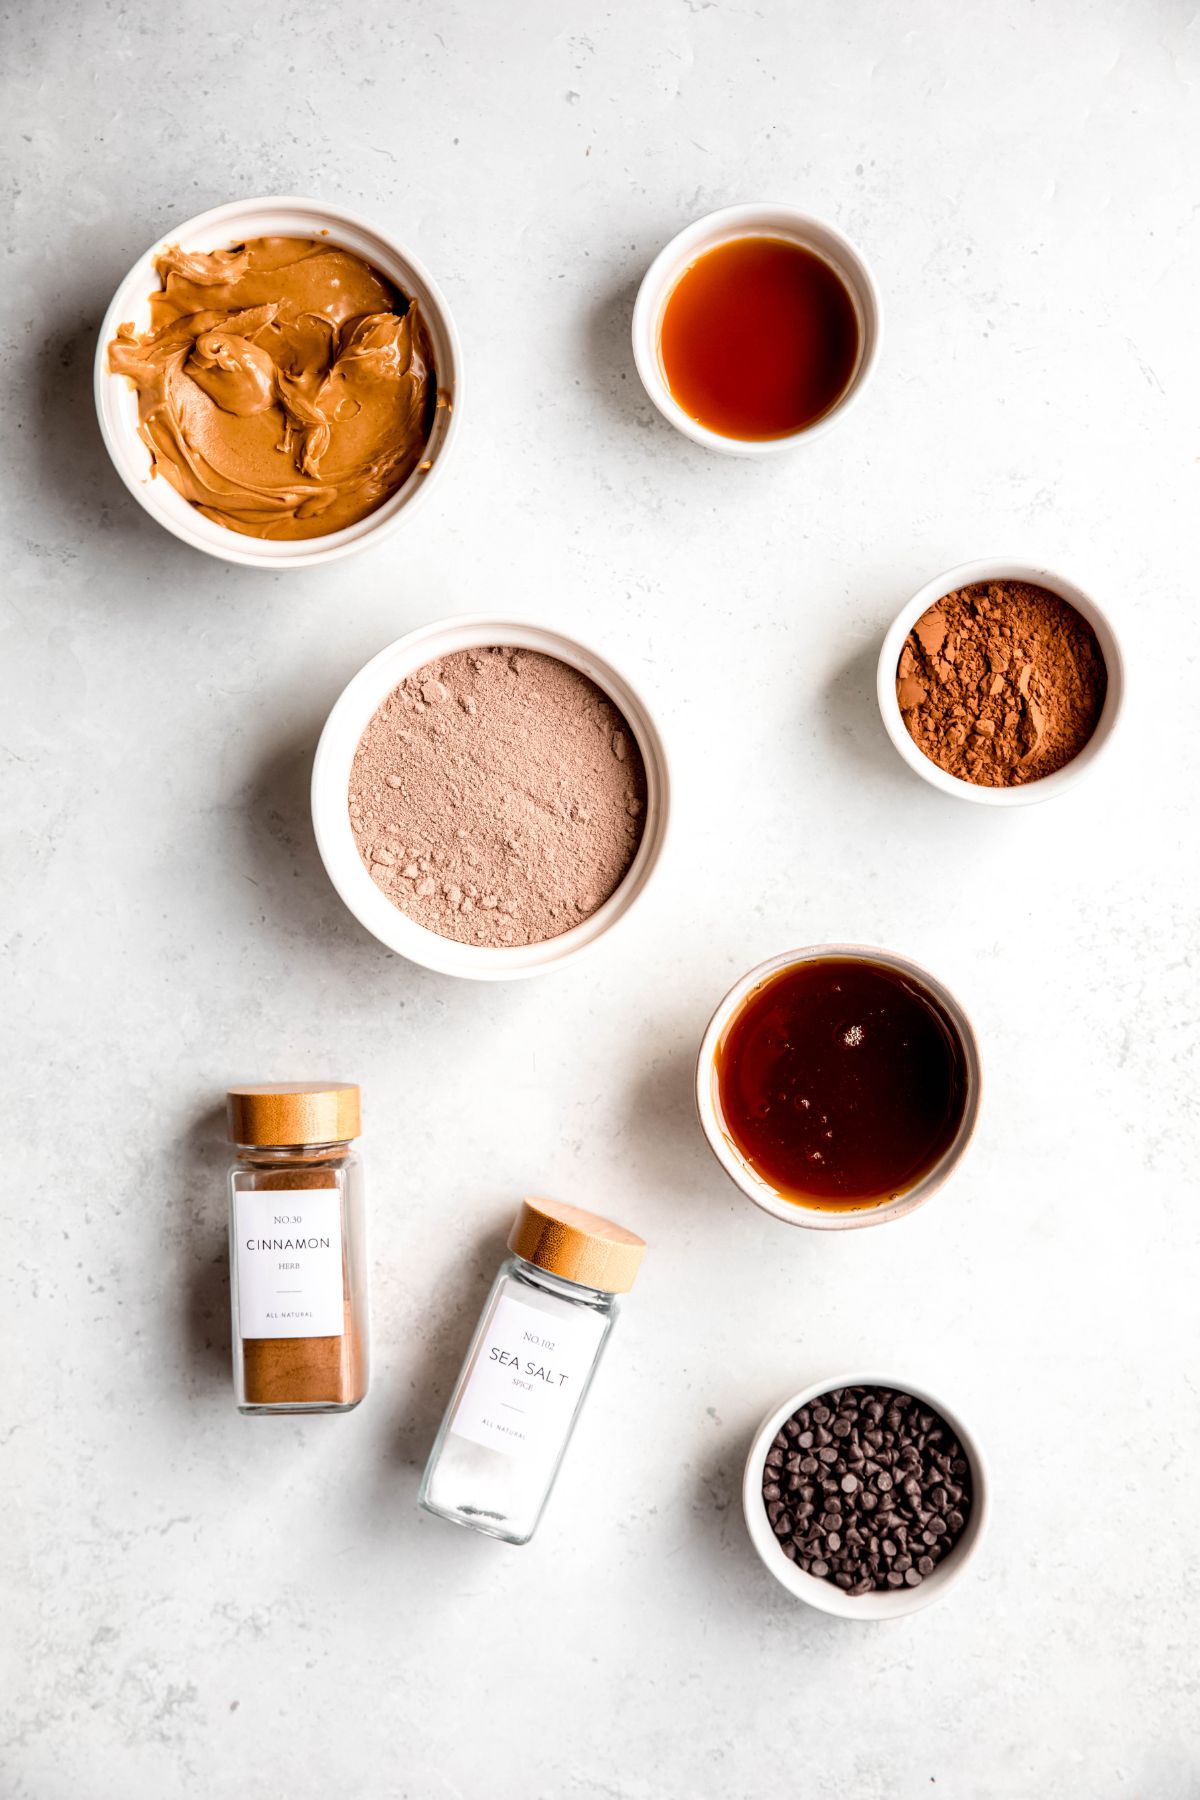
Ingredients Needed
- Creamy Peanut Butter – Try to reach for all-natural peanut butter made with just peanuts and salt for the most nutritious bite.
- Chocolate Protein Powder – Make sure you’re using a high-quality brand that you enjoy. If it tastes chalky as a smoothie, it’ll taste chalky here!
- Pure Maple Syrup – This less-processed, lower-glycemic liquid sweetener doubles as a binder and flavor booster. Don’t be fooled by “pancake syrup,” though. It’s usually nothing more than flavored and colored corn syrup!
- Mini Chocolate Chips – Because the only thing better than chocolate protein balls are double chocolate protein balls.
- Unsweetened Cocoa Powder – If possible, reach for Dutch-process cocoa powder, which has a smoother, chocolatier, less acidic flavor than conventional.
- Vanilla Extract & Ground Cinnamon – This warming, aromatic duo makes our energy balls taste extra sweet without any extra sugar.
- Salt – Just a hint helps draw out the flavors of the chocolate and peanut butter so you get more of a Reese’s vibe.
Substitutions
- Creamy Peanut Butter – Feel free to swap in other nut or seed butters if desired. Just note that the protein content will be a bit lower if you do.
- Pure Maple Syrup – Other less-refined liquid sweeteners like date syrup, honey, or agave nectar work just as well.
- Mini Chocolate Chips – You’re welcome to use other mix-ins like mini M&Ms or chopped toasted nuts if you prefer.
- Vanilla Extract – An equal amount of vanilla paste or powder will also do the trick.
How To Make Chocolate Protein Balls
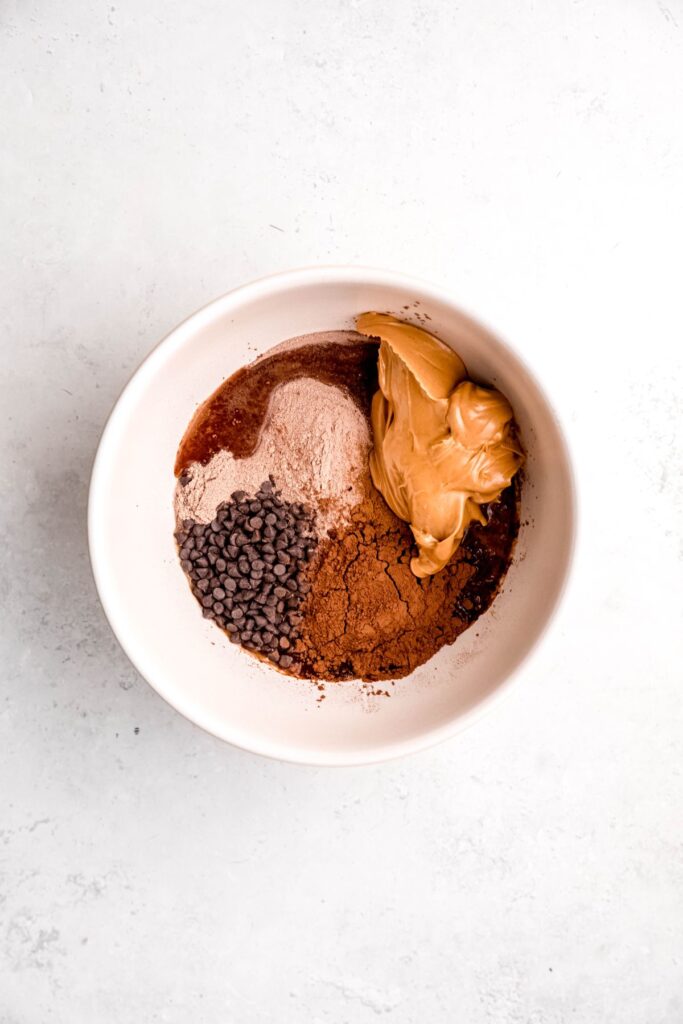
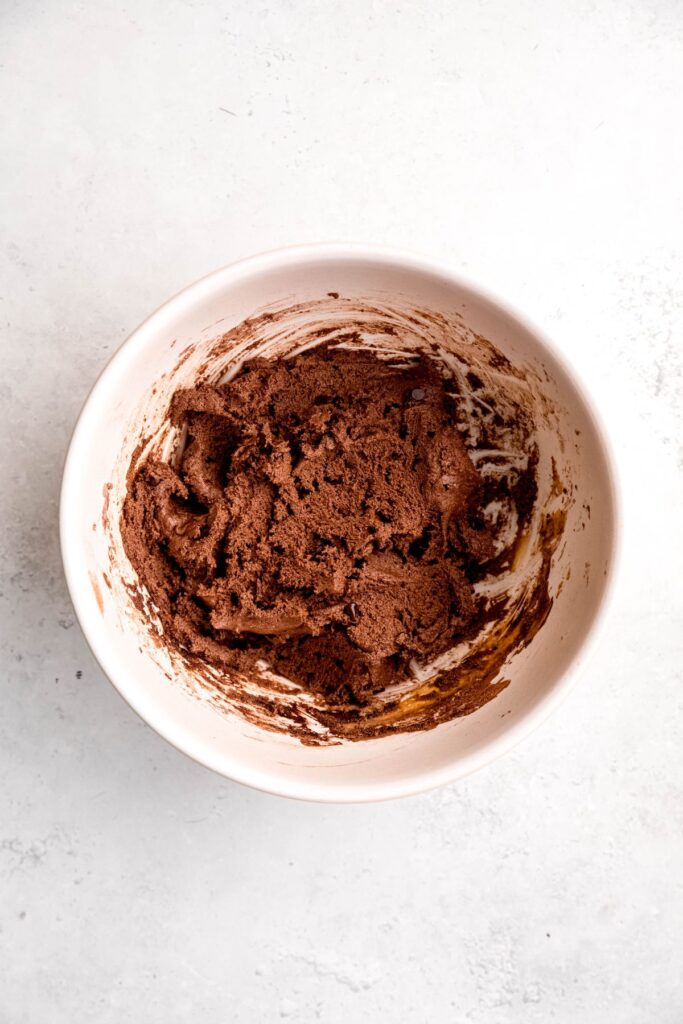
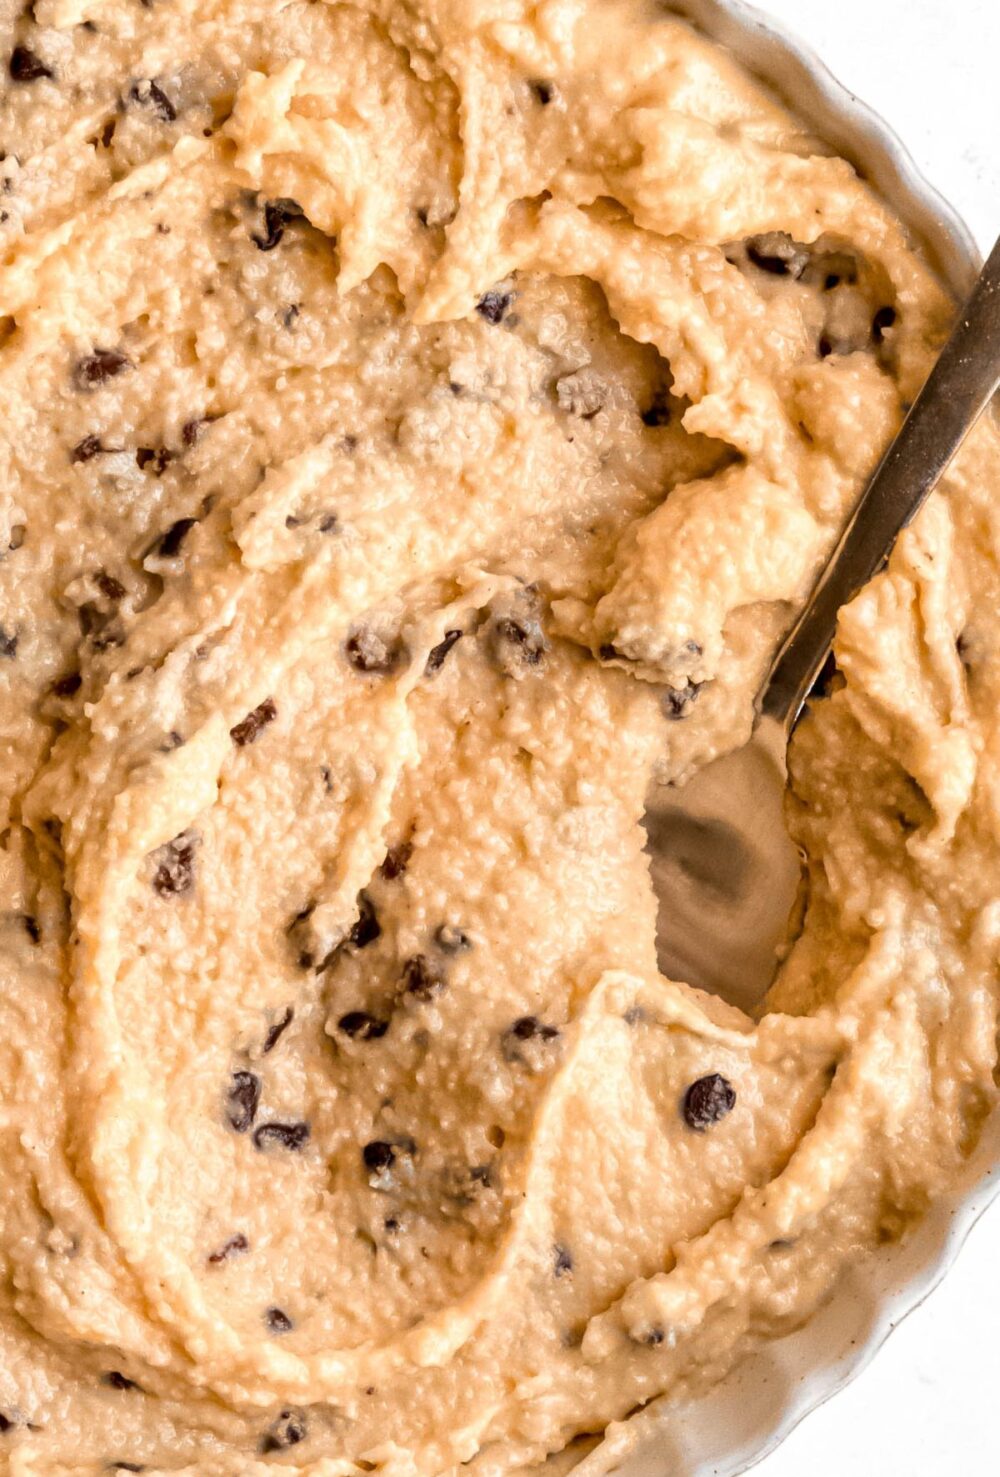
Step 1: Mix. Stir everything together in a large bowl until the mixture forms a cohesive, fudgy dough. If it feels too dry, add a teaspoon or two of water until it comes together.
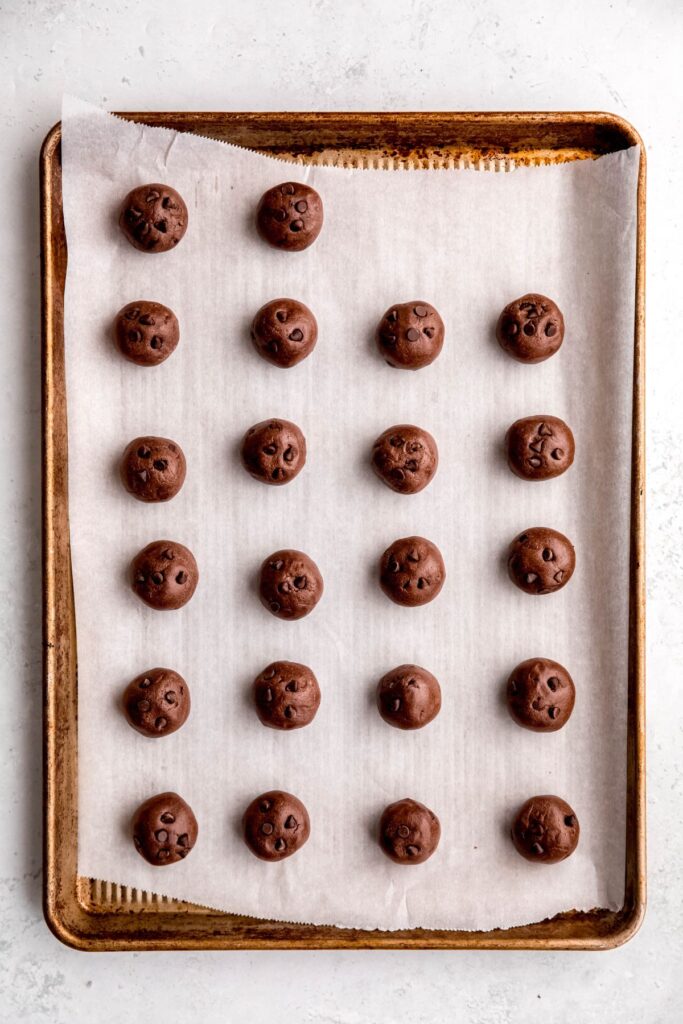
Step 2: Shape. Roll the dough into 18 evenly sized balls using your hands or a small cookie scoop.
Step 3: Chill. Refrigerate the protein balls for about 1 hour, or until they’re firm enough to hold their shape. Transfer to an airtight container and store in the fridge to enjoy whenever you have a chocolate craving!
Optional Variations & Dietary Adjustments
- Lower Sugar: Use sugar-free chocolate chips or omit them in favor of cocoa nibs.
- Dairy-Free/Vegan: Choose a dairy-free chocolate protein powder and use dairy-free mini chocolate chips for a vegan treat.
- Nut-Free: Swap peanut butter for sunflower seed butter or tahini. If using tahini, you may want an extra teaspoon of maple syrup to balance its earthier flavor.
- Mocha Version: Stir in 1 teaspoon instant espresso powder to turn these into rich mocha protein balls—perfect for coffee lovers.
- Almond Joy-Inspired: Swap the peanut butter for almond butter and add a tablespoon or two of shredded coconut for a nutty, chocolate-coconut twist.
- Mexican Chocolate Version: Increase the cinnamon and add a pinch of cayenne or chili powder for a Mexican hot chocolate flavor.
Serving Suggestions
- Quick Chocolate Fix: Enjoy one or two straight from the fridge whenever a chocolate craving strikes. They’re rich, fudgy, and satisfying without ruining your diet goals.
- Pre- or Post-Workout Snack: Pair a chocolate protein ball with a banana or a small yogurt for a balanced boost of carbs, protein, and healthy fats around your workout.
- Smarter Dessert: Pair them with fresh berries, a dollop of vanilla Greek yogurt, and a drizzle of melted chocolate for a healthier twist on an ice cream sundae.
- With a Warm Drink: These protein balls are especially good alongside a mug of dark hot chocolate, raspberry mocha latte, or London fog—the warmth makes the chocolate chips extra melty.
Recipe Success Tips
- Adjust moisture based on your protein powder. Chocolate protein powders vary widely in how much liquid they absorb. If the dough feels crumbly, add water (or a splash of milk) a teaspoon at a time. If it’s too sticky, mix in a bit more cocoa powder or protein powder.
- For the fudgiest texture, use creamy peanut butter. Natural, drippy peanut butter works best—its smooth consistency helps create that brownie-batter feel. If your peanut butter is thick, warm it slightly to make mixing easier.
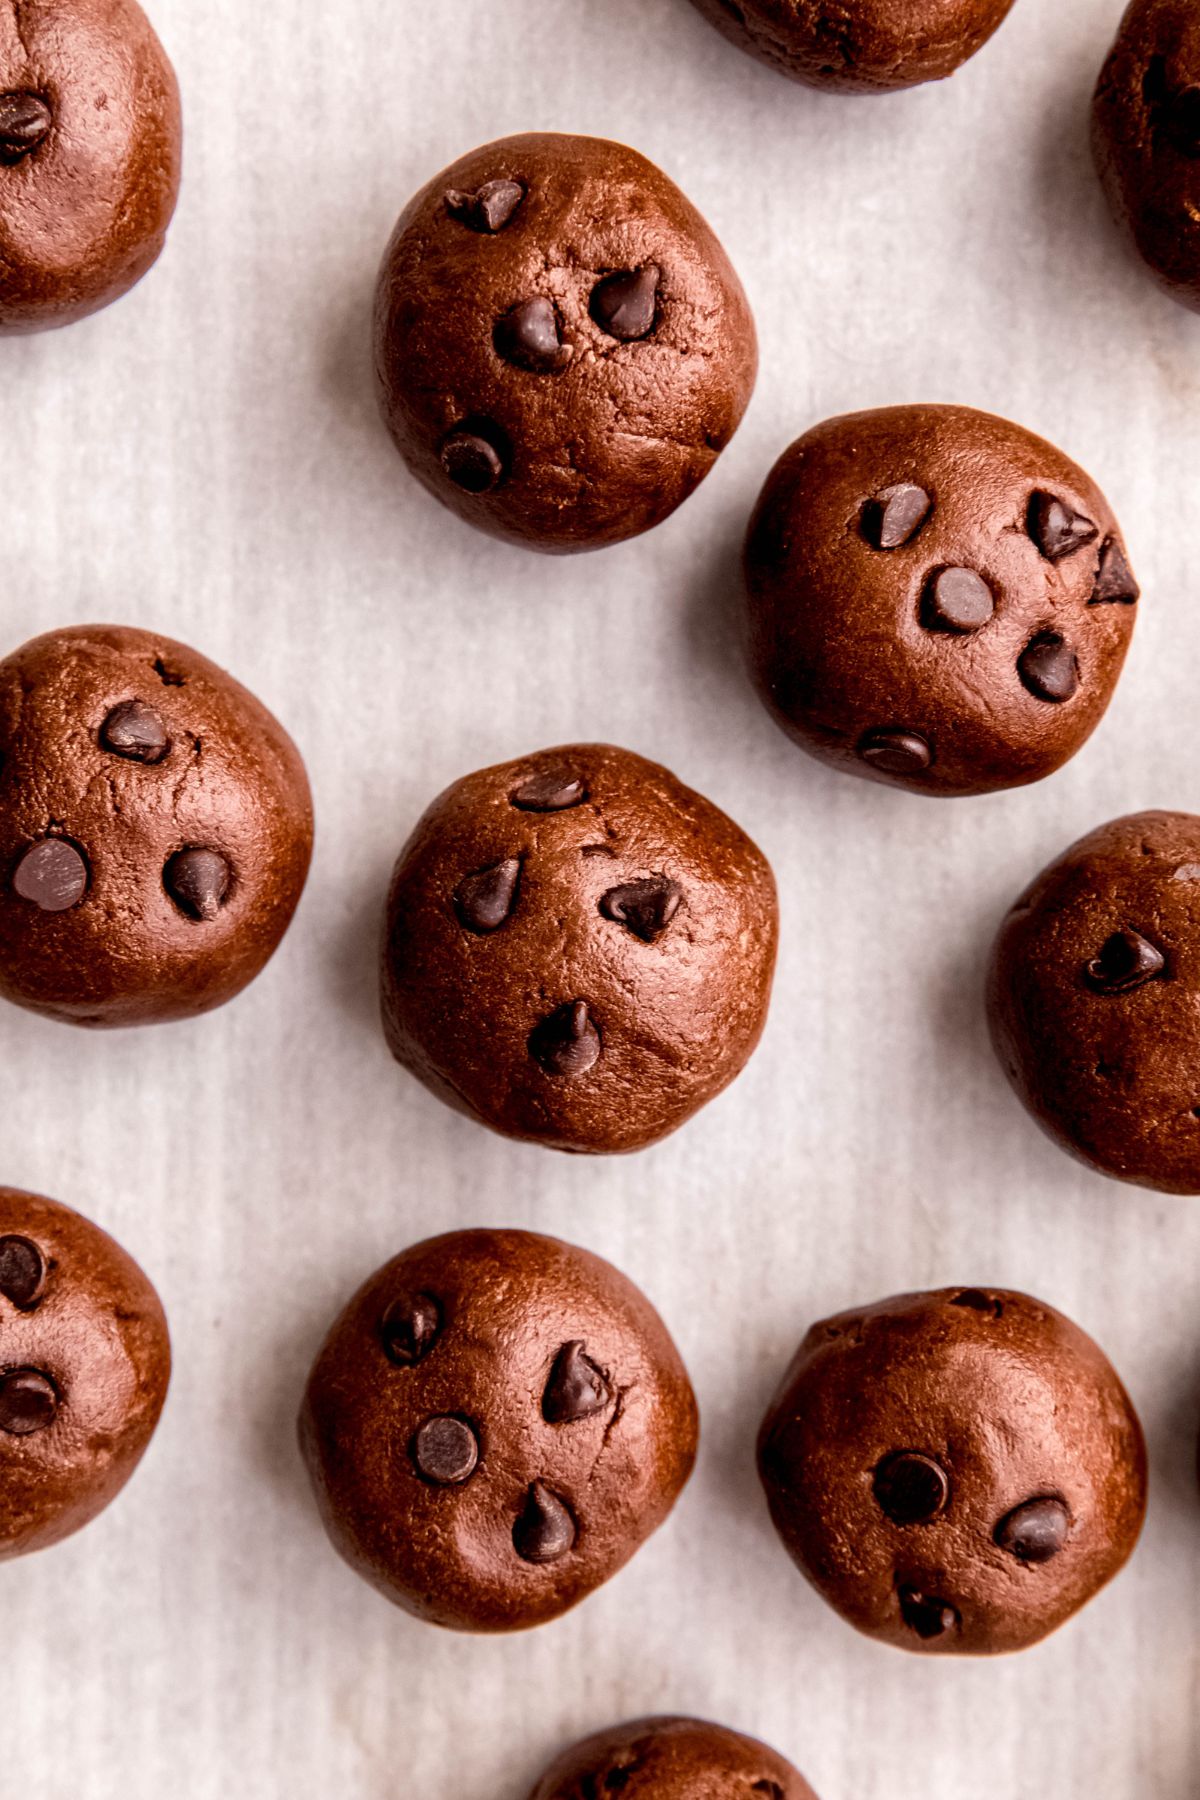
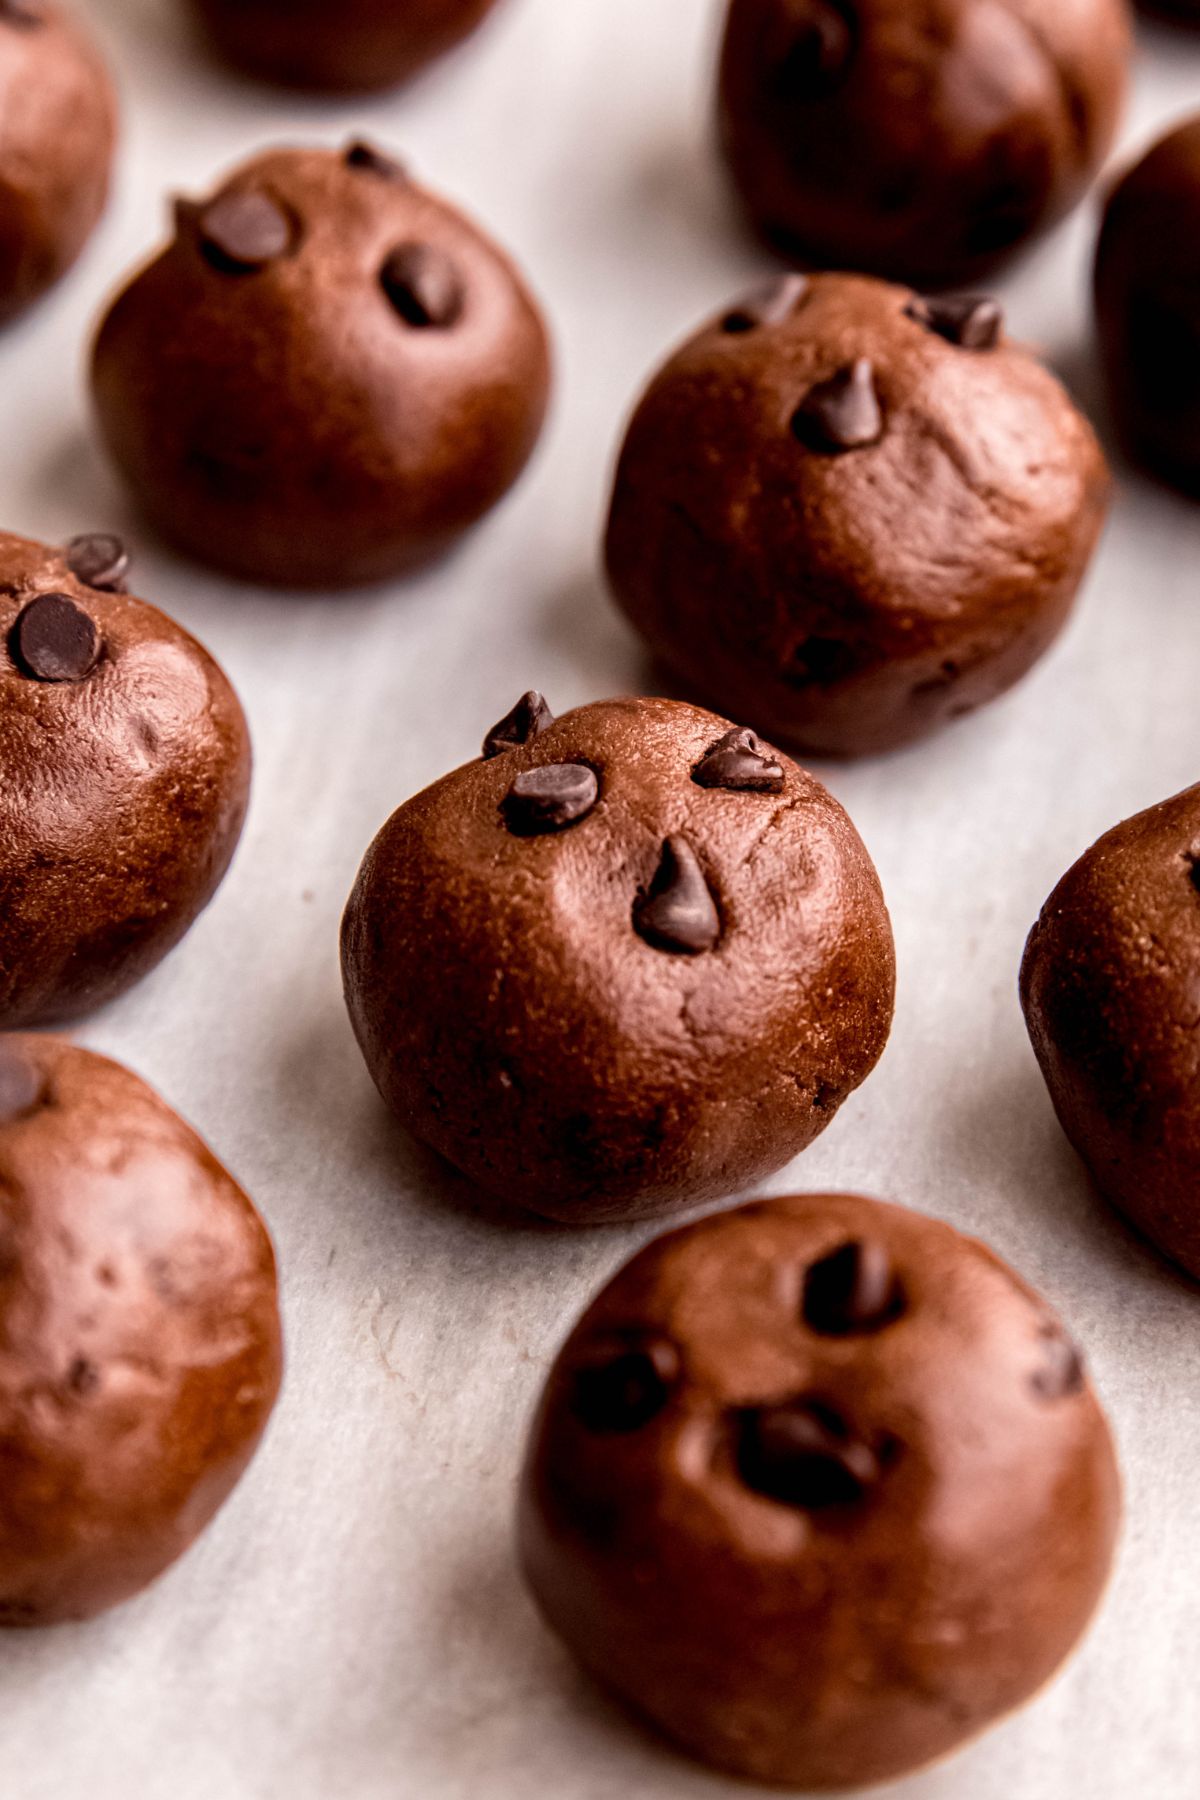
- Press the chocolate chips into the dough. Mini chocolate chips can fall out while rolling. Give each portion a firm squeeze before shaping into a ball to help them stick.
- Use a cookie scoop for consistency. A small scoop keeps each protein ball the same size, making portioning easier and ensuring consistent macros per ball.
- Add cinnamon strategically. A pinch goes a long way—cinnamon enhances the chocolate flavor without overpowering it. Start small and adjust to taste.
Storage Directions
- Refrigeration – Store the chocolate protein balls in an airtight container in the fridge for up to 1 week. They’ll become firmer and fudgier as they chill, which gives them the best texture. If stacking, place a piece of parchment between layers to prevent sticking.
- Freezing – Arrange the protein balls on a baking sheet and freeze until solid, about 1 hour. Transfer to a freezer-safe bag or container and freeze for up to 3 months. Thaw in the fridge for a few hours, or enjoy straight from the freezer for a firmer bite.
Flourless Chocolate Protein Ball Nutrition
Each chocolate protein ball comes in at 119 calories, making it a compact, nutrient-dense snack that’s easy to fit into a balanced eating pattern. With 10 grams of carbohydrates, they provide a quick source of energy—just enough to power you through an afternoon slump or serve as a light pre-workout bite.
The 6 grams of protein per ball come primarily from the chocolate protein powder and peanut butter, giving you a satisfying boost that supports muscle recovery and helps keep hunger in check. Paired with the 7 grams of healthy fats, this combination creates a steady, slow-release energy profile that prevents the rapid blood sugar spikes you’d get from other chocolate treats.
Each ball also offers 2 grams of fiber, thanks to the cocoa powder and natural nut butter, which adds to the overall satiety and digestive benefits. While 2 grams may seem small, it’s a meaningful amount in a single bite-sized snack.
With just 41 mg of sodium, these protein balls are naturally low in salt, making them a heart-friendly option whether you’re grabbing one for dessert or adding it to a snack plate. And because the recipe relies on whole-food ingredients like peanut butter, cocoa, and maple syrup, you also get beneficial antioxidants and micronutrients tucked into every fudgy bite!
Total nutritional content per protein ball is:
- Calories: 119 calories
- Carbohydrates: 10 grams
- Protein: 6 grams
- Total Fat: 7 grams
- Sodium: 41 mg
- Fiber: 2 grams
*This nutritional information is an estimate and calculated based on the ingredients used to create the recipe. The nutritional value of your ingredients may differ slightly. Furthermore, this food is not intended to prevent, diagnose, cure, or treat any disease.
Pricing Info
This is what I personally paid to make this recipe:
- 1 cup creamy peanut butter: $1.55
- 1 cup chocolate protein powder: $3.99
- ½ cup pure maple syrup: $1.04
- ⅓ cup mini chocolate chips: $0.52
- ¼ cup unsweetened cocoa powder: $0.28
- 2 tsp vanilla extract: $0.08
- 1 tsp ground cinnamon: $0.03
- ¼ tsp salt: $0.01
The total comes out to be around $7.50 or roughly $0.31 per protein ball!
FAQs
These chocolate chocolate chip protein balls are held together by creamy peanut butter, which provides the stickiness and fat needed to bind the dry ingredients, and maple syrup, which adds moisture to create a smooth, fudgy texture. The cocoa powder and protein powder also help thicken the mixture so it holds its shape once chilled.
Most people do well with 1-2 protein balls per day, depending on their calorie and protein needs. They’re nutrient-dense, so a small serving is usually enough to satisfy hunger or a chocolate craving without overdoing it.
The healthiest protein snack is one that combines real ingredients with a mix of lean protein, healthy fats, and fiber—think Greek yogurt with berries, hummus with veggies, hard-boiled eggs with toast, cottage cheese with tomatoes, or balanced no-bake snacks like these homemade chocolate protein balls. These options keep you full longer, support muscle recovery, and provide steady energy without highly processed ingredients.
Other High Protein Recipes

Tried this recipe? Please leave a ⭐⭐⭐⭐⭐ rating in the comments below! I would really appreciate your feedback!
Recipe

Flourless Chocolate Protein Balls
Equipment
- 1 1.5-inch cookie scoop
Ingredients
- 1 cup creamy peanut butter or other nut/seed butter
- 1 cup chocolate protein powder
- ½ cup pure maple syrup
- ⅓ cup mini chocolate chips
- ¼ cup unsweetened cocoa powder
- 2 tsp vanilla extract
- 1 tsp ground cinnamon
- ¼ tsp salt
Instructions
- Add all ingredients to a large mixing bowl and stir until well combined and a uniform dough forms.
- Using the 1.5 inch cooke scoop, form the dough into 24 equal protein balls. Place them in a single layer on a baking sheet or large plate.
- Cover and refrigerate for 1 hour, then serve! Store in the fridge for up to 7 days or freeze up to 3 months.
Nutrition
If you end up making this and loving it, take a photo and tag me on Instagram! I’d love to see your versions of my recipes! And feel free to rate it down below in the comment section. I would really appreciate it!
xoxo Megan
Leave a Reply