

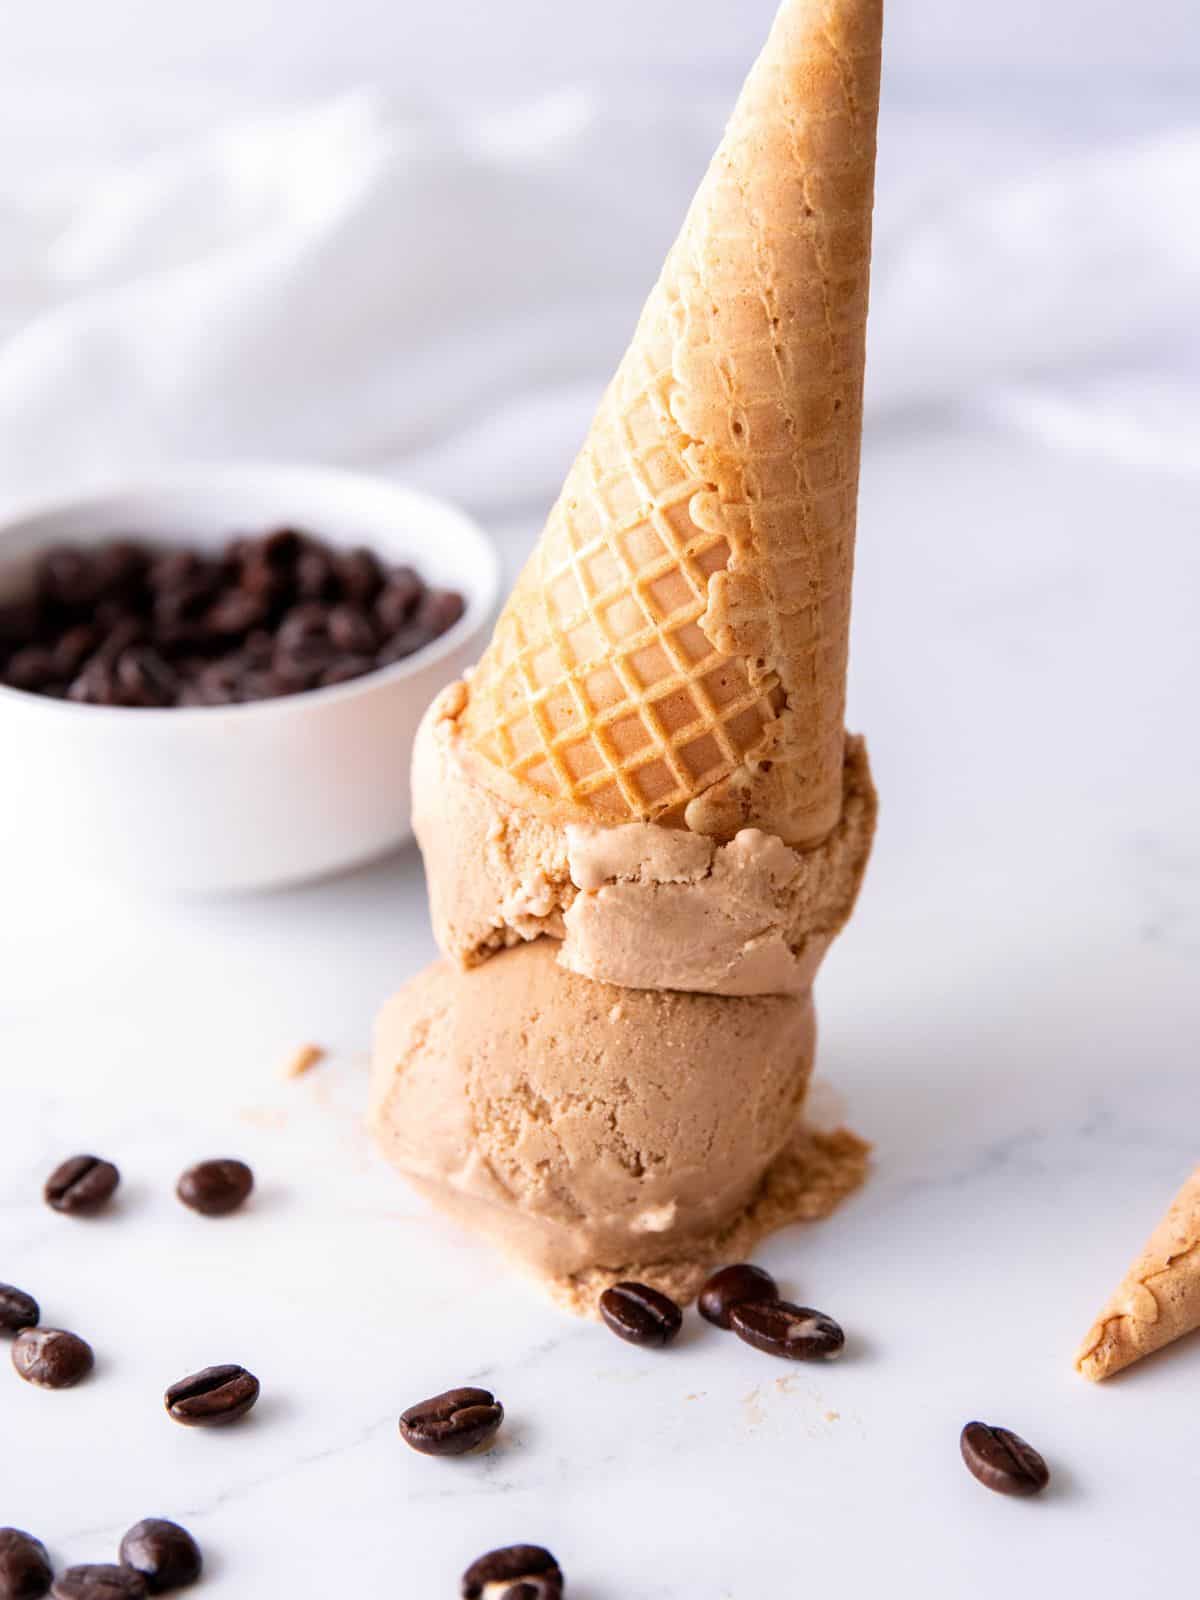
Cold, caffeinated, and delightfully refreshing, my Homemade Coffee Ice Cream recipe is a snap to make. Using just 5 ingredients and only 5 minutes of active time, this frosty treat is well within your reach. Better yet, it’s also dairy-free, egg-free, and refined sugar-free, so you can have that second scoop without any guilt.
When it comes to summer treats, ice cream always takes the proverbial cake. It’s cool, creamy, sweet, and lickable, and it’s beloved by adults and kids alike. Unfortunately, many of the commercially available brands are loaded up with HFCS, artificial flavorings, colorings, and stabilizers that make the ingredient list look a mile long!
Luckily for you, I’ve discovered the secret to making a perfectly sumptuous scoop using just 5 real (read: pronounceable) ingredients, without any complicated tempering or pastry chef-level techniques. I promise, this super simple recipe for coffee ice cream is easy enough for even a kitchen novice to make!
Best of all, it’s super allergy-friendly — it’s free of soy, dairy, eggs, gluten, refined sugar, and nuts — meaning just about anybody can join in on the frosty fun. Plus, once you learn the basic technique to making this ice cream base, a whole world of flavor possibilities awaits you.
Jump to:
What does it taste like?
When it comes to ice cream, coffee is always in my top 3 flavors. I mean, what busy mama doesn’t crave java at every turn? If it’s sweet, scoopable, and best served on a waffle cone, well, all the better.
This particular coffee-flavored ice cream tastes like a coconut milk latte from a coffee shop, lightly sweetened and topped with a sprinkling of cinnamon for warmth. The delicate undercurrent of vanilla seals in the dessert vibes for a perfect after-dinner treat.
Ingredients
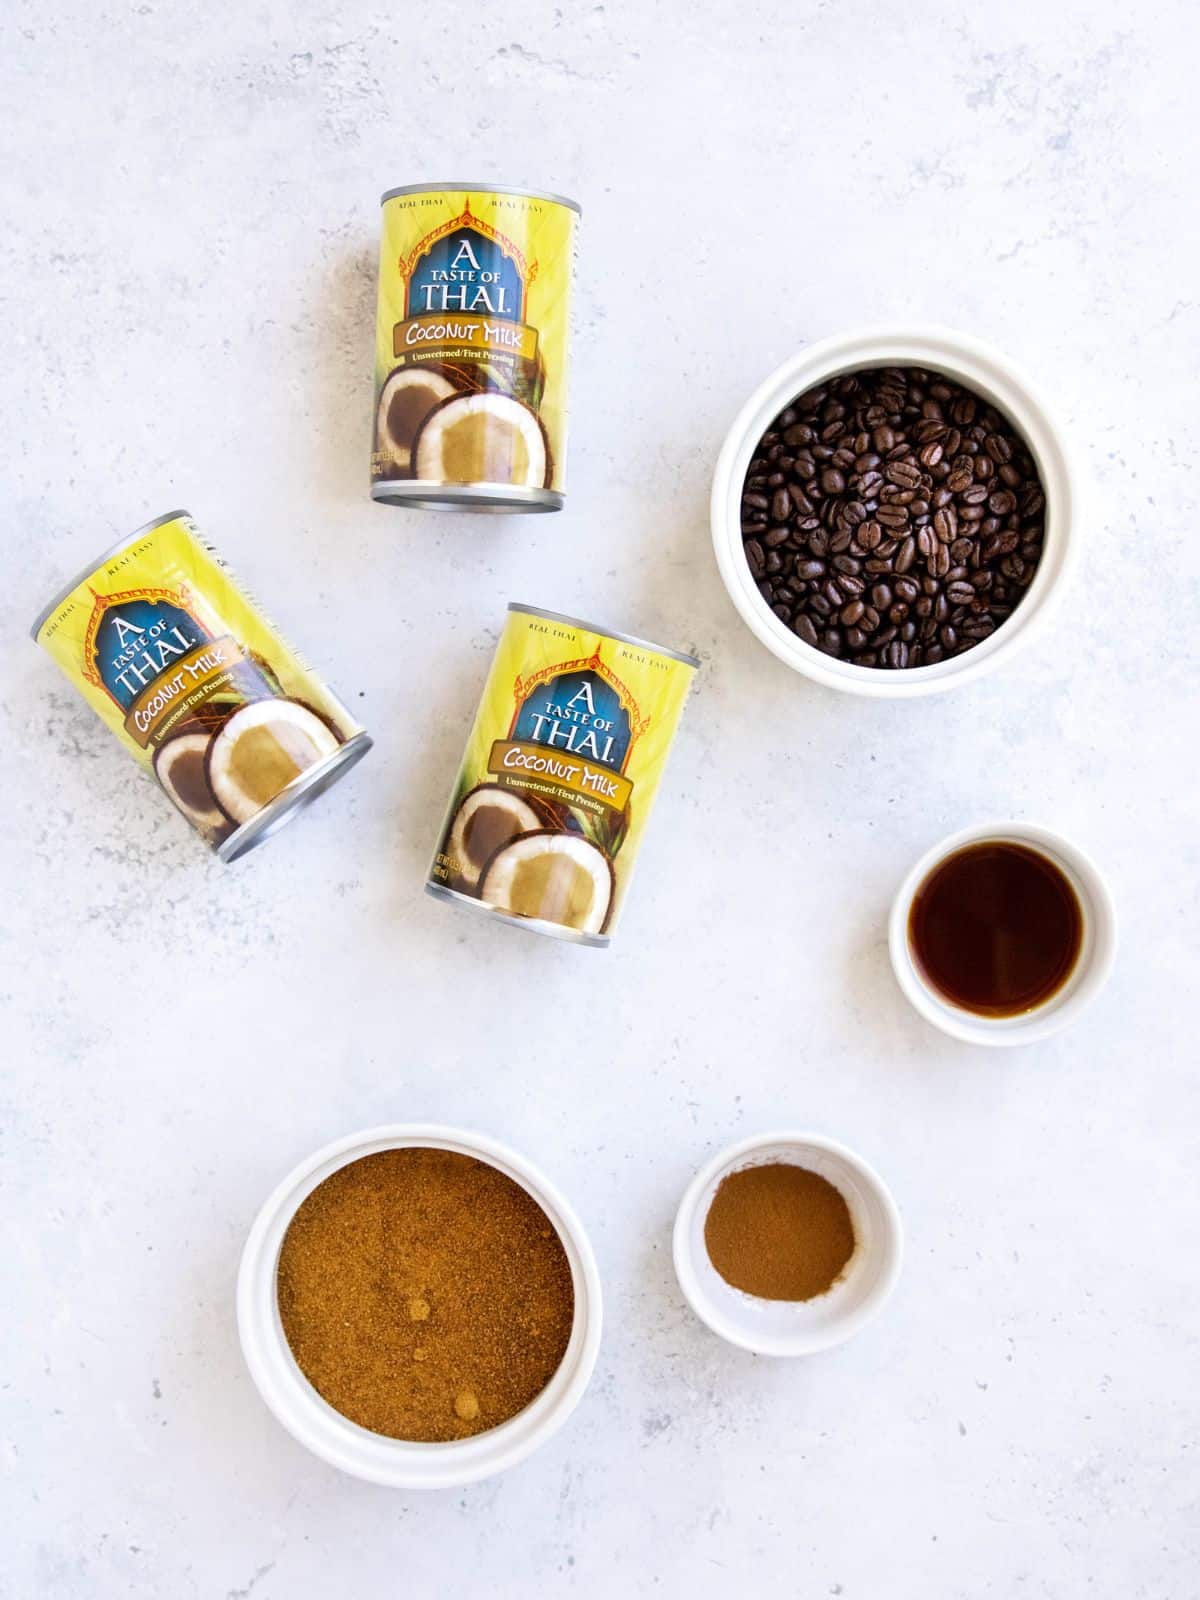
As promised, you only need 5 easy-to-find ingredients for this tasty homemade ice cream recipe. Here’s your shopping list
- Canned Full Fat Coconut Milk – Not all canned coconut milk is created equal. My favorites are A Taste of Thai and Thai Kitchen brands. No matter which one you choose, make sure you’re opting for full fat, not “lite.”
- Coconut Sugar – This plant-based sweetener has a bit of inulin fiber in it, which means it’s less likely to cause blood sugar spikes.
- Whole Coffee Beans – Use your favorite: caffeinated or decaf, flavored or plain, light, medium, or dark roast. If you only have coffee grounds on hand, you can fashion a giant teabag of sorts by using cheesecloth; simply steep the grounds, then press out the liquid and continue with the recipe as written.
- Vanilla Extract – For depth of flavor and warmth.
- Cinnamon – I always sprinkle a little cinnamon on my lattes, so this seemed like a natural addition. If you only have stick cinnamon, make sure to add about 1 1/2 inches of it to steep alongside the coffee beans.
Substitutions
Since everyone has their own preferences and dietary needs, I always like to make sure you have plenty of choices. These are Oregon Dietitian-approved swaps for this homemade coffee ice cream recipe:
- Coconut Milk – If coconut is off the table, try using canned evaporated milk instead.
- Coconut Sugar – Feel free to swap in another unrefined sugar like demerara sugar, turbinado sugar, grated jaggery or piloncillo (available at international markets). You can also use regular brown sugar if you prefer.
- Whole Coffee Beans – If caffeine is a worry and you’re not a fan of decaf beans, try swapping in roasted chicory instead. It has some of the same flavor profiles as coffee without any caffeine whatsoever! You can also use instant coffee or espresso granules (regular or decaf) to dissolve into the milk if you don’t have fresh coffee on hand. Alternatively, consider using about 12-15 of your favorite tea bags for a tea-flavored ice cream instead.
- Vanilla Extract – You can also use vanilla powder, vanilla paste, or, if you’re feeling fancy, a real vanilla bean.
- Cinnamon – Feel free to swap in a pinch of nutmeg or an equal amount of cocoa powder or hawaj coffee spice, depending on what you normally sprinkle on your lattes. You can also omit it if you prefer more of a straightforward coffee flavor.
How To Make Coffee Ice Cream
Making coffee ice cream with no eggs is a super simple task. Here’s how it’s done:
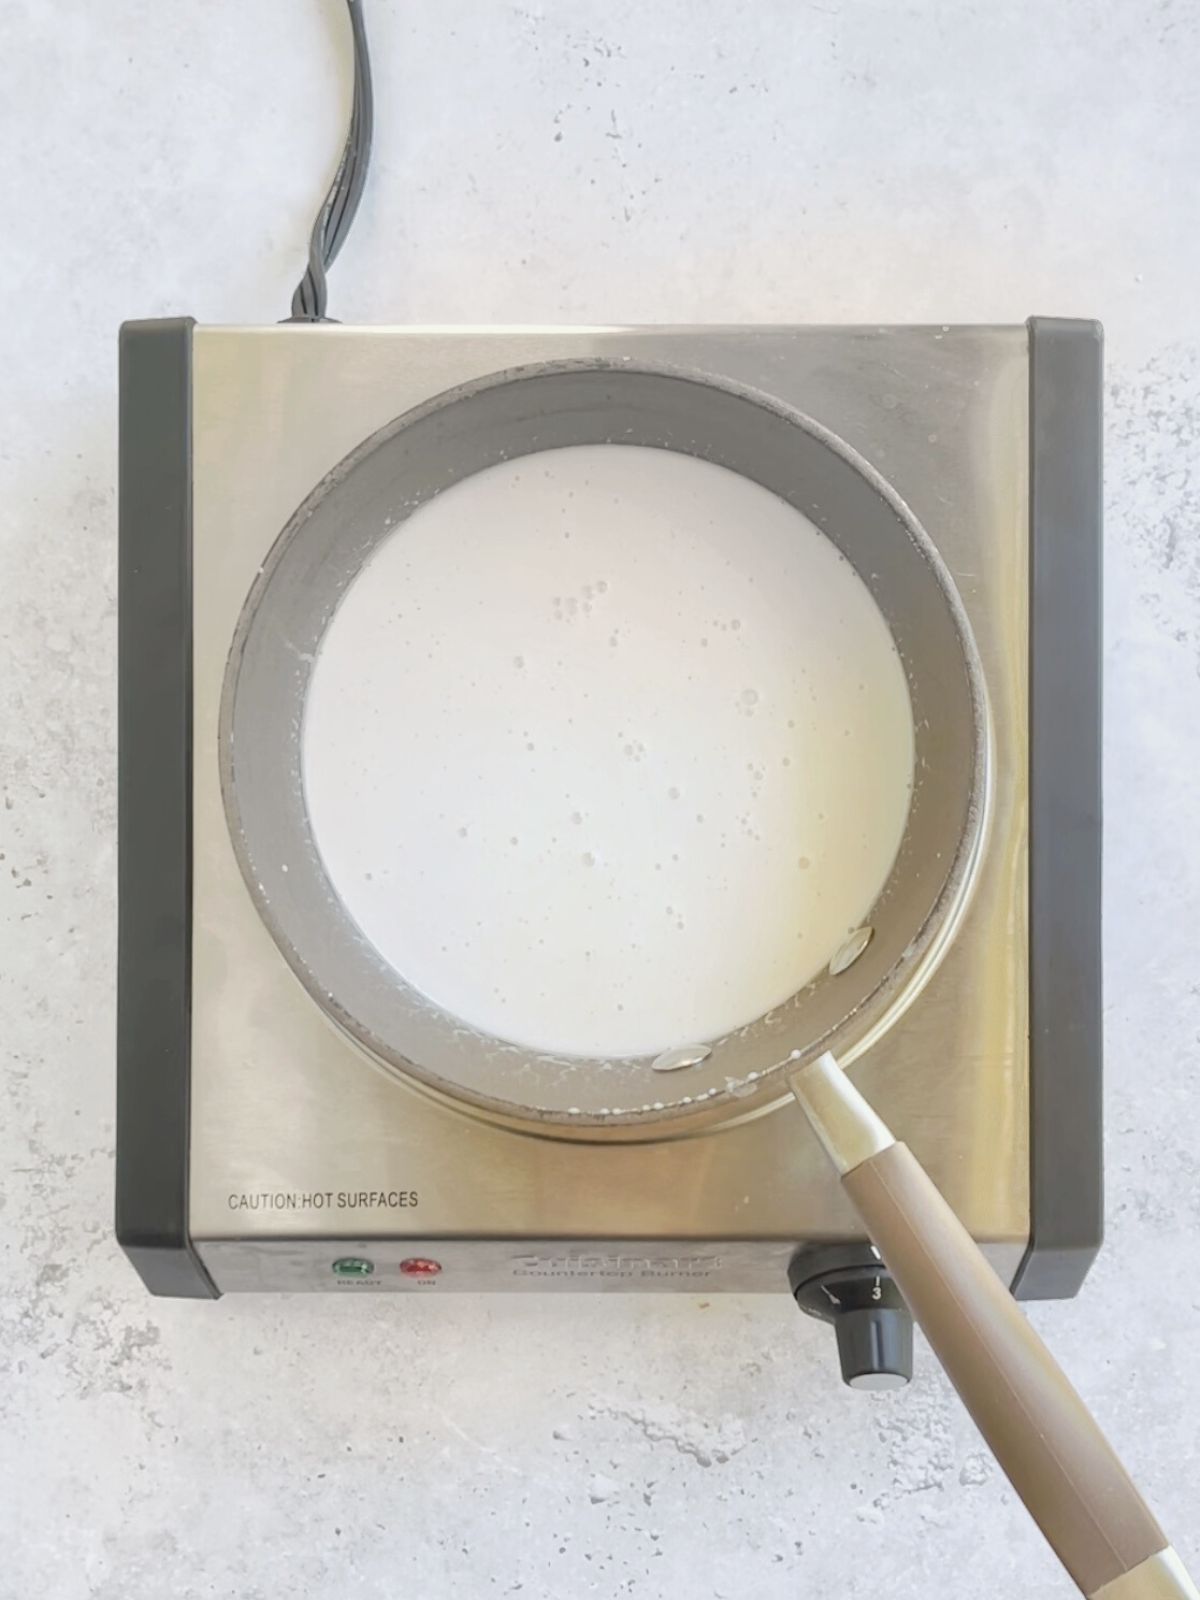
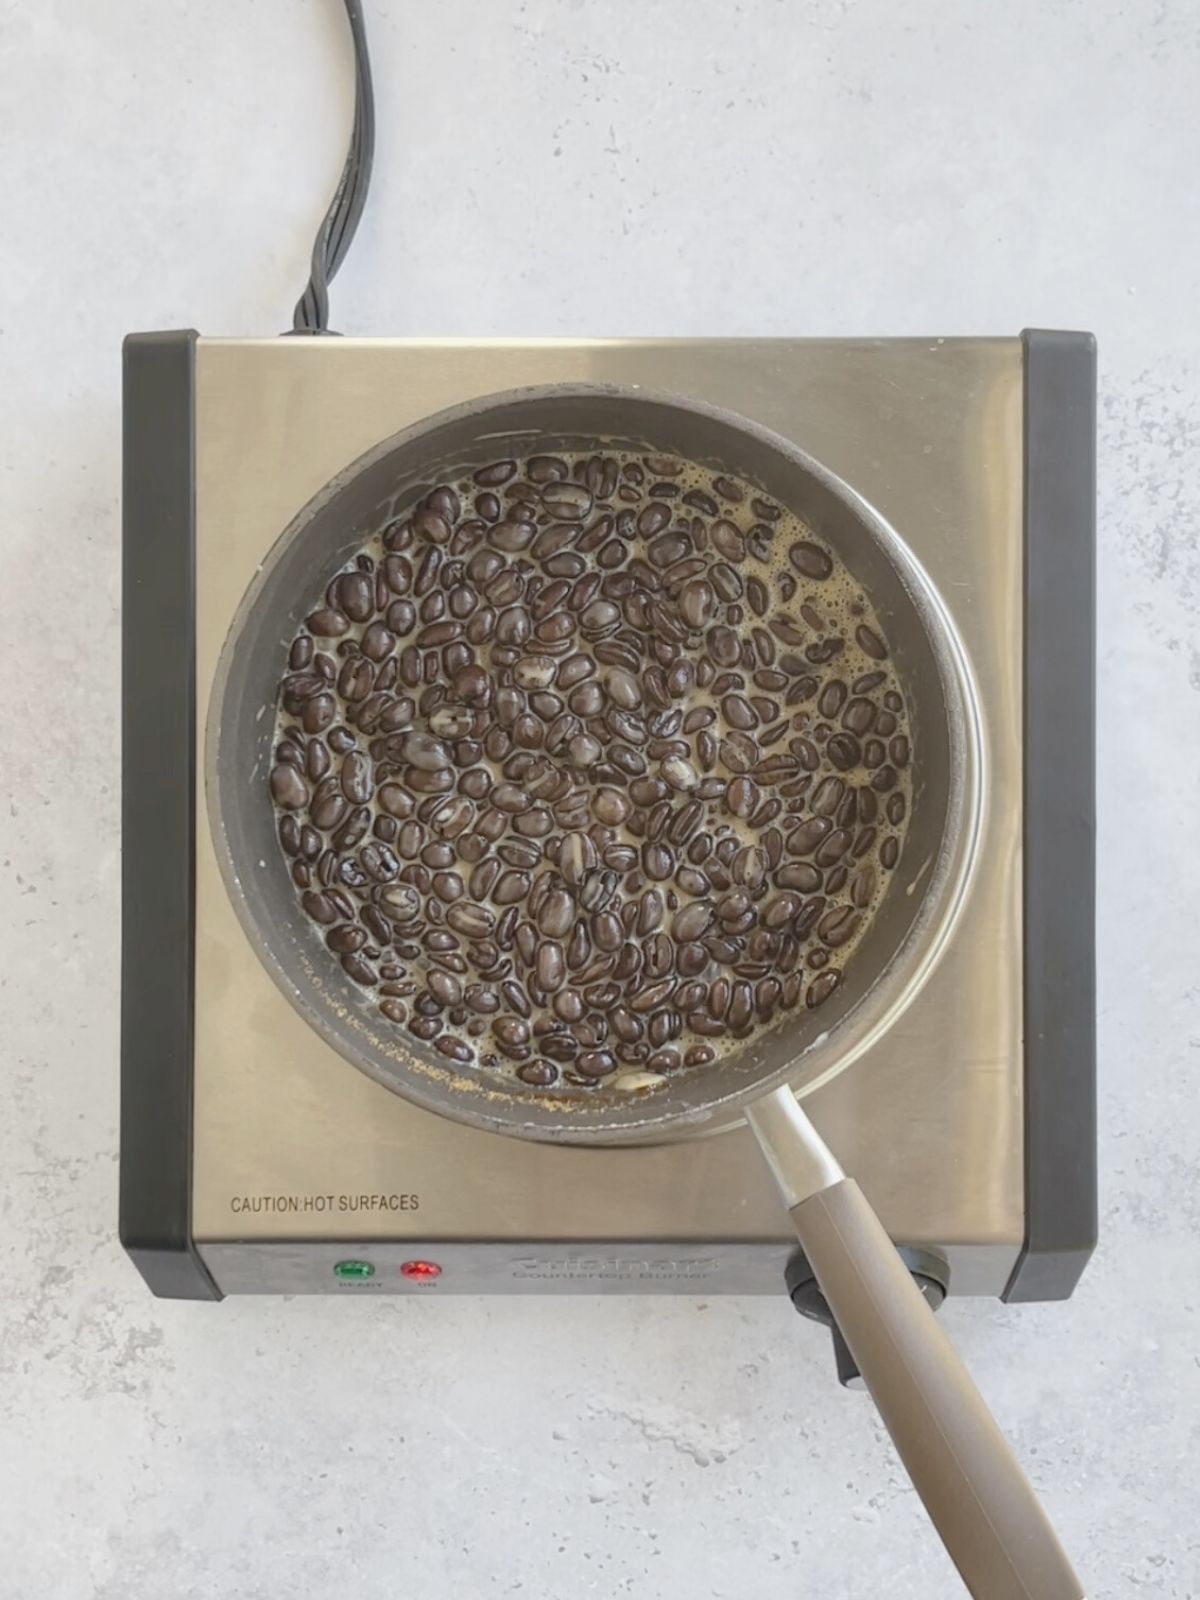
Step 1: Heat the coconut milk over medium heat until smooth.
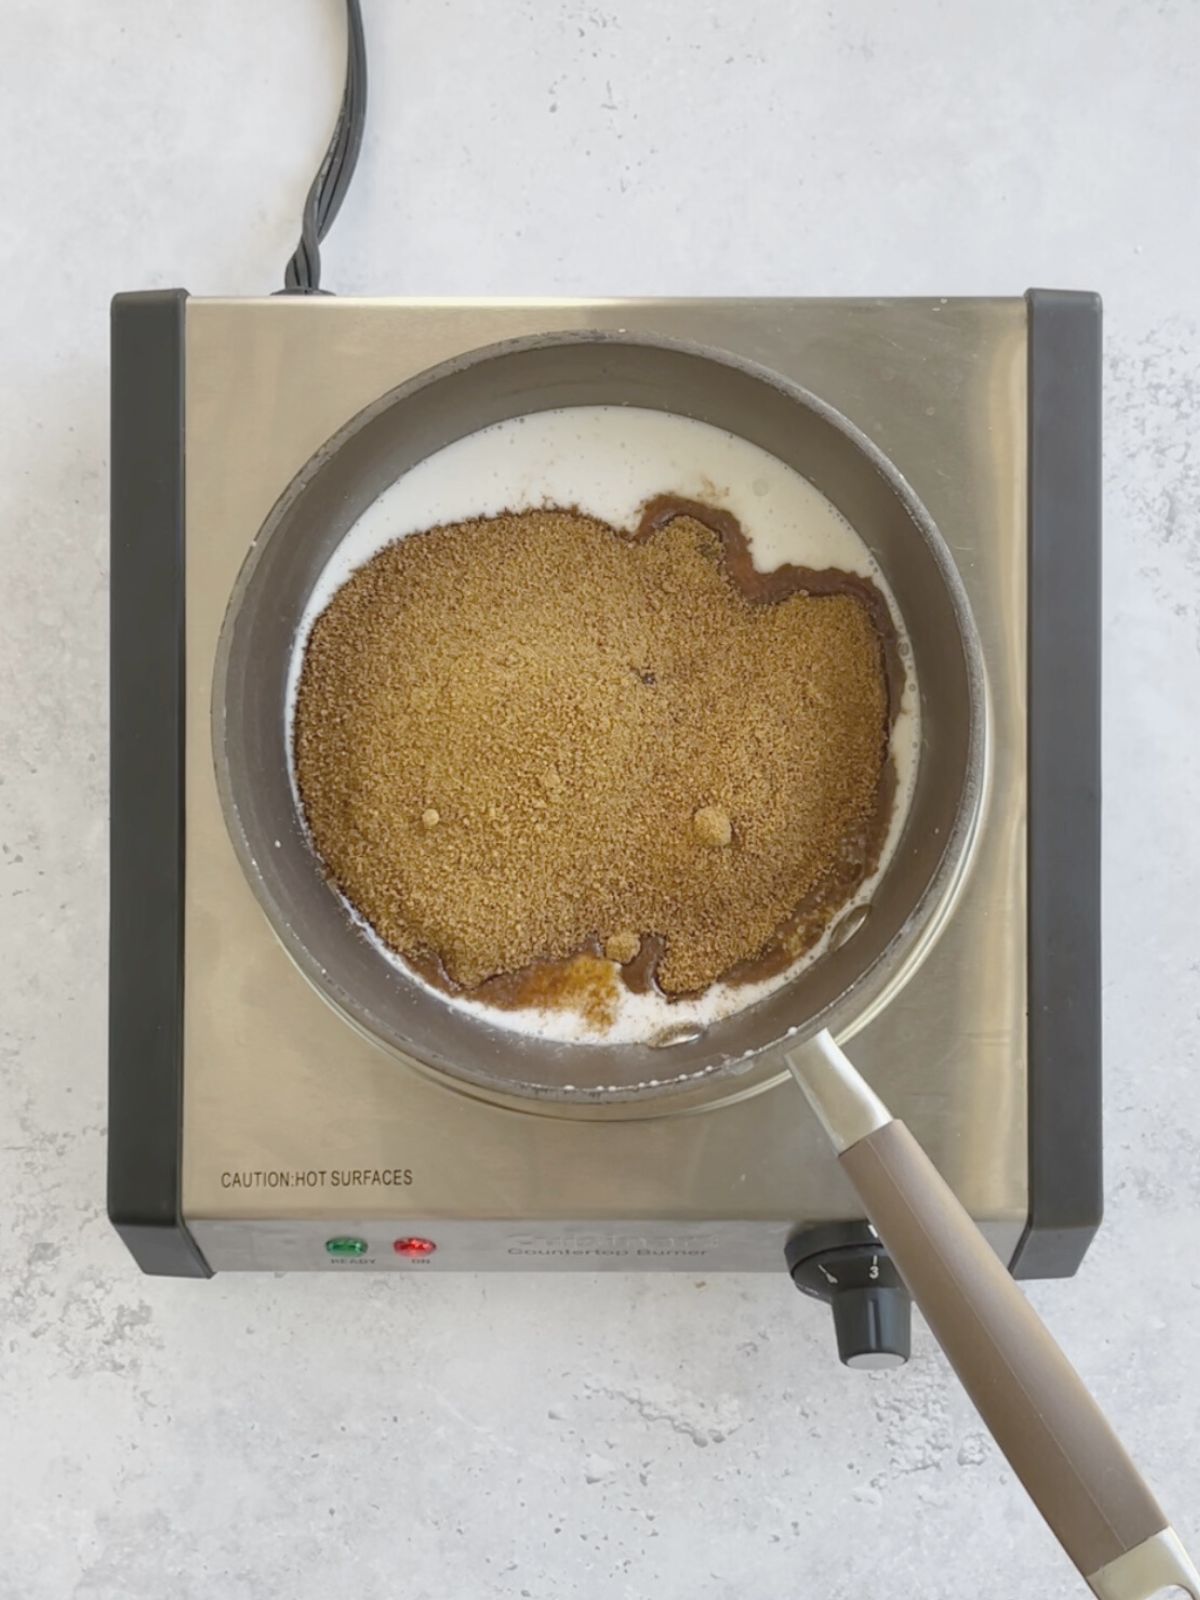
Step 2: Sweeten. Add the coconut sugar and whisk until dissolved.
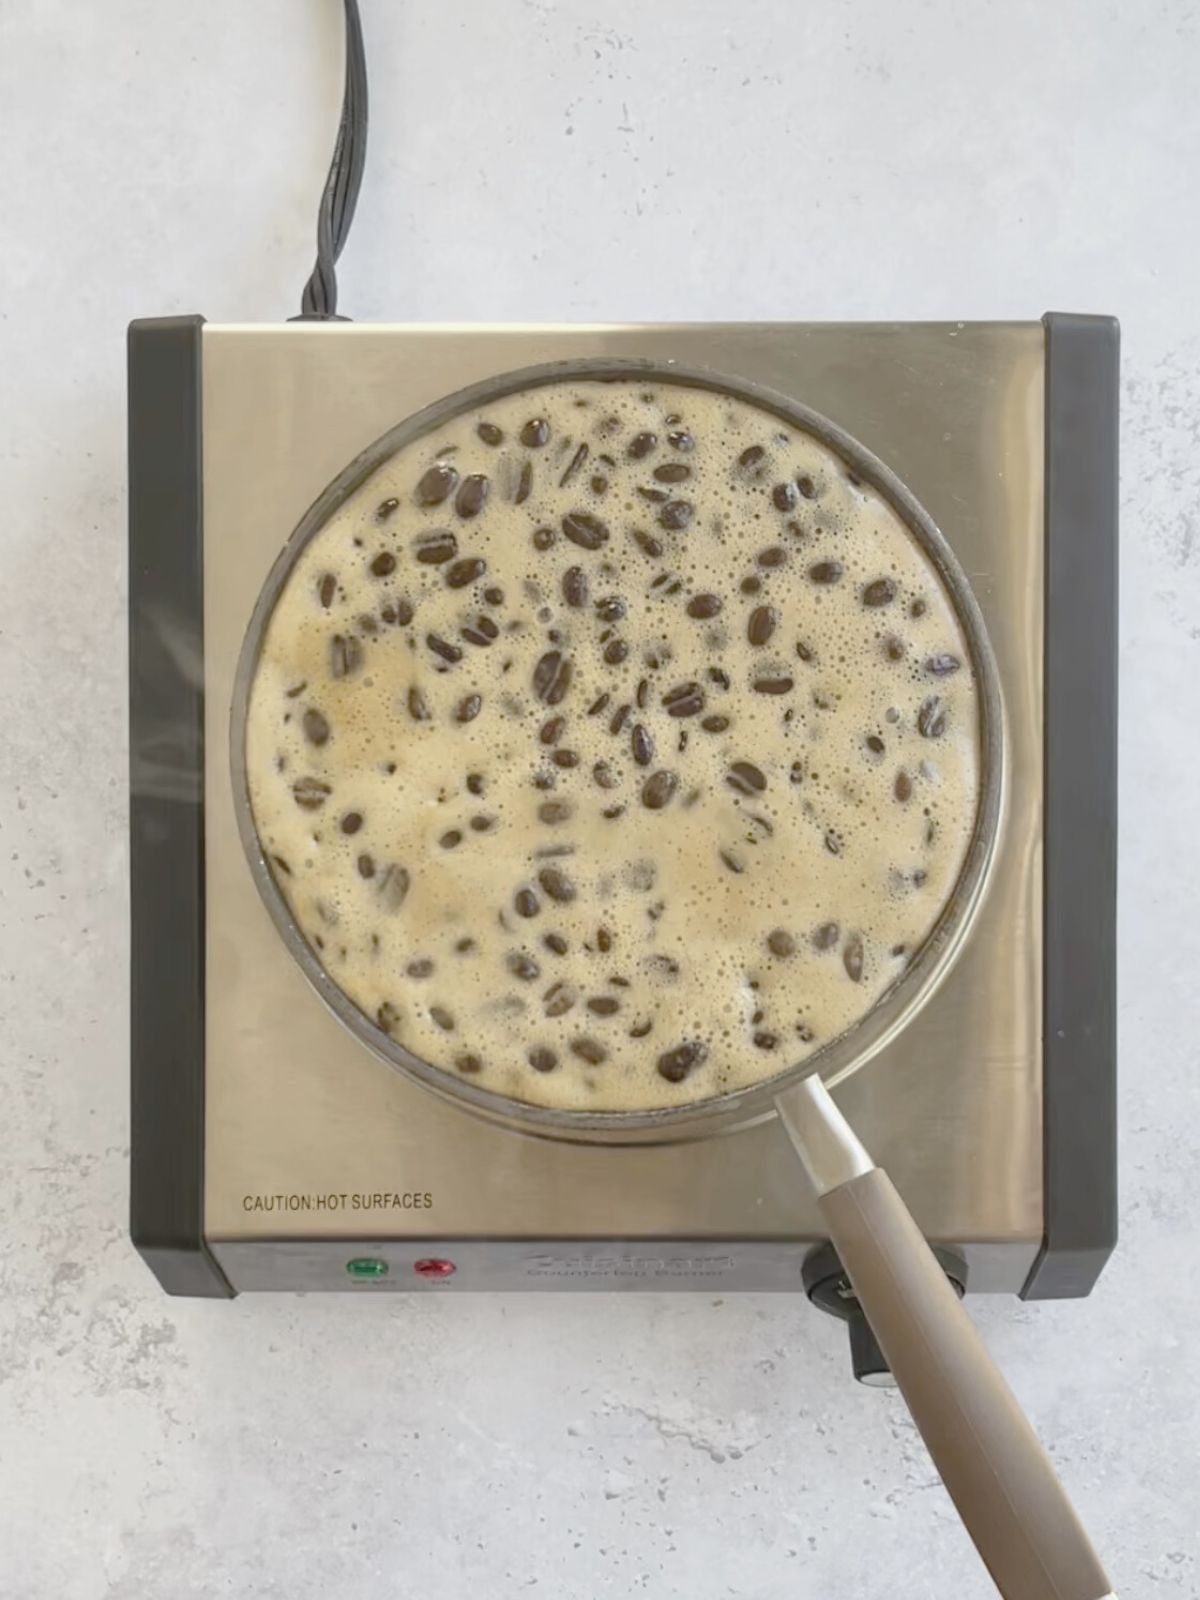
Step 3: Steep. Add the remaining ingredients and stir until combined. Bring to a simmer, and allow to cook for 2-3 minutes, stirring frequently.
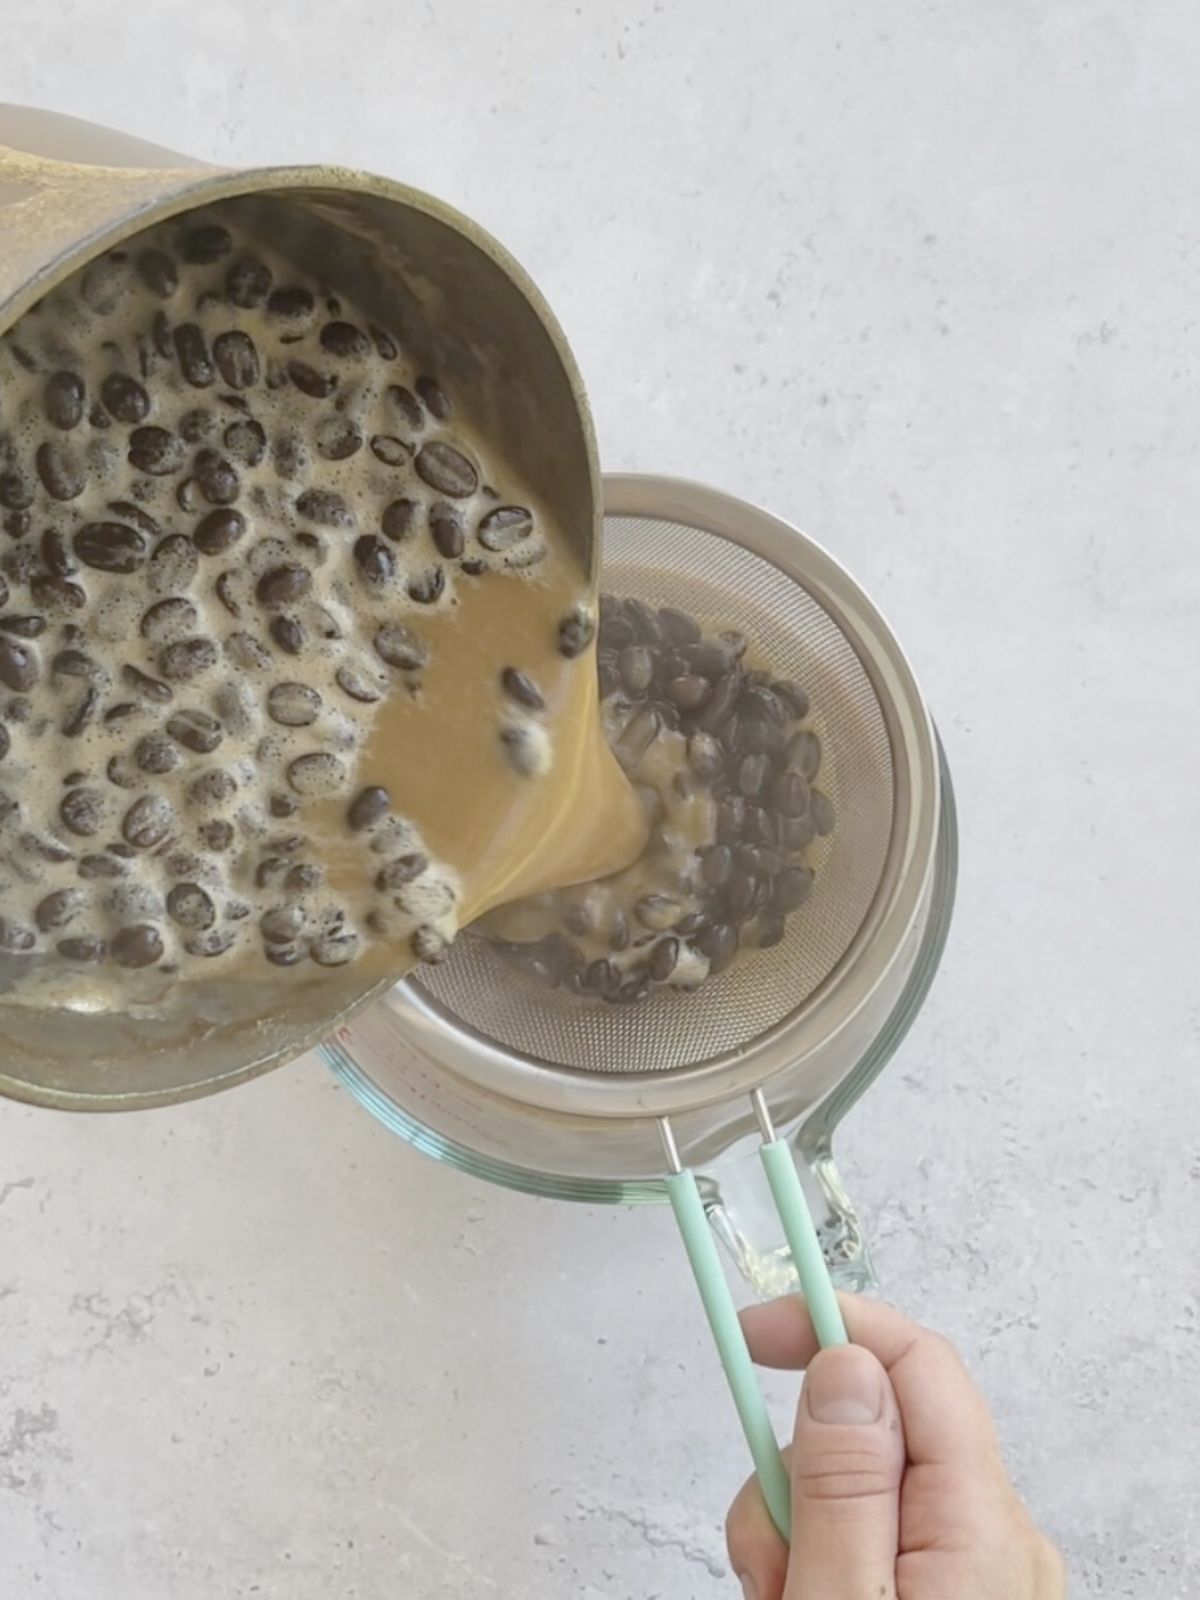
Step 4: Strain & Chill. Strain the coconut milk mixture, reserving the liquid and discarding the beans. Chill for at least 2 hours in the fridge.
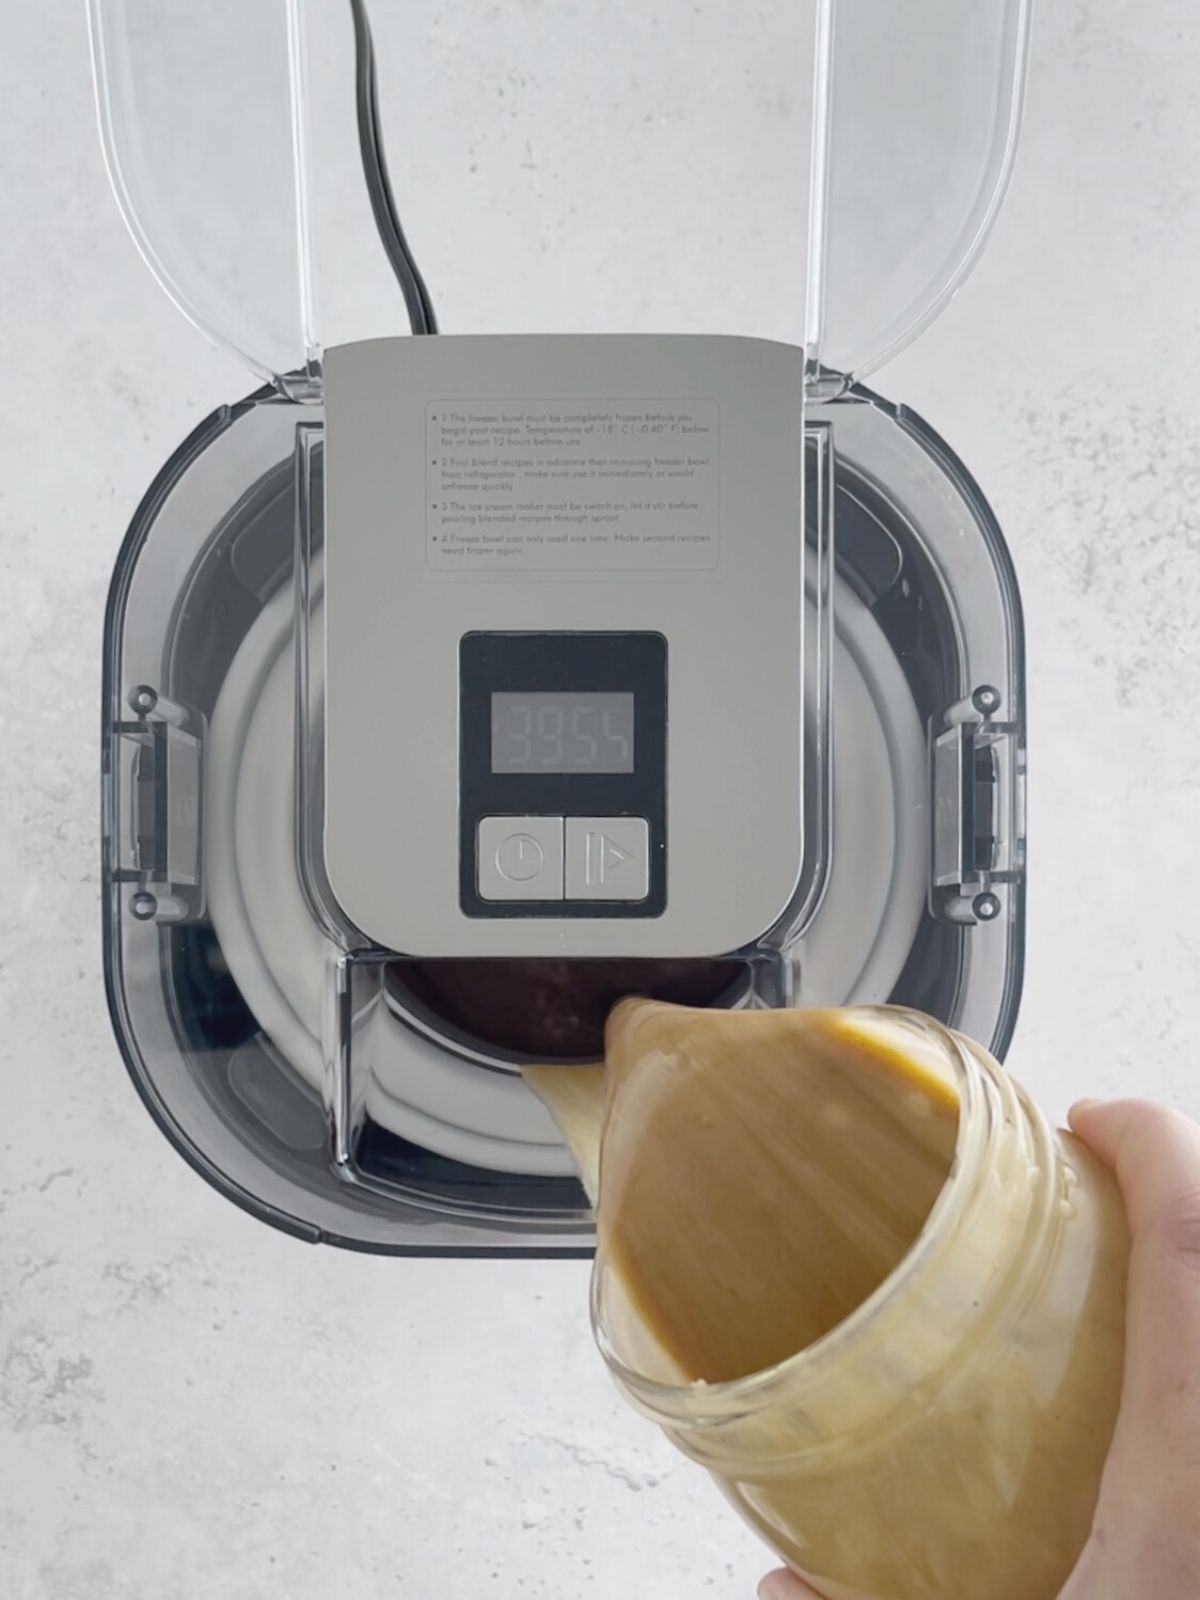
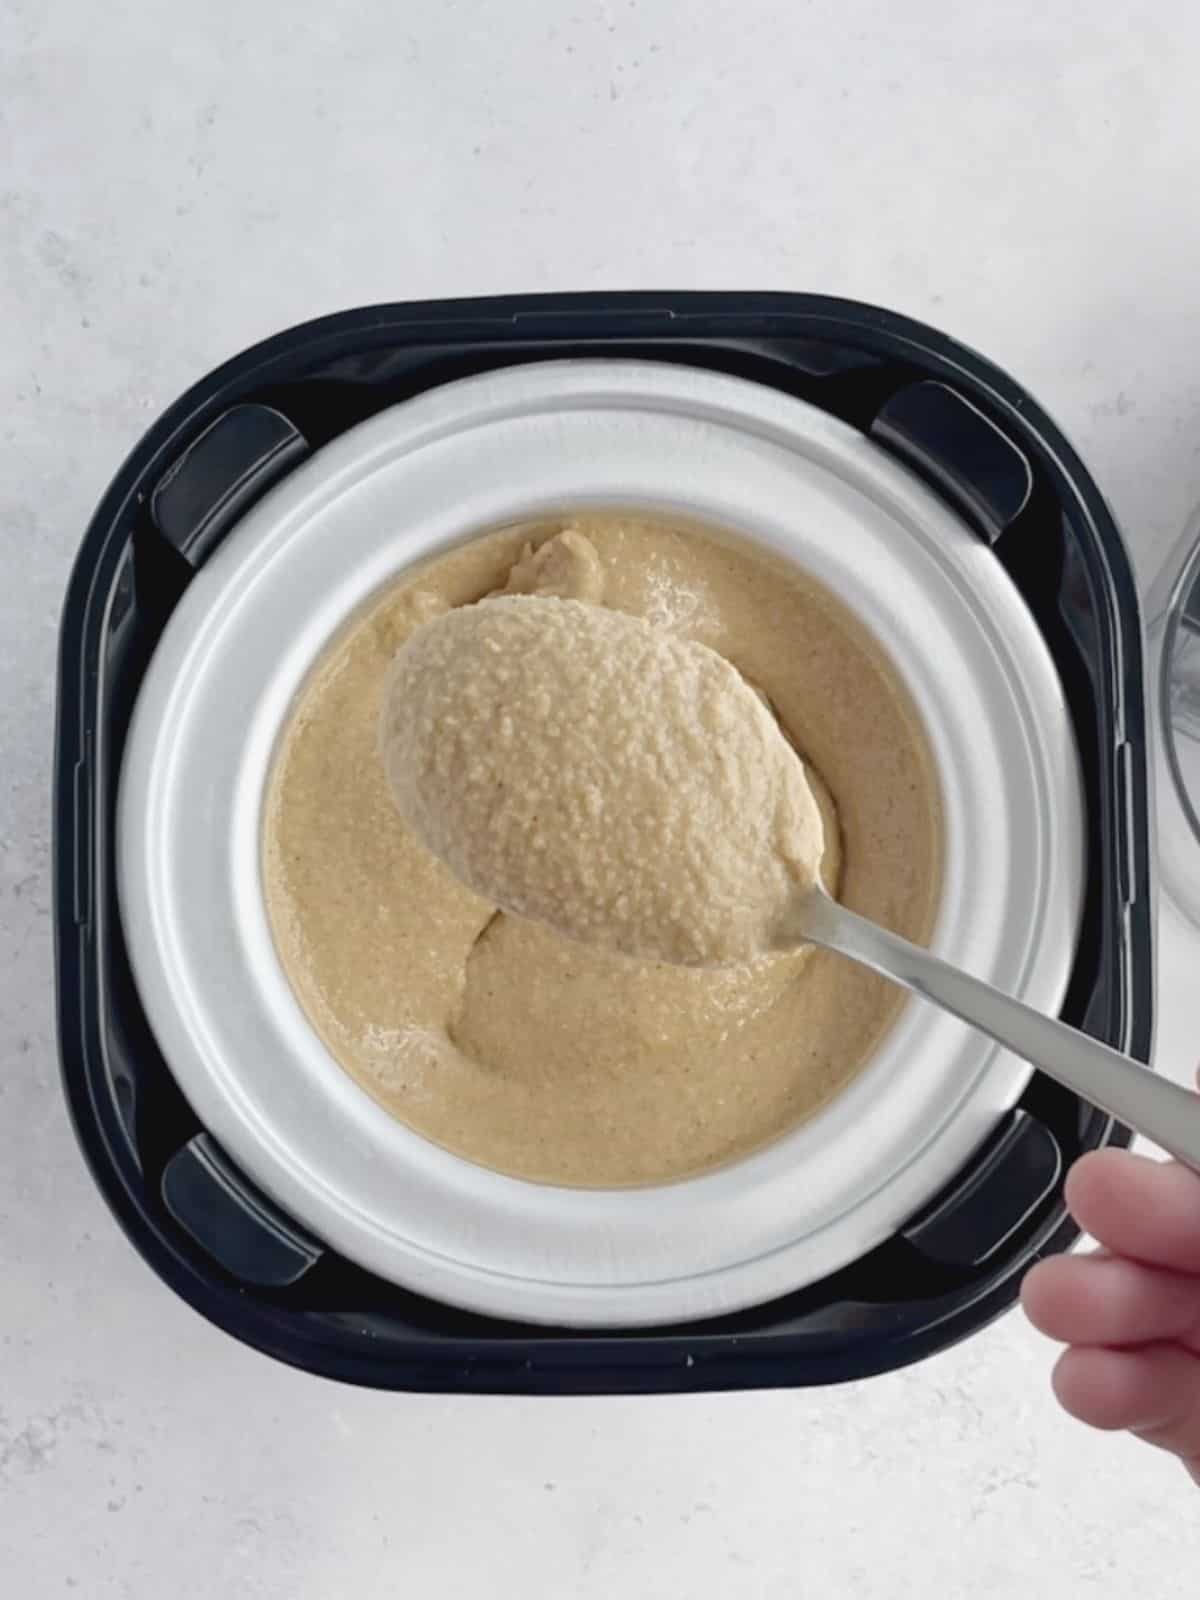
Step 5: Churn. Pour the chilled base into your ice cream maker and churn according to the manufacturer’s instructions until it reaches a thick consistency.
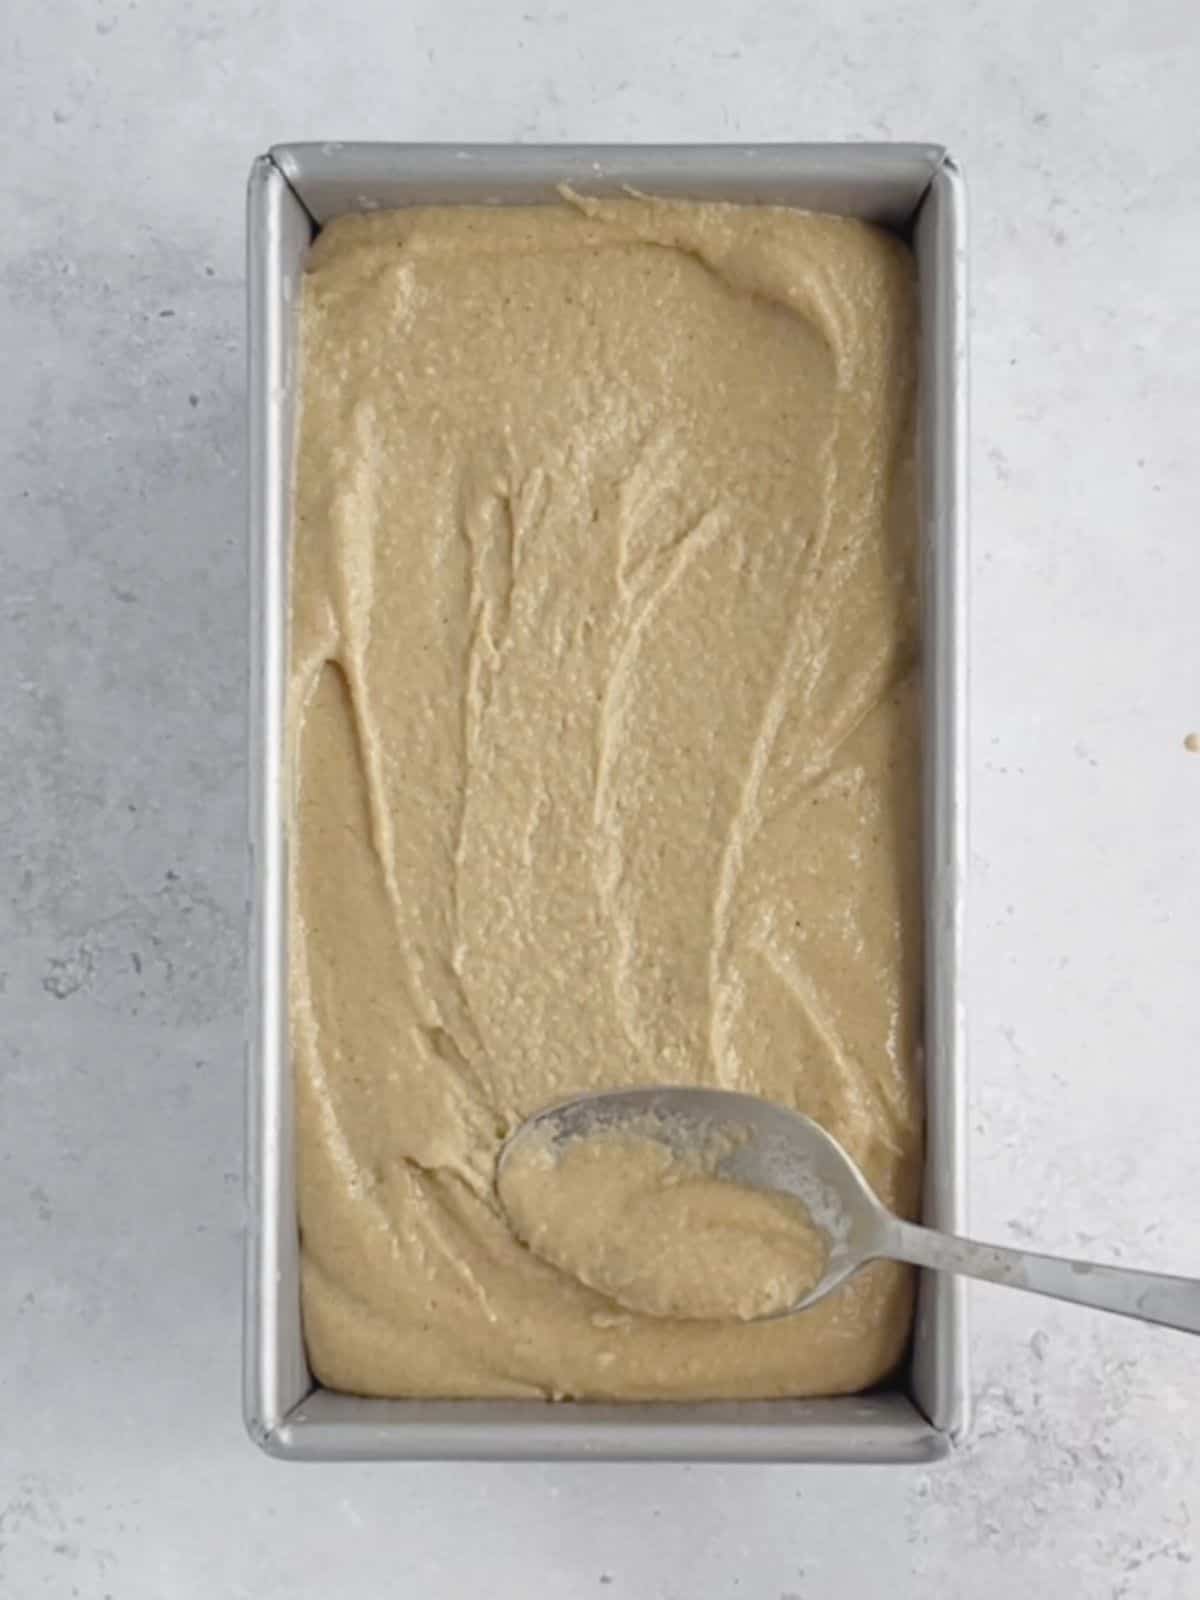
Step 6: Freeze. Transfer the ice cream to a metal loaf pan or freezer-safe container and freeze for several hours to firm up. When you’re ready, scoop and enjoy!
Tips & FAQ
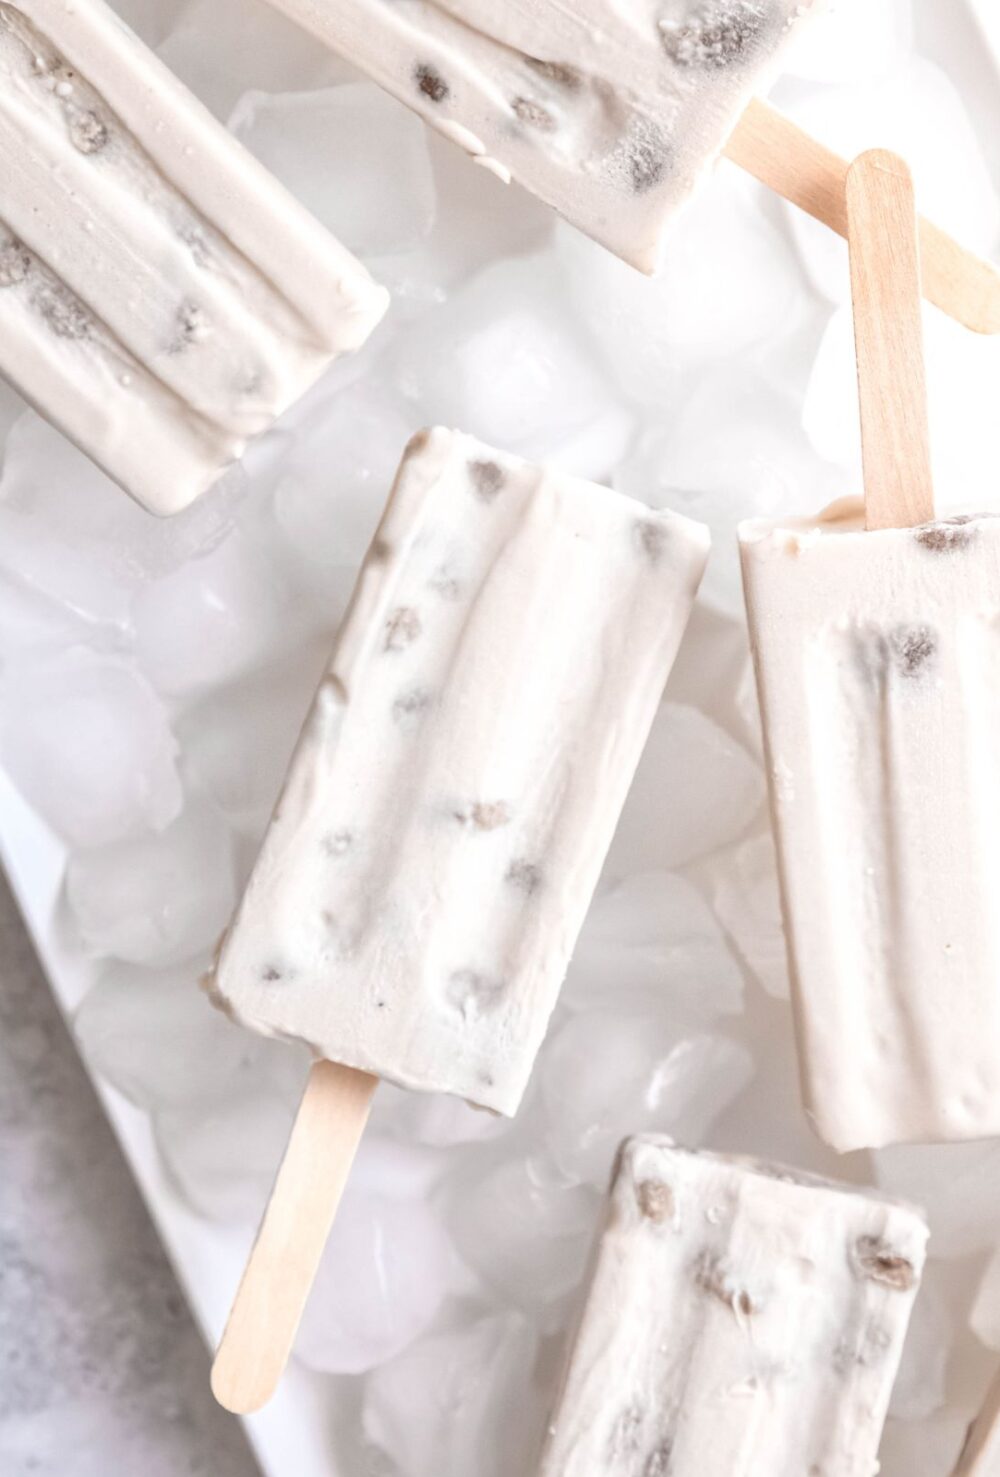
Good question! I think adding some toasted almonds in the last few minutes of churning would be a great idea. You can also layer in some chilled hot fudge topping as you add it to your freezer-safe container for a Jamoca Almond Fudge vibe. If you opt to go in a different direction, maybe try adding some of these boba pearls to the mix!
If you come up with an awesome add-in the world should know about, let me know in the comments below or tag me on your social media posts so I can cheer you on!
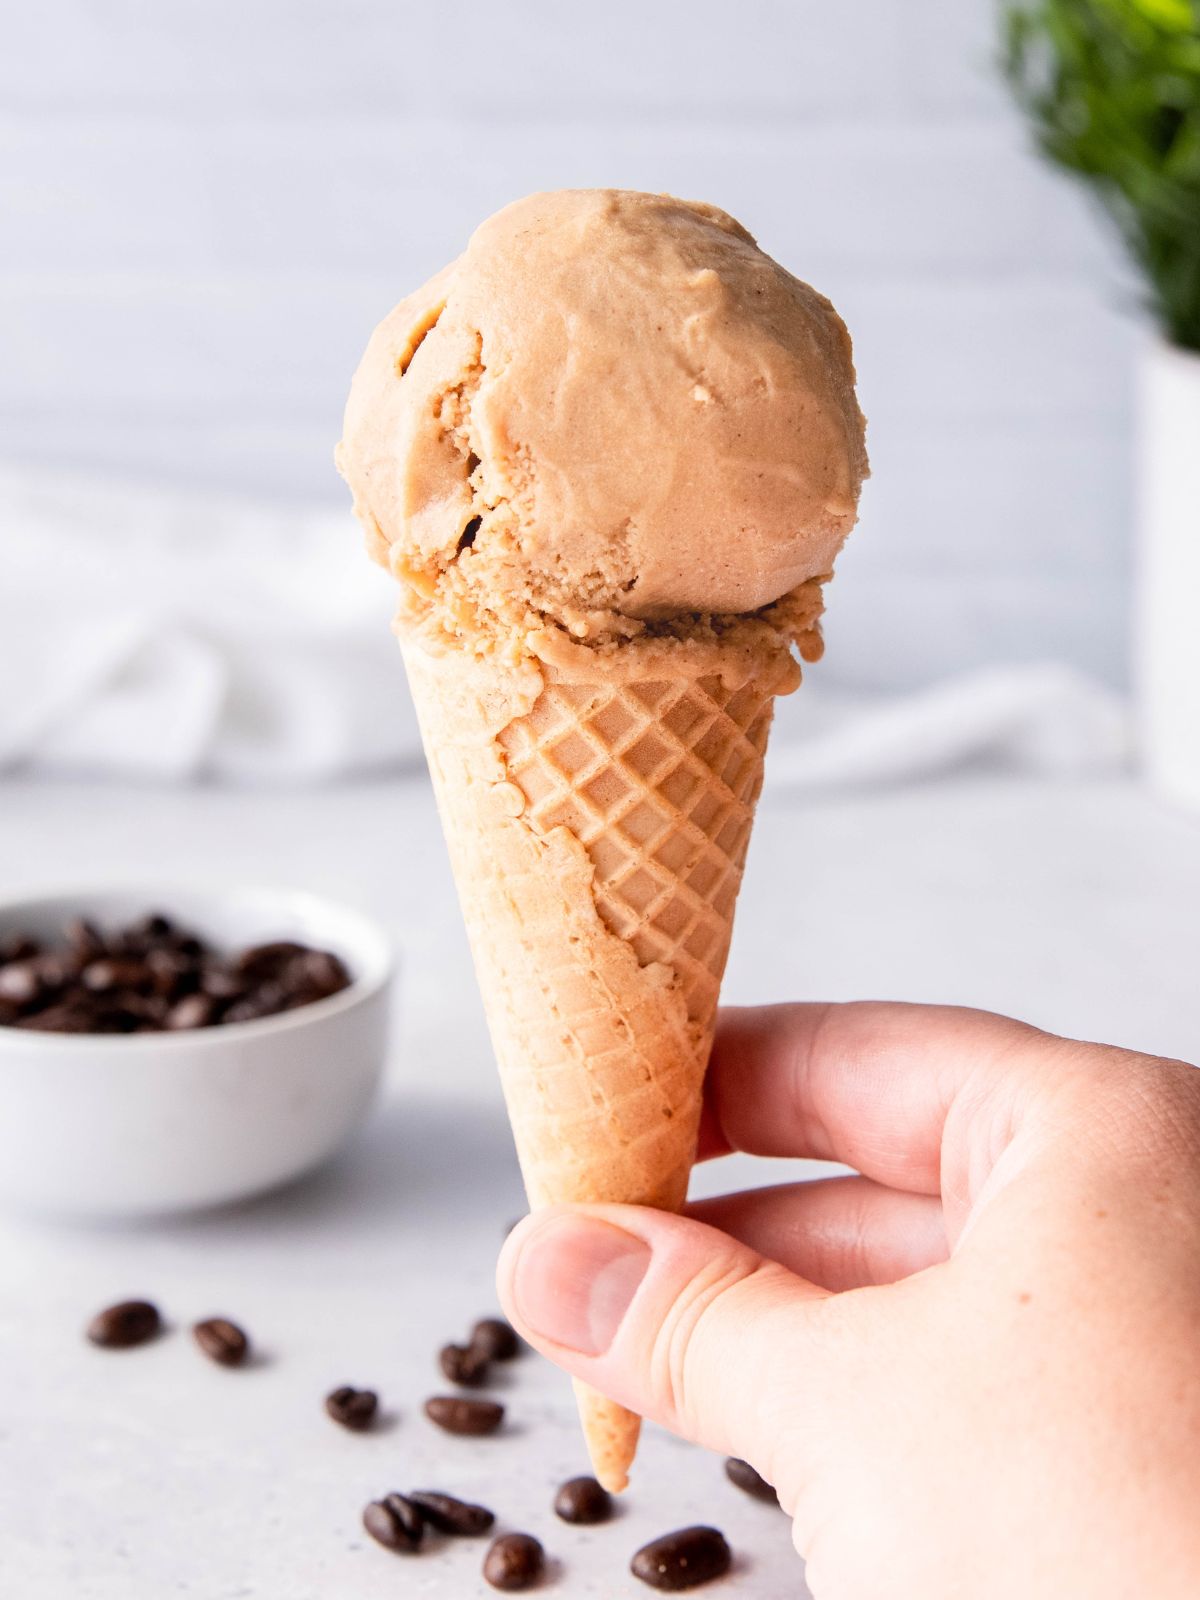
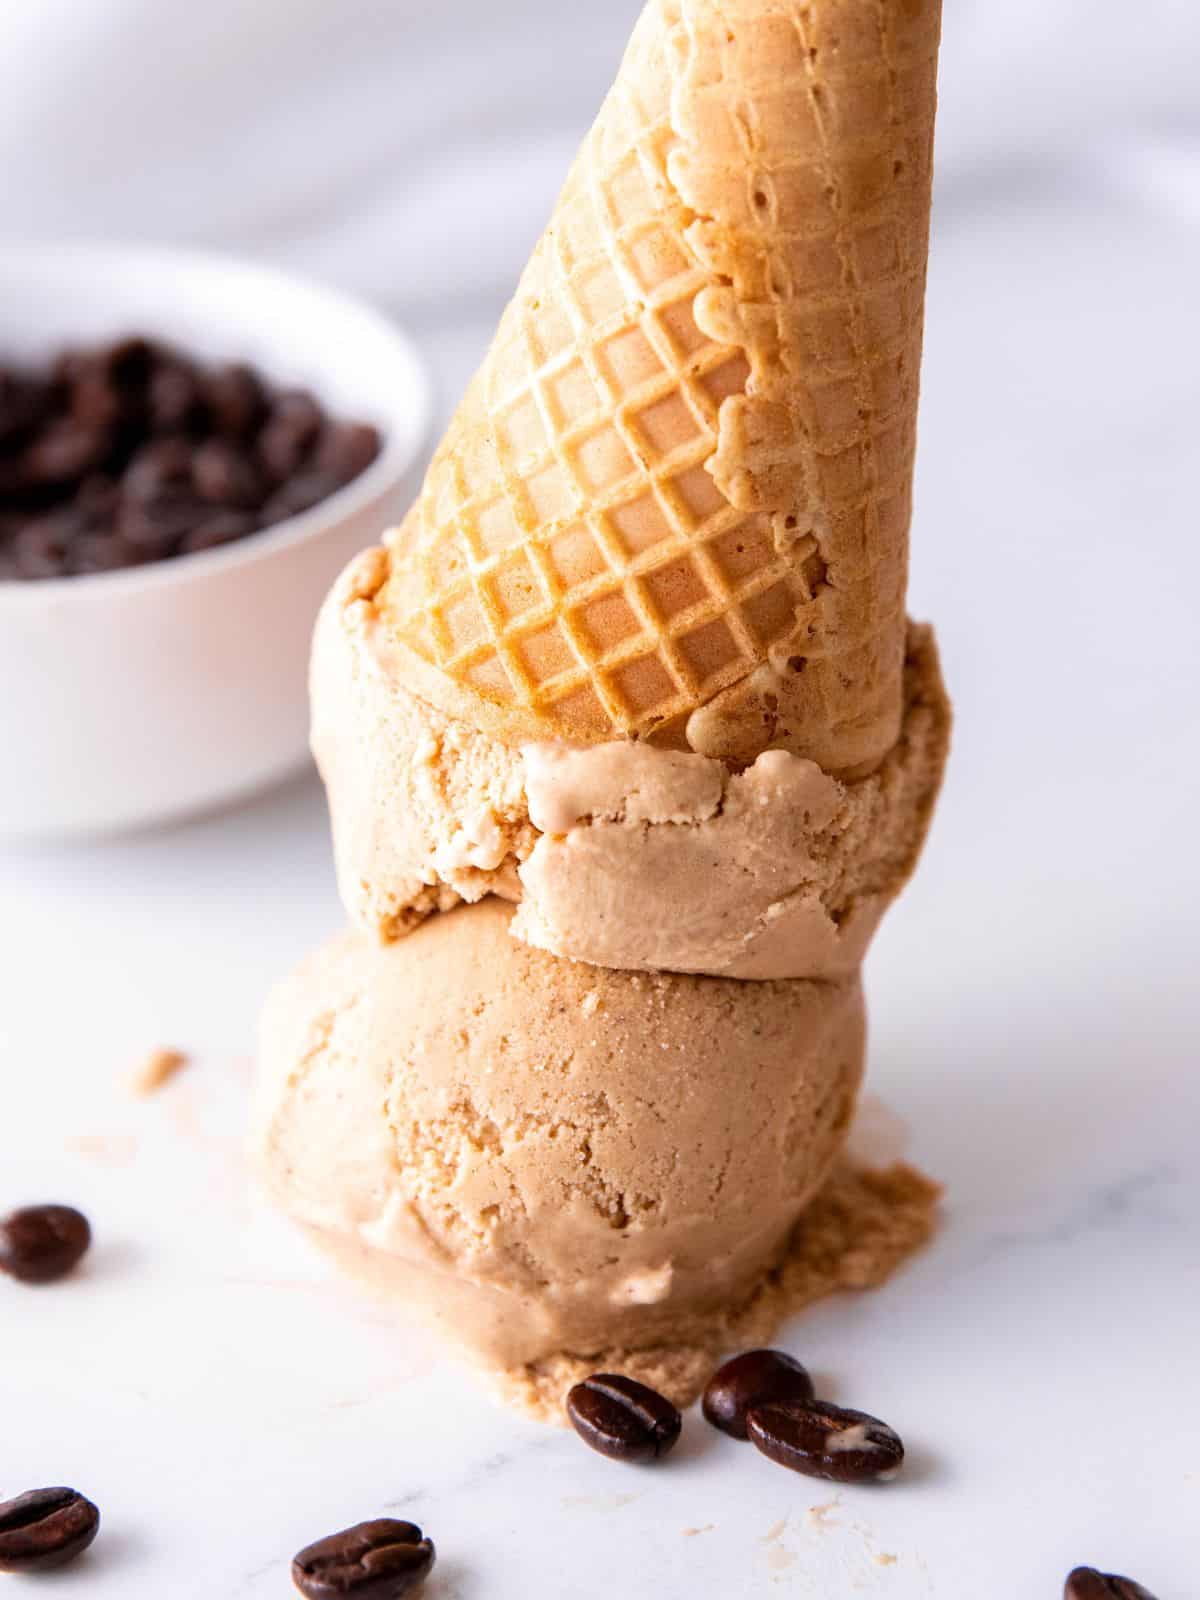
If you’re anything like me, you’ll be perfectly happy grabbing spoonfuls of it from the freezer whenever you get a sweet craving. It’s also great as the base of a sundae or on top of a cone.
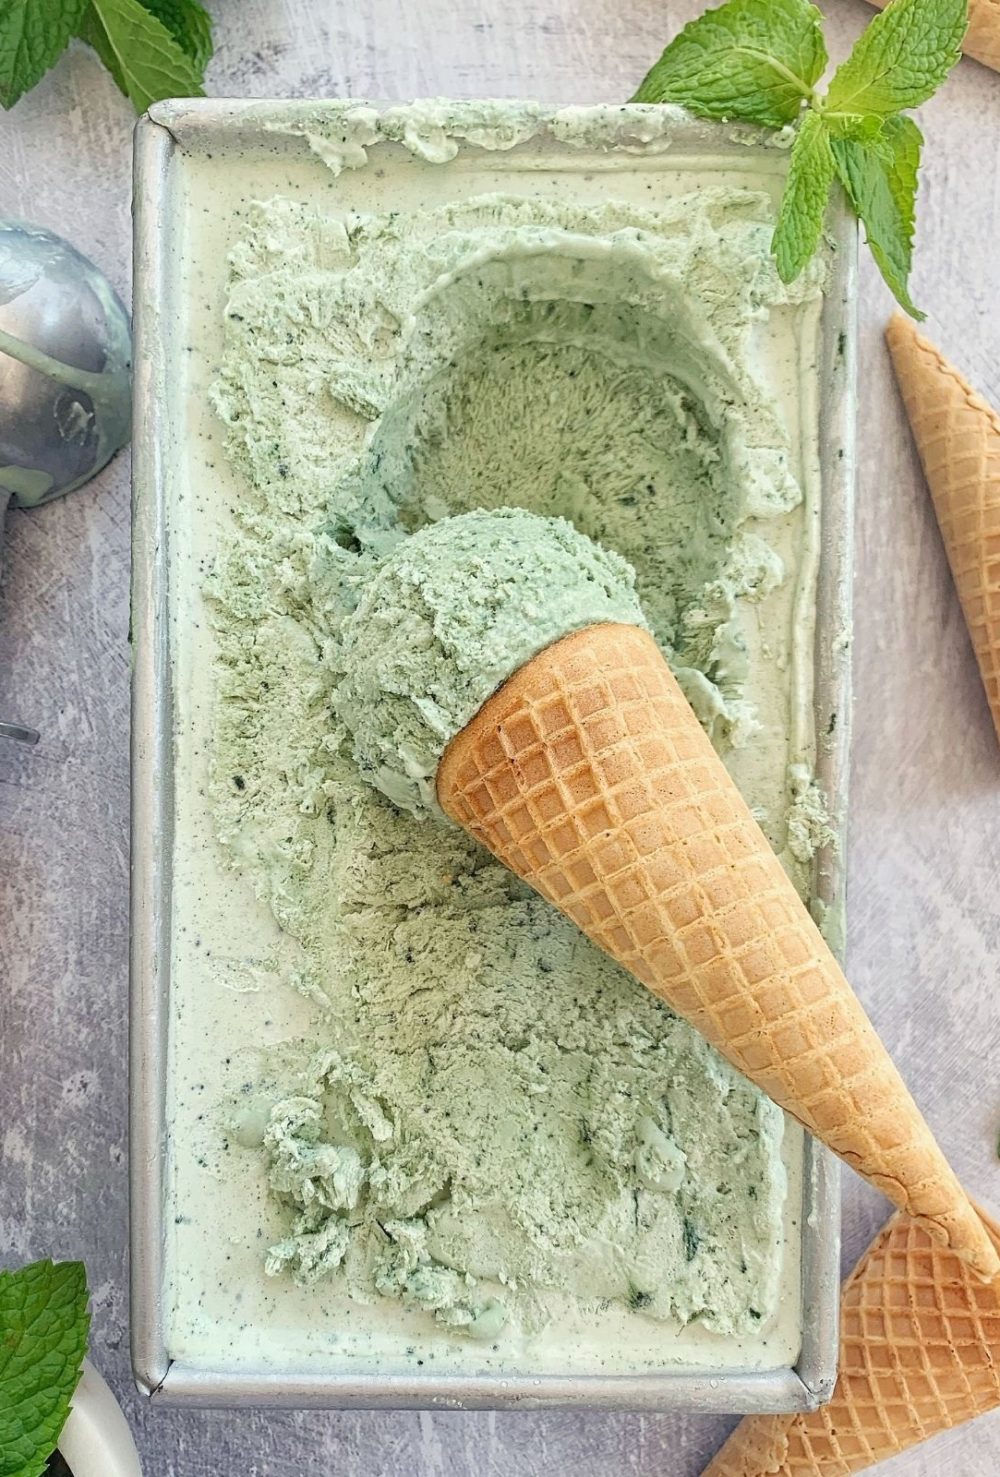
You can also double down on the coffee flavor by serving it affogato style, which means as a scoop in a bowl with a shot of espresso poured over the top. YUM!
If you are using caffeinated coffee beans, yes! Actually, there will also be a minimal amount of caffeine even if you use decaf. If you can’t have any caffeine, swap in roasted chicory instead.
Ooops! Sounds like you either didn’t let it churn fully before freezing it, or you might’ve used lite coconut milk. You need plenty of air and plenty of fat for ice cream to have the right texture. If you think it’s an issue of churning, allow it to melt fully in the fridge, then re-churn in a freshly frozen ice cream drum.
- Remember to freeze your ice cream drum for a minimum of 24 hours. Unless you have a fancy compressor-style ice cream maker, you’ll need to freeze the drum ahead of time. Don’t rush the process! If you try to spin it before the drum is totally frozen, your ice cream won’t churn properly.
- Use a larger saucepan than you think you’ll need. When the coconut milk starts simmering, it reaches all the way to the top of a 4 quart pan!
- Give the ice cream base time to chill before spinning. If you add it to the drum while it’s still hot, you’ll melt all the coldness within and the ice cream will never set up properly. To chill it more quickly, consider using a gallon-sized zip-top bag to pour the base into and submerge it in a very icy ice bath, agitating it occasionally. If you use this method, it should only take about 20 minutes to cool enough to spin.
- Don’t rush the freezing step. While it’s tempting to dive right in after the ice cream maker is done spinning, your ice cream will still be quite soft at this point, more like a frappucino. Make sure to freeze it for a minimum of 4 hours before going in for your first scoop.
- Eat within a week for best results. Since this coffee flavored ice cream is made without any preservatives or invert sugars (e.g. corn syrup), it’ll be more likely to crystallize quickly. To store, press a piece of parchment across the top before wrapping thoroughly; this will help to prevent ice crystals from forming.
Nutritional Info
This eggless coffee ice cream recipe relies on rich and creamy coconut milk for its exquisite texture. In addition to making the recipe much easier to make, using full-fat coconut milk also has the benefit of being a rich source of important nutrients including manganese, iron, magnesium, potassium, copper, folate, and selenium.
While this coconut milk ice cream is relatively high in fat, much of that is comprised of MCTs (or medium-chain triglycerides) which go directly to your liver from your digestive tract, meaning they are less likely to be stored as fat. Research also suggests that MCTs can help curb your appetite and decrease overall caloric intake.
I also opted to use coconut sugar rather than refined sugar. As a result, you get even more of the nutrients listed above. It also has the added benefit of having a lower Glycemic Index score, which means it has less of a tendency to make your blood sugar spike, making it a slightly healthier option than table sugar.
So, while this delicious vegan ice cream is still definitely considered a dessert, it’s relatively healthy for you and can easily be woven into just about any healthy diet, so long as you consume it in moderation.
Total nutritional content per serving is:
- Calories: 337 calories
- Total Fat: 20 grams
- Protein: 2 grams
- Sodium: 100 mg
- Carbohydrates: 34 grams
- Fiber: 0 grams
*This nutritional information is an estimate and calculated based on the ingredients used to create the recipe. The nutritional value of your ingredients may differ slightly. Furthermore, this food is not intended to prevent, diagnose, cure, or treat any disease.
Pricing Info
This is what I personally paid to make this recipe:
- 3 cans full fat coconut milk: $6.87
- 1 ¼ cup coconut sugar: $2.40
- 1 ¼ cup whole coffee beans: $1.99
- 1 ½ tsp vanilla extract: $0.39
- ¾ tsp cinnamon: $0.03
The total comes out to be around $11.68 or roughly $1.46 per serving! If you ask me, that’s a heck of a savings over your local scoop shop!
Other ice cream recipes:
Shop the recipe:


Tried this recipe? Please leave a ⭐⭐⭐⭐⭐ rating in the comments below! I would really appreciate your feedback!
Recipe

Coffee Ice Cream Recipe
Equipment
Ingredients
- 3 cans full fat coconut milk
- 1 ¼ cup coconut sugar
- 1 ¼ cup whole coffee beans (use your favorite kind!)
- 1 ½ tsp vanilla extract
- ¾ tsp cinnamon
Instructions
- Pour the 3 cans of coconut milk into a large sauce pan (use a larger saucepan than you think you need because this recipe is easy to boil over). Heat the coconut milk over medium heat until smooth.
- Add the coconut sugar and whisk until dissolved.
- Add the whole coffee beans, vanilla extract, and cinnamon and stir until combined. Bring to a simmer, and allow to cook for 2-3 minutes, stirring frequently.
- Strain the coffee beans from the coconut milk mixture, reserving the liquid and discarding the beans. Chill for 2 hours in the fridge.
- Once chilled, pour into your ice cream maker and churn according to the manufacturer's instructions until it reaches a thick consistency. Mine took about 45 minutes to churn completely.
- Eat now, or transfer the ice cream to a metal loaf pan or freezer-safe container and store in the freezer until ready to eat!
Video
Nutrition
If you end up making this and loving it, take a photo and tag me on Instagram! I’d love to see your versions of my recipes! And feel free to rate it down below in the comment section. I would really appreciate it!
xoxo Megan
Leave a Reply